
 Welcome to WAPI!
Wapi Frontend & Admin
Note:The deployment steps on Vercel are identical for both the Wapi frontend and admin. For demonstration, we will deploy the frontend.
1. Open the wapi-frontend directory downloaded from CodeCanyon.
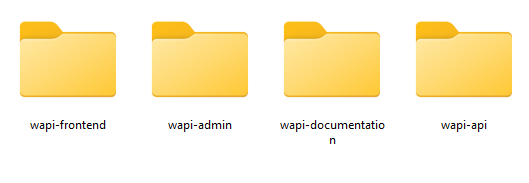
2. Frontend Installation & Local Setup:
Before deploying to Vercel, ensure your frontend is correctly set up and dependencies are installed.
- Download & Extract: Locate and extract the
wapi-frontendfolder from your purchased Wapi package. - Install Dependencies: Run
npm installin the terminal to install Next.js and required packages. - Verify Locally: Run
npm run devto verify the frontend starts successfully in development mode. - Build for Production: After verification, run
npm run buildto generate the production build.
3. Frontend Environment Settings:
Open the .env file and update the URLs according to your domain settings.
Note:Replace your-domain.com with your actual domain or subdomain. Apply the same change for the backend API domain.

Next Config Settings:
Open the next.config.js file and update the environment variables.
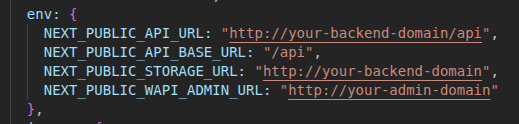
- npm run build
4. Admin Environment Settings:
Open the next.config.js file in the wapi-admin directory and update the
environment variables.

next.config.js, you must rebuild the admin project:
- npm run build
.env file, Next.js reads values from
next.config.js at build time. Restarting alone will not apply changes.
5. Install Vercel CLI:
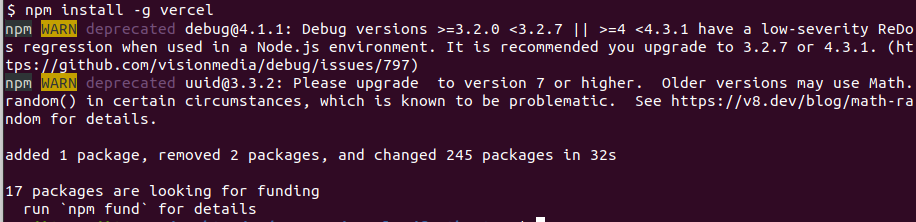
Install the Vercel CLI globally on your computer using the command below.
- npm install -g vercel
6. Login to Vercel
Log in to your Vercel account using the command below.
- vercel login


7. Deploy Wapi:
Inside the wapi-frontend folder, run the command below:
- vercel

Default Credential
Admin Credential:
-Url: https://wapi-admin-live.vercel.app
-Email: admin@wapi.com
-Password: 123456789
Frontend Credential:
-Url: https://wapi-frontend-live.vercel.app
-Email:lily.james@wapi.com
-Password: 123456789
What's Next?
Let’s begin — your communication workspace is ready with Wapi!


