 Getting Started
How to start
Welcome to the Angular Version! Angular helps you build modern web, mobile and desktop applications.
Prerequisites
To begin an Angular application, you'll require two essential prerequisites.
We used these versions for creating the project.
- Angular Version 16.x.x
- Node.js Version 18.x.x
Node.js and Npm
Make sure you have Node.js and npm (Node Package Manager) installed on your system. You can download them from the official website: https://nodejs.org/
Installing Angular CLI
Install the CLI using the npm package manager:
Use this command in your System Terminal to globally set Angular CLI.
npm install -g @angular/cli 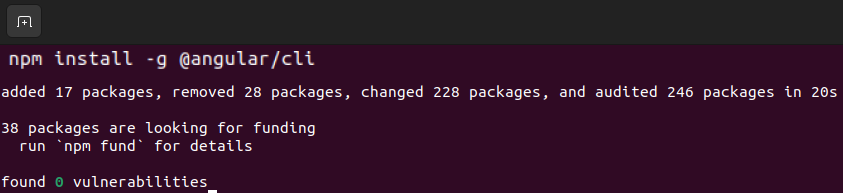
Multikart Frontend Setup
1. Start with Your Downloaded Project:
- Unzip the file you got from CodeCanyon.
2. Explore the Extracted File:
- multikart-laravel-angular-package
- multikart-frontend
- multikart-admin
- multikart-laravel
- multikart-documentation
- Here, you'll find four folders: multikart-frontend, multikart-admin, multikart-laravel and multikart-documentation.
3. Focus on Multikart Frontend:
- Open terminal in this folder.
4. Install Node Module:
Make sure you are on the path of multikart-frontend.
- Then, import all dependencies with: npm install.
npm install
5. Run the Project:
- Start your project by running: ng serve in the Terminal.
ng serve
When you start your application, it usually uses the default port, so you can access it by opening localhost:4200 .
Environment Setting:
-
Note: Before following these steps, make sure you have Laravel installed as previously shown.
- Copy the port it runs on.
- Modify the URL in the Angular frontend files located in src >> environments >> environment.ts by using the port on which Laravel application is hosted.
-
Finally, execute the code.

Ensure there are no other local Angular projects running, and if there are, use a newly generated port from the terminal.
If your path does not open on http://localhost:4200/, then copy the port in order to change the baseURL.
Multikart Admin Setup
1. Start with Your Downloaded Project:
- Unzip the file you got from CodeCanyon.
2. Explore the Extracted File:
- multikart-laravel-angular-package
- multikart-frontend
- multikart-admin
- multikart-laravel
- multikart-documentation
- Here, you'll find four folders: multikart-frontend, multikart-admin, multikart-laravel and multikart-documentation.
3. Focus on Multikart Admin:
- Open terminal in this folder.
4. Install Node Module:
Make sure you are on the path of multikart-admin.
- Then, import all dependencies with: npm install.
npm install
5. Run the Project:
- Start your project by running: ng serve in the Terminal.
ng serve
When you start your application, it usually uses the default port, so you can access it by opening localhost:4200 .
Environment Setting:
-
Note: Before following these steps, make sure you have Laravel installed as previously shown.
- Copy the port it runs on.
- Modify the URL in the Angular frontend files located in src >> environments >> environment.ts by using the port on which Laravel application is hosted.
-
Finally, execute the code.

Ensure there are no other local Angular projects running, and if there are, use a newly generated port from the terminal.
If your path does not open on http://localhost:4200/, then copy the port in order to change the baseURL.
7. Building the Project:
Set environment
- To build your Angular application, use the command: ng build --base-href=/project-name/ng build --base-href=/project-name/
This will create a "dist" directory in your project with optimized files.
8. Upload to Public Folder:
- Take the contents of the "dist" folder and upload them to your website's public folder.
By following these steps, you'll have your website up and running! 🎉
Here are some common solutions if your project isn't running successfully: