
Layouts
The Layouts Tab provides a variety of fields and options for customizing the Layouts Section of the front-end landing page.
Dashboard Section
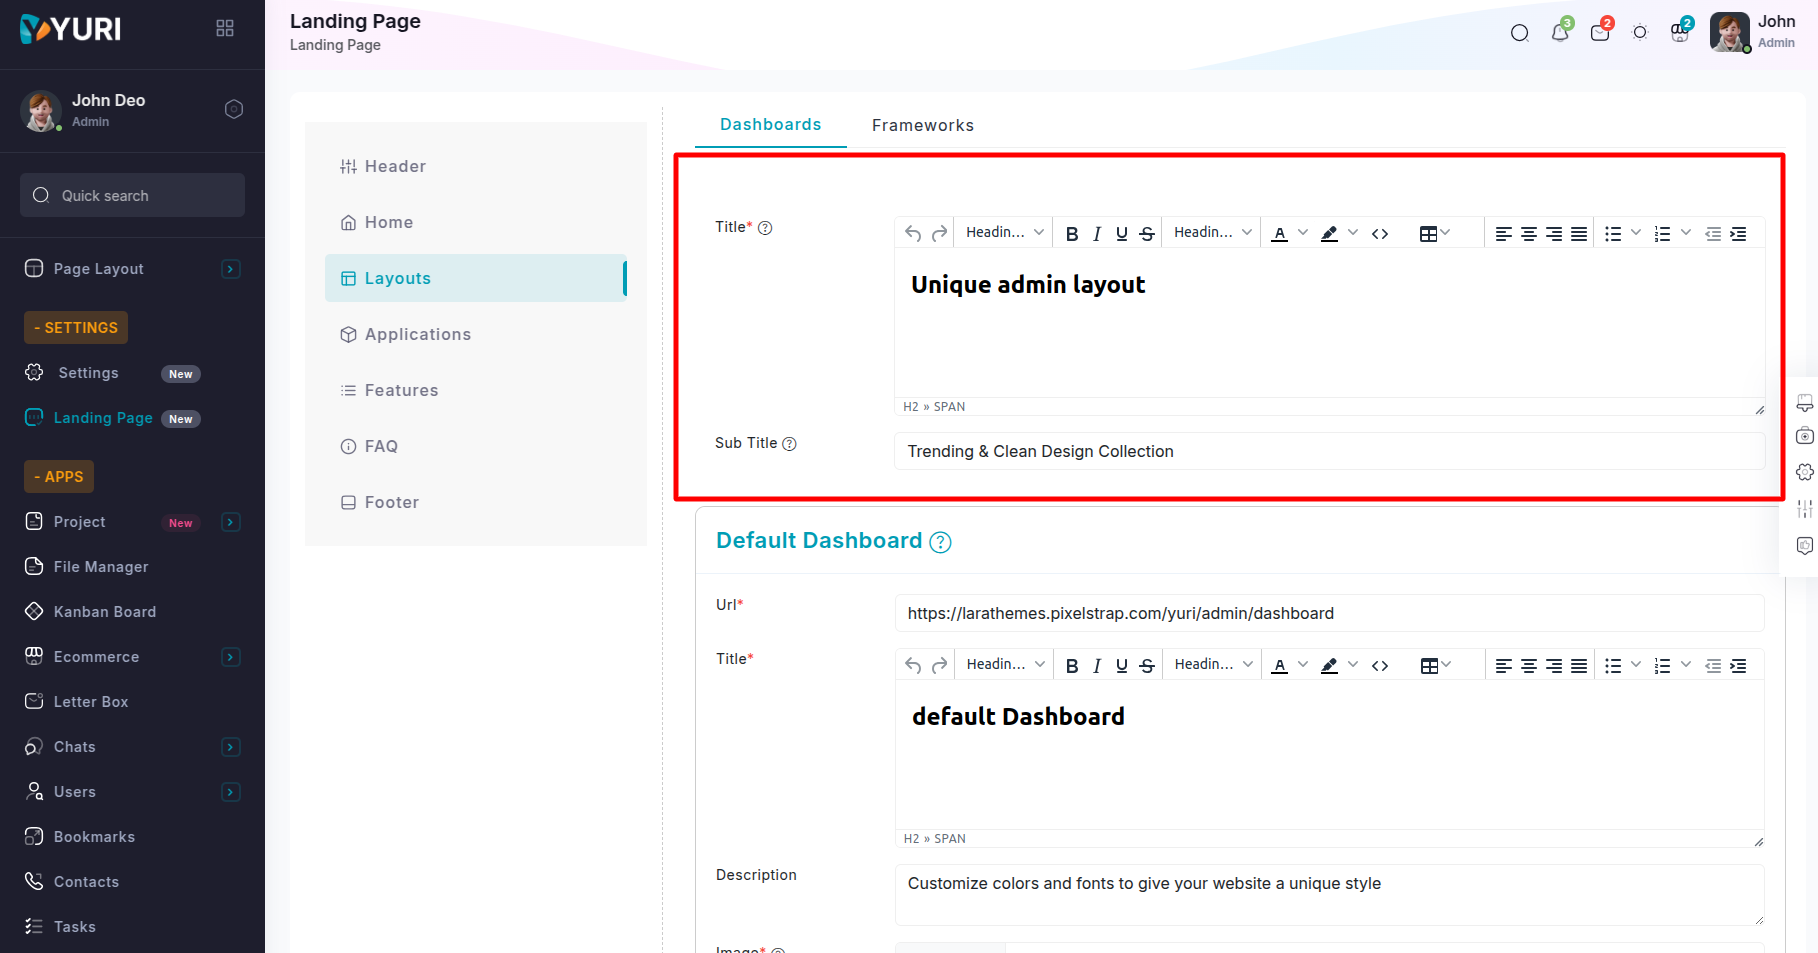
Navigate to the Landing Page option in the sidebar, select the Layouts Tab, and then choose the Dashboard sub-tab.
Title: Provide a descriptive title for the layouts section.
Sub Title: Provide a descriptive sub title for the layouts section.
Default Dashboard Fields
Title: Provide a descriptive title for the default dashboard.
Description: Include a short and descriptive text for the default dashboard.
Url: Enter the destination URL for the default dashboard.
Image: Upload an image to be displayed on the default dashboard of the layouts section.(Recommended dimensions: 630 × 452 pixels)
Image: Upload an image to be displayed on the left-side of the default dashboard in the layouts section.(Recommended dimensions: 255 × 199 pixels)

E-Commerce Dashboard Fields
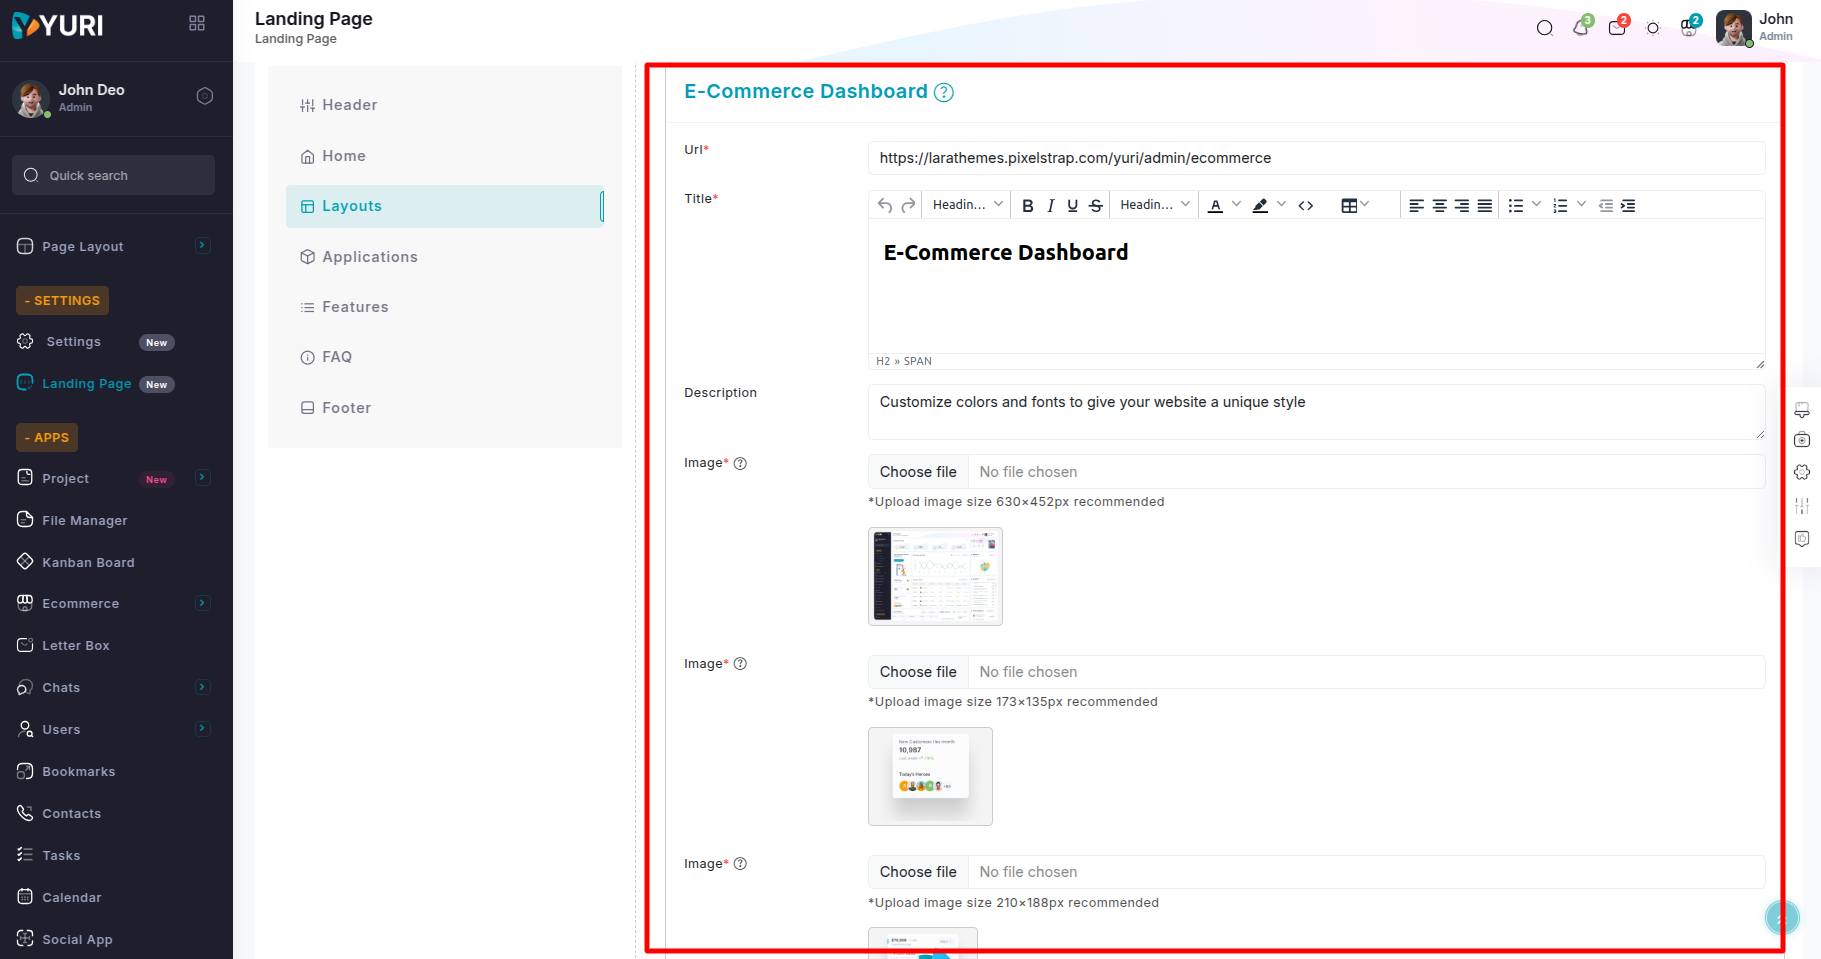
Title: Provide a descriptive title for the e-commerce dashboard.
Description: Include a short and descriptive text for the e-commerce dashboard.
Url: Enter the destination URL for the e-commerce dashboard.
Image: Upload an image to be displayed on the e-commerce dashboard of the layouts section.(Recommended dimensions: 630×452 pixels)
Image: Upload an image to be displayed on the left-side of the e-commerce dashboard in the layouts section.(Recommended dimensions: 173×135 pixels)
Image: Upload an image to be displayed on the right-side of the e-commerce dashboard in the layouts section.(Recommended dimensions: 210×188 pixels)
Project Dashboard Fields
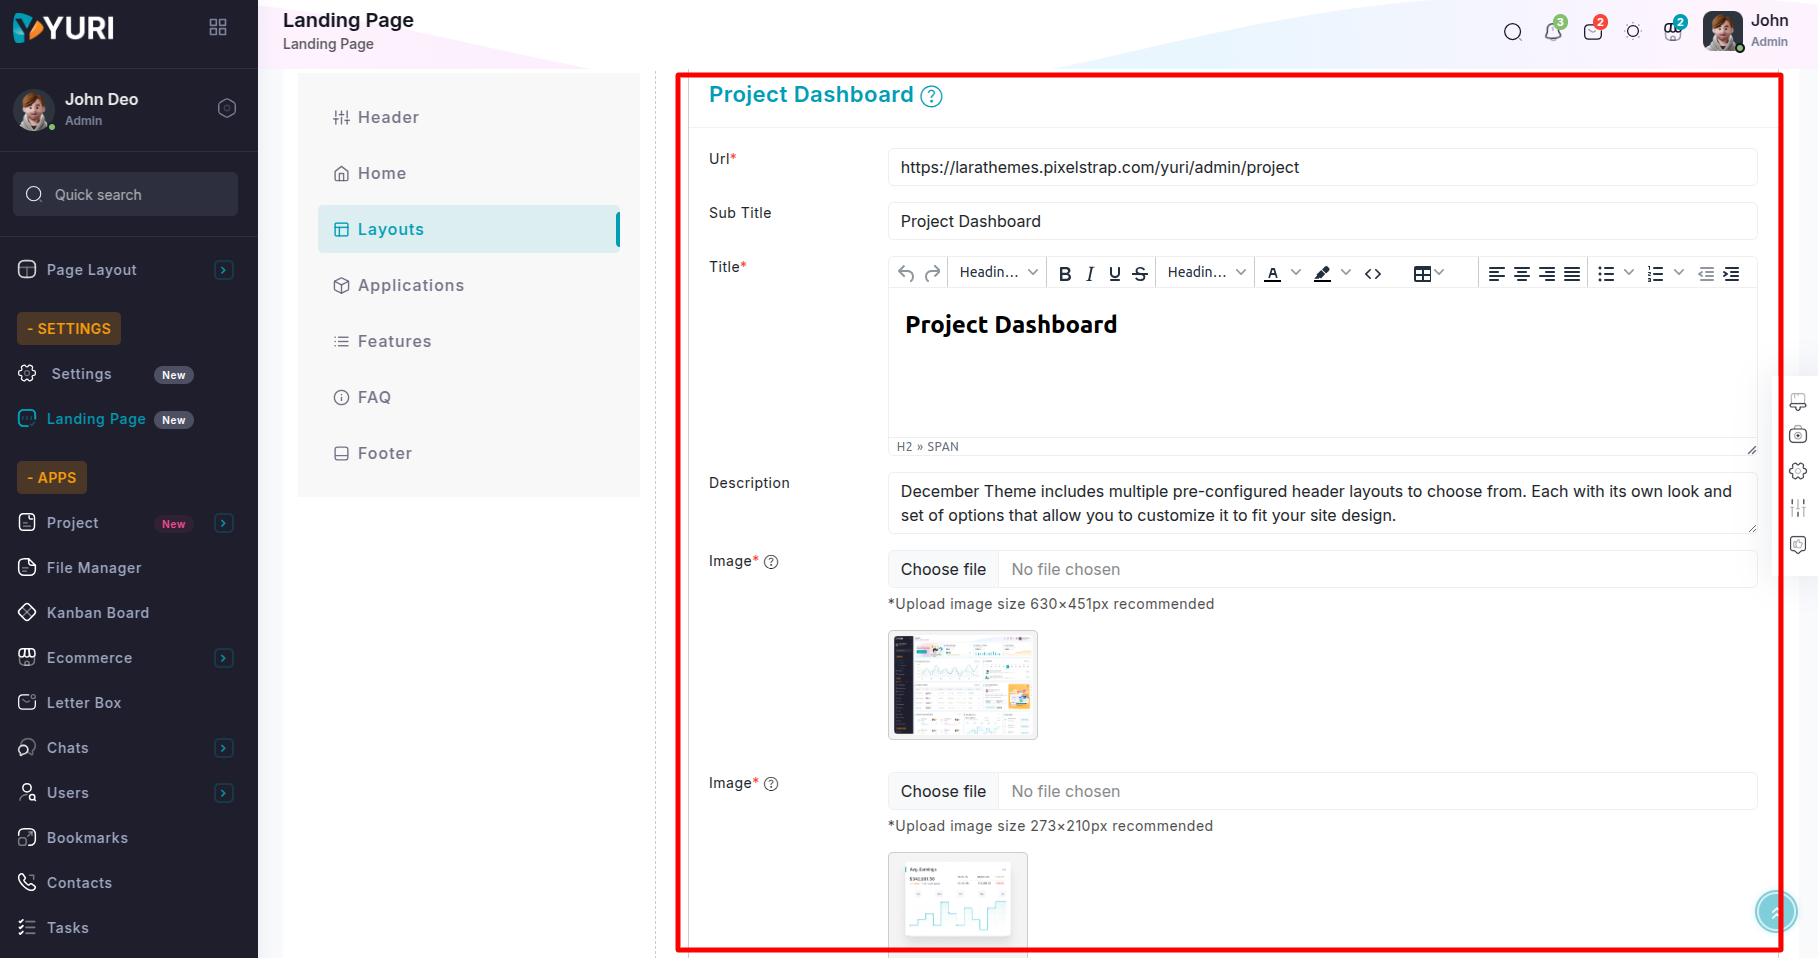
Title: Provide a descriptive title for the project dashboard.
Sub Title: Provide a descriptive sub title for the project dashboard.
Description: Include a short and descriptive text for the project dashboard.
Url: Enter the destination URL for the project dashboard.
Image: Upload an image to be displayed on the project dashboard of the layouts section.(Recommended dimensions: 630×451 pixels)
Image: Upload an image to be displayed on the left side top of the project dashboard in the layouts section.(Recommended dimensions: 273×210 pixels)
Image: Upload an image to be displayed on the left side bottom of the project dashboard in the layouts section.(Recommended dimensions: 205×124 pixels)
Image: Upload an image to be displayed on the right side bottom of the project dashboard in the layouts section.(Recommended dimensions: 1140×877 pixels)
Image: Upload an image to be displayed on the right side top of the project dashboard in the layouts section.(Recommended dimensions: 577×678 pixels)
Image: Upload an locate image to be displayed on the project dashboard of the layouts section.(Recommended dimensions: 92×104 pixels)

Frameworks Section
Navigate to the Landing Page option in the sidebar , select the Layouts Tab, and then choose the Frameworks sub-tab.
Title: Provide a descriptive title for the frameworks section.
Sub Title: Provide a descriptive sub title for the frameworks section.
Add Framework Banner Button: This button is used to add new banners to the frameworks section, each with customizable details.
Fields for Each Banner:
Title: Provide a descriptive title for the framework banner.
Image: Upload an image to be displayed on the framework banner in the framework section. (Recommended dimensions: 68×68 pixels)
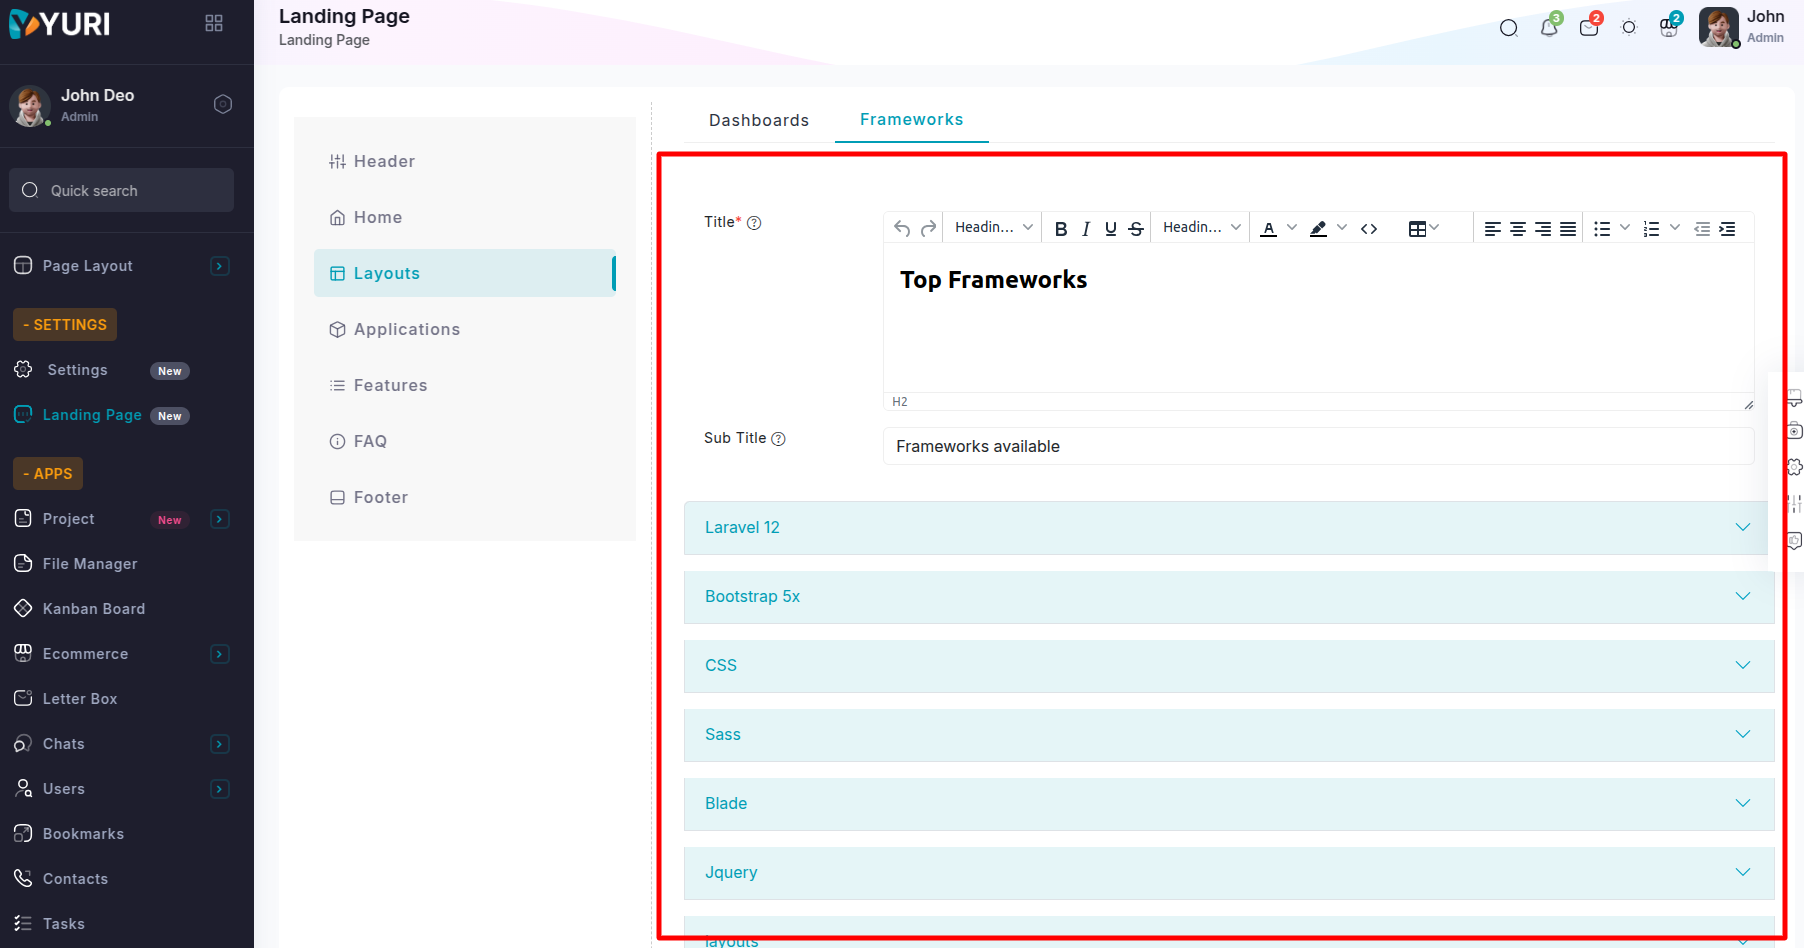

The Framework banners are displayed as shown. You also have the option to remove the banners.
