 AWS Integration
Overview
Connect your AWS account to enable scalable cloud services and infrastructure management directly from the platform. This integration allows workflows and AI services to securely utilize AWS resources such as storage, server hosting, notifications, and real-time processing.
For example, when users interact with an AI call or appointment booking flow, the system can automatically store recordings in Amazon S3, trigger backend functions using AWS Lambda, send notifications through Amazon SNS, and manage application services with reliable cloud infrastructure.
AWS Configuration
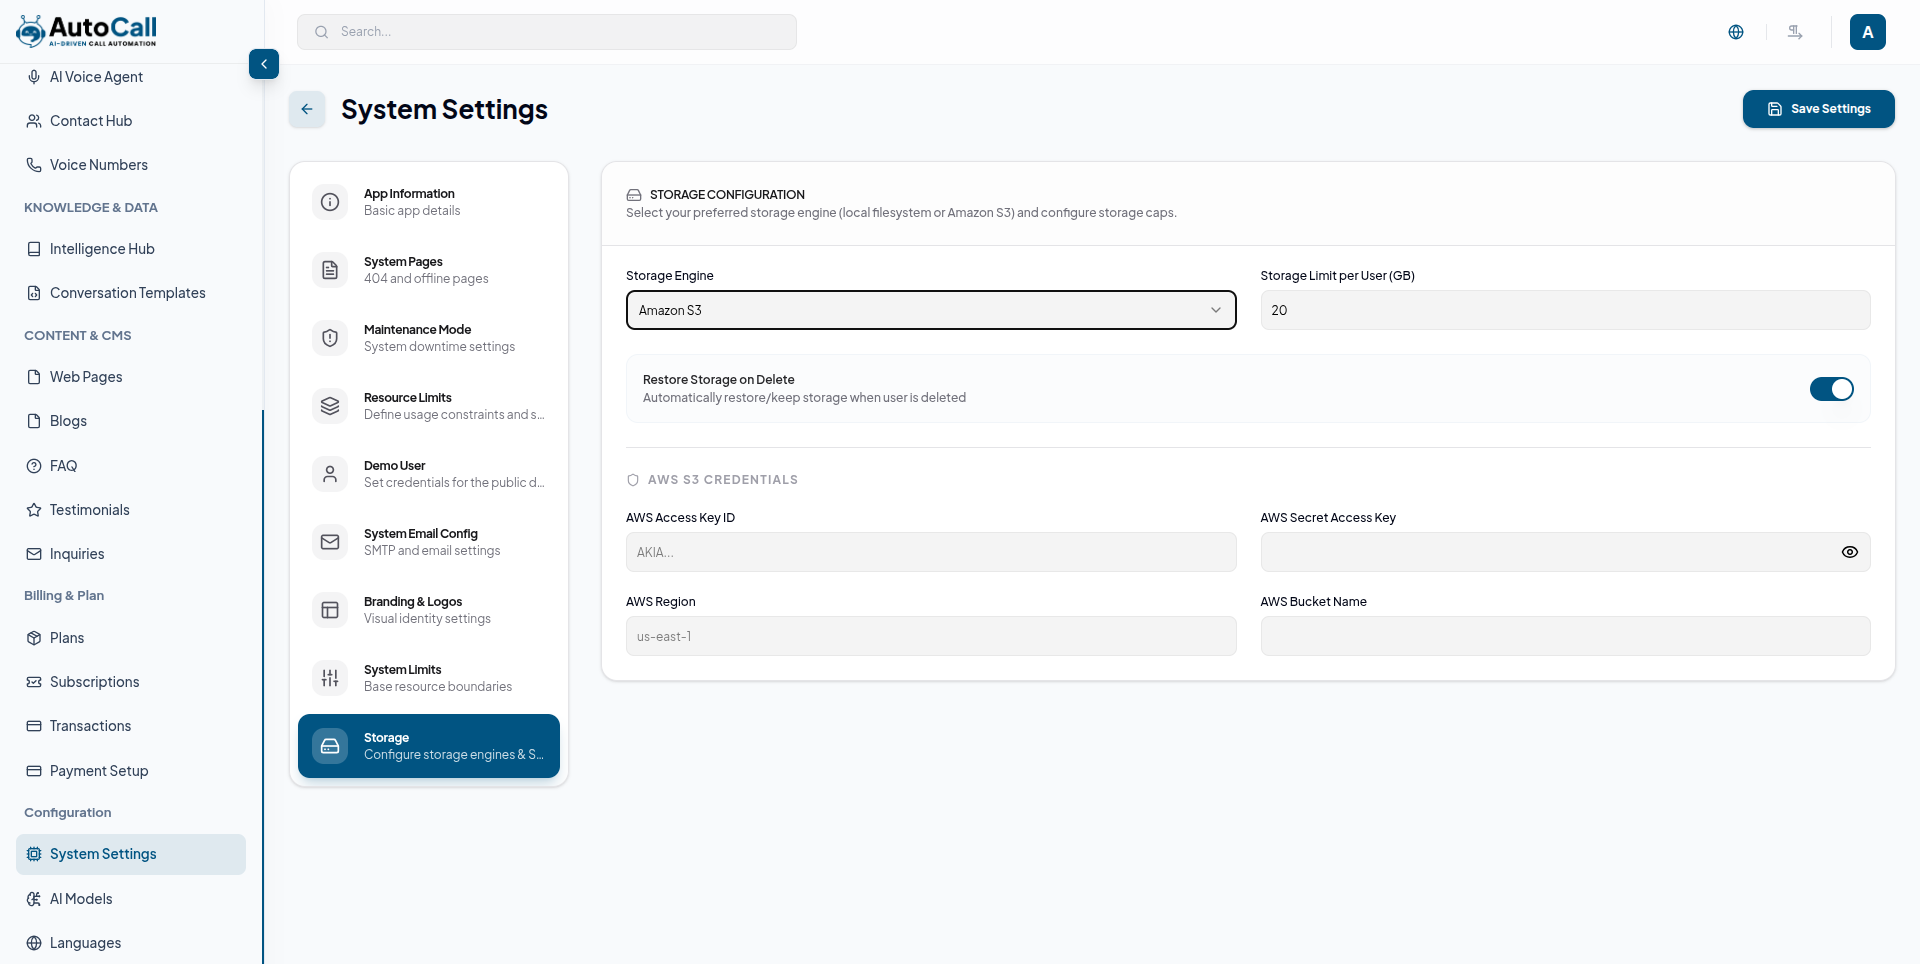
Configure your AWS S3 credentials for scalable media storage.
Purpose: After enable AWS, your data will be stored in AWS S3 bucket.
| Credential Field | Functional Description |
|---|---|
| AWS Access Key ID | Your unique identification key for AWS S3 access. Found in IAM Security Credentials. |
| AWS Secret Access Key | The primary authentication key. (Visible only once during creation). |
| AWS Region | The physical location of your bucket server (e.g., `us-east-1` or `ap-south-1`). |
| AWS S3 Bucket | The unique name of the bucket you created for storing application files. |
AWS S3 Setup Guide
1. Create an S3 Bucket Go to AWS Dashboard → Search Amazon S3 → Create bucket.
Bucket Type: Select General purpose.
Bucket name: Enter a unique name (e.g.,
autocall-storage-bucket).
AWS Region: Select your preferred server location (e.g.,
ap-south-1).
Object Ownership: Select ACLs enabled and Bucket owner preferred.
Block Public Access: Uncheck Block all public access to allow external file retrieval.
Encryption: Keep default SSE-S3 and Enable Bucket Key for optimized cost.
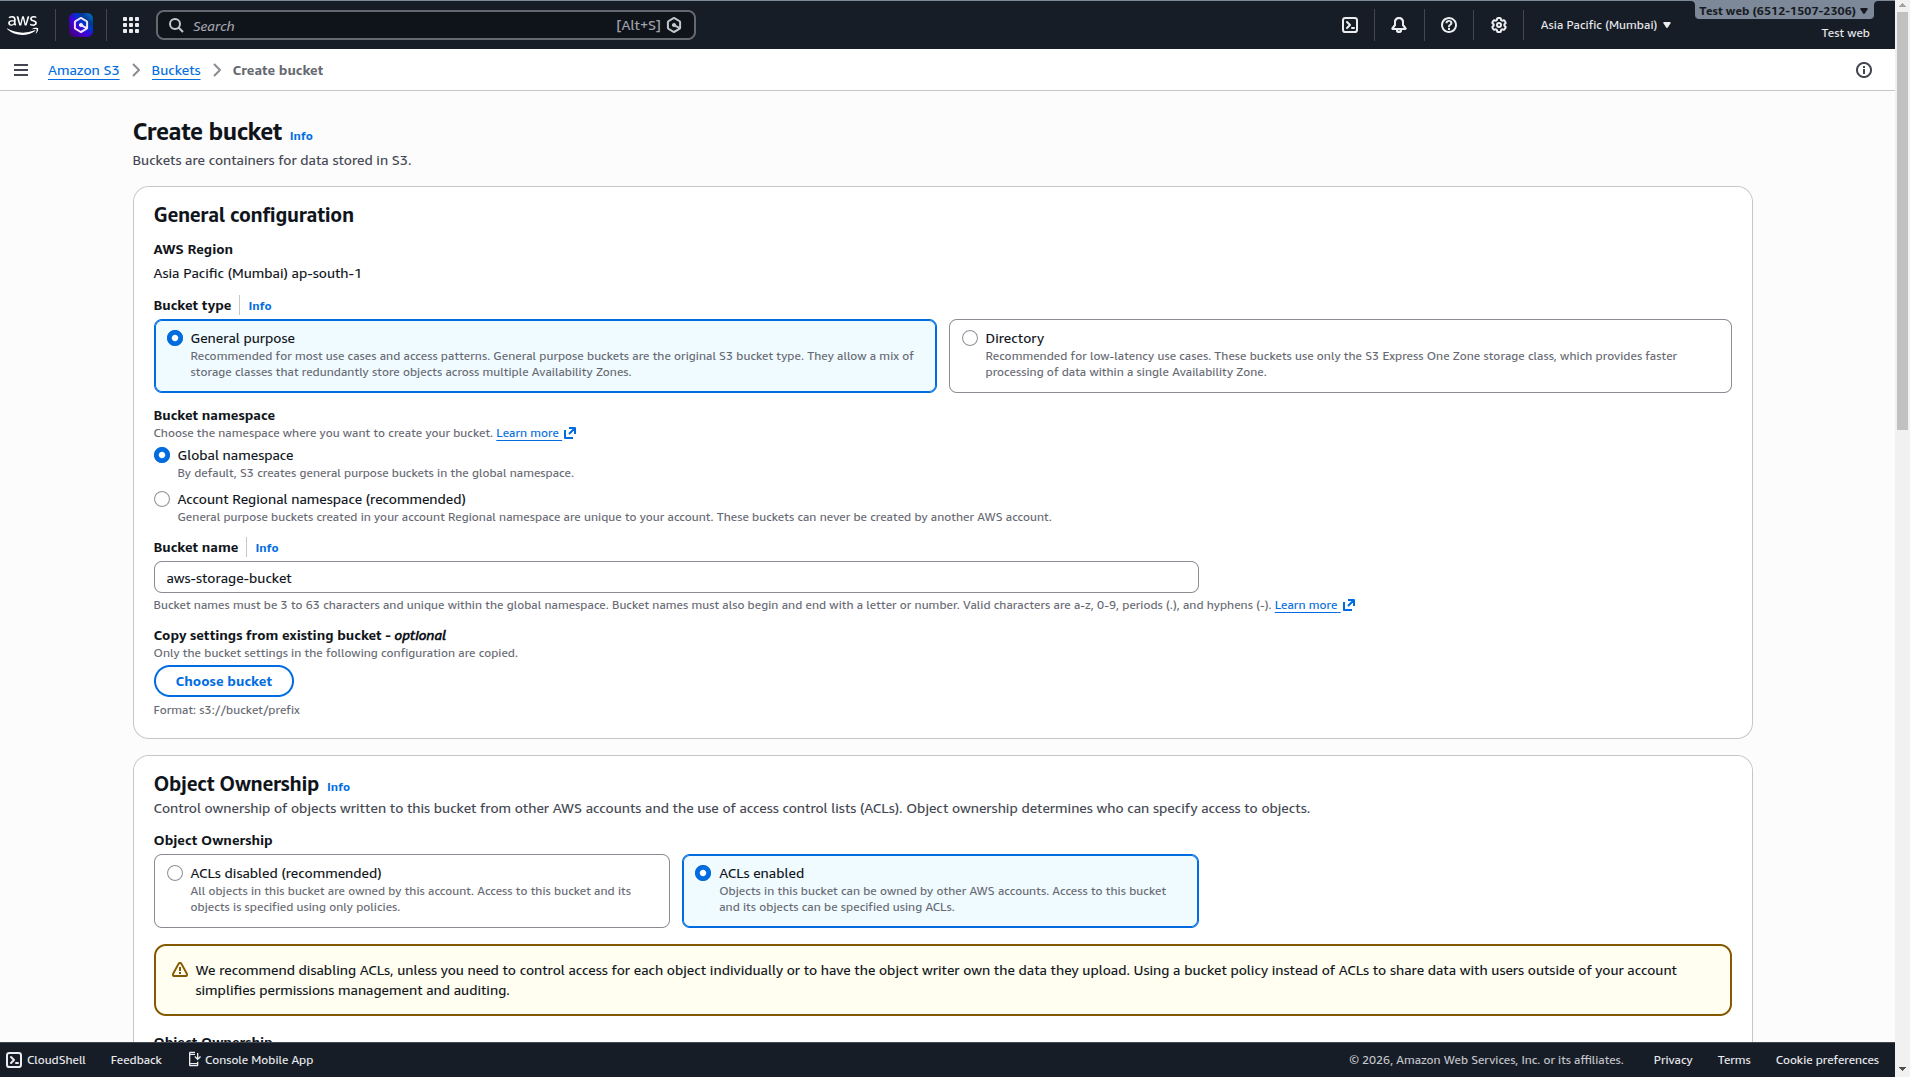
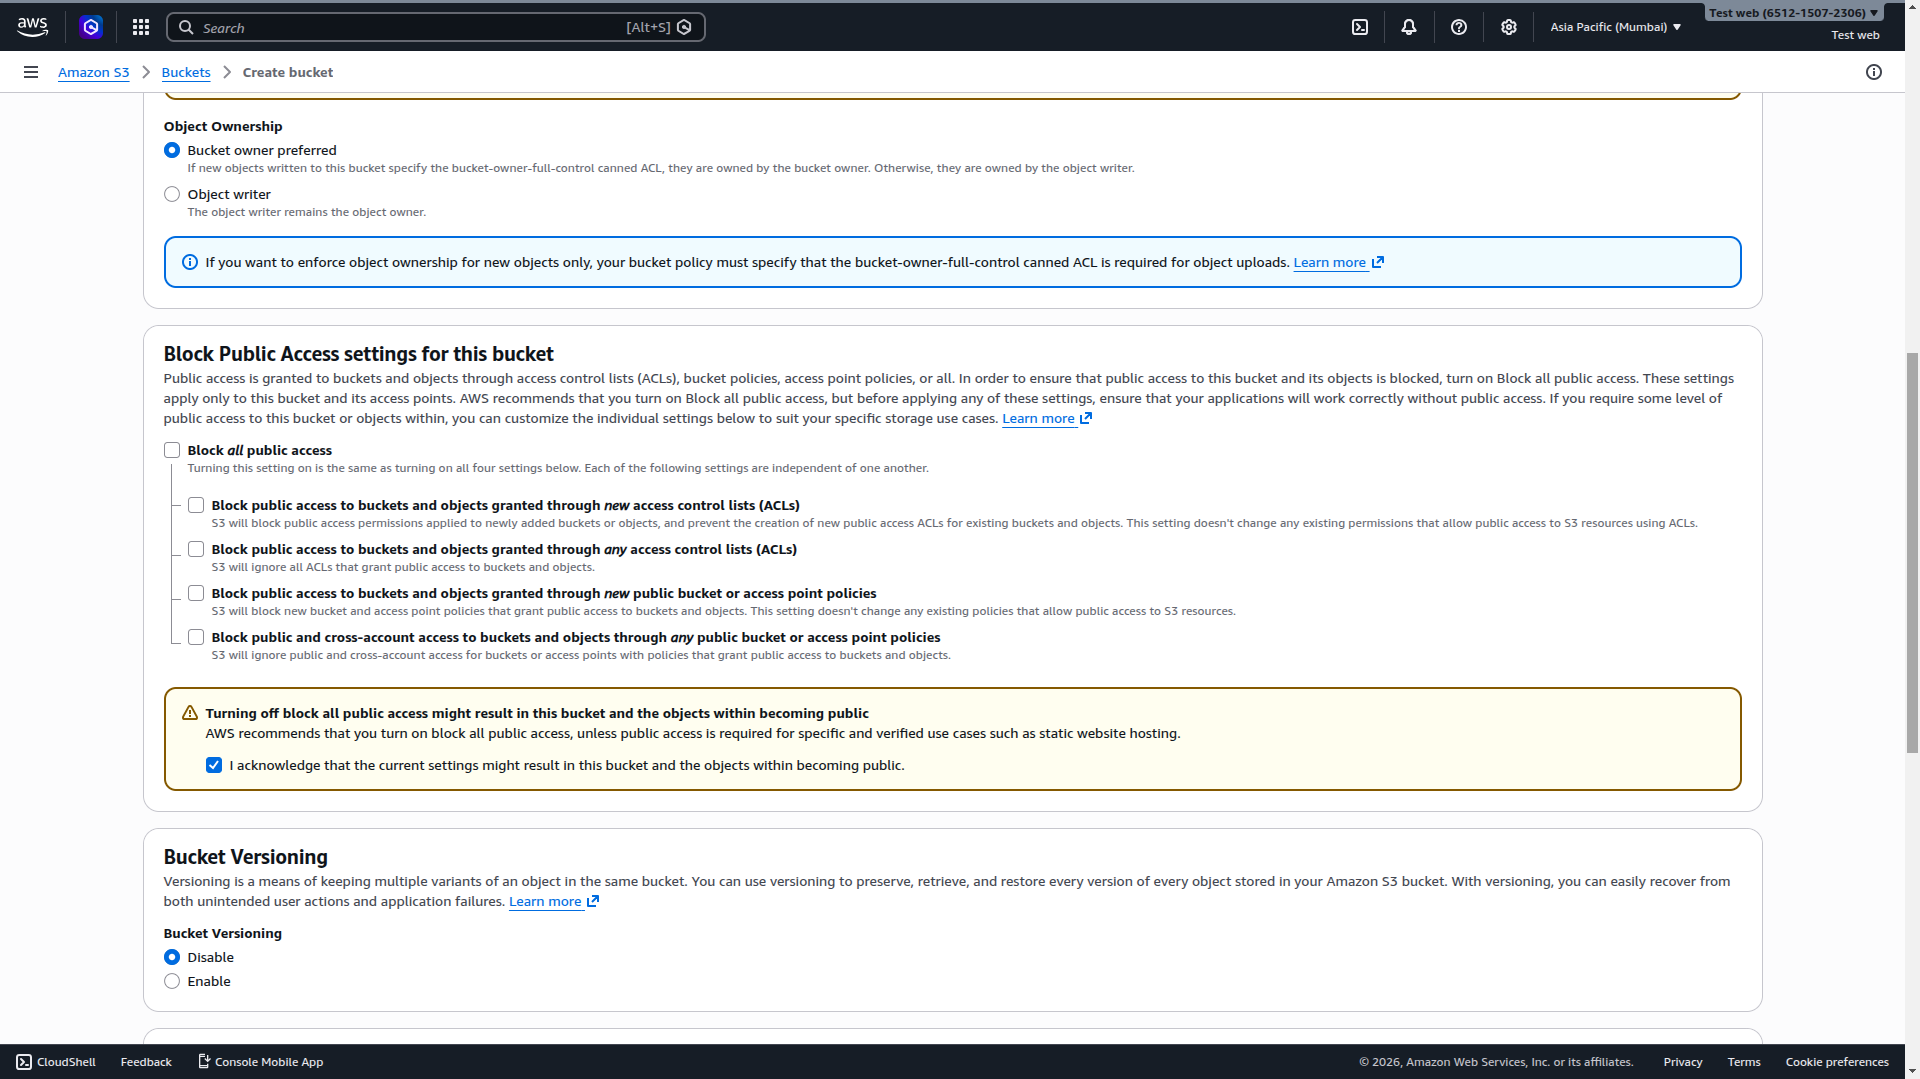
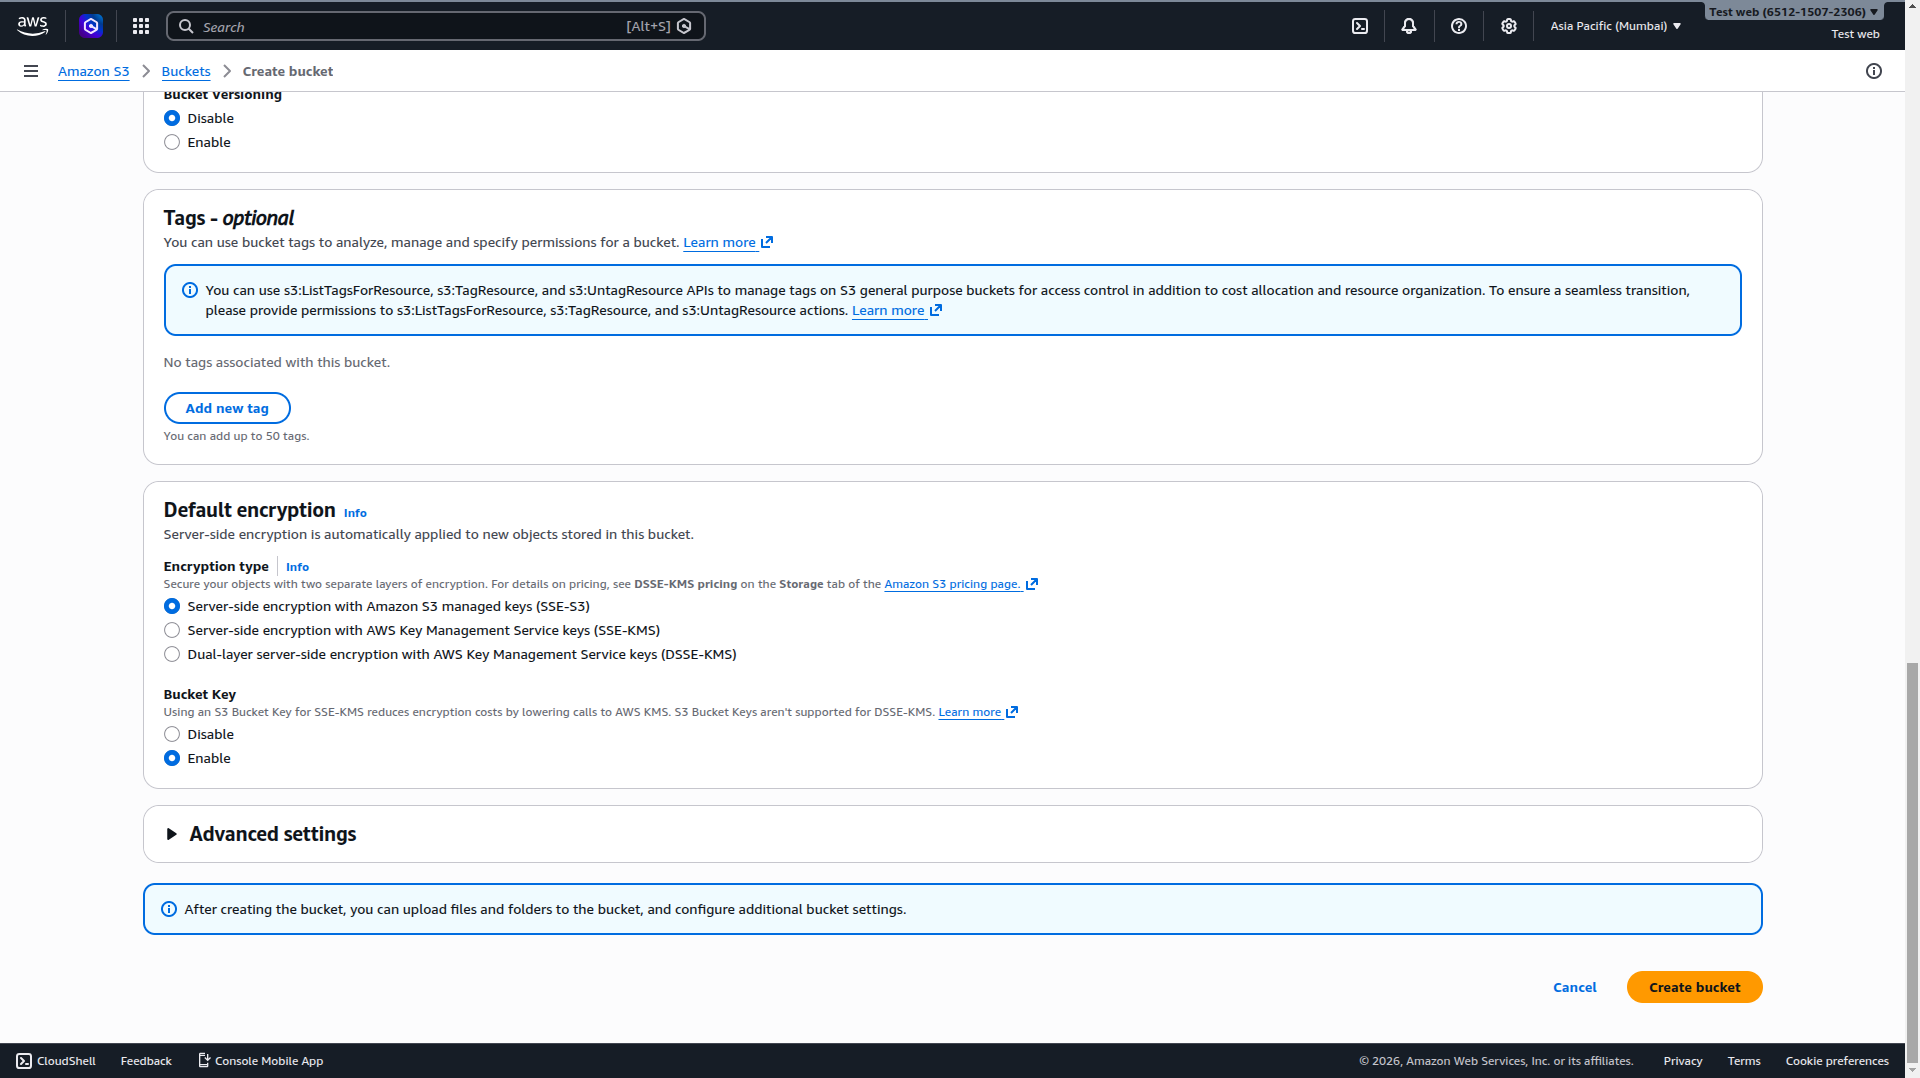
As per the given image, fill the details and click on Create bucket.
You will get the bucket name and bucket region. Copy them and save them somewhere safe.

2. Create IAM User & Access Keys
Search IAM in the AWS Management Console search bar and navigate to Users → Create user.
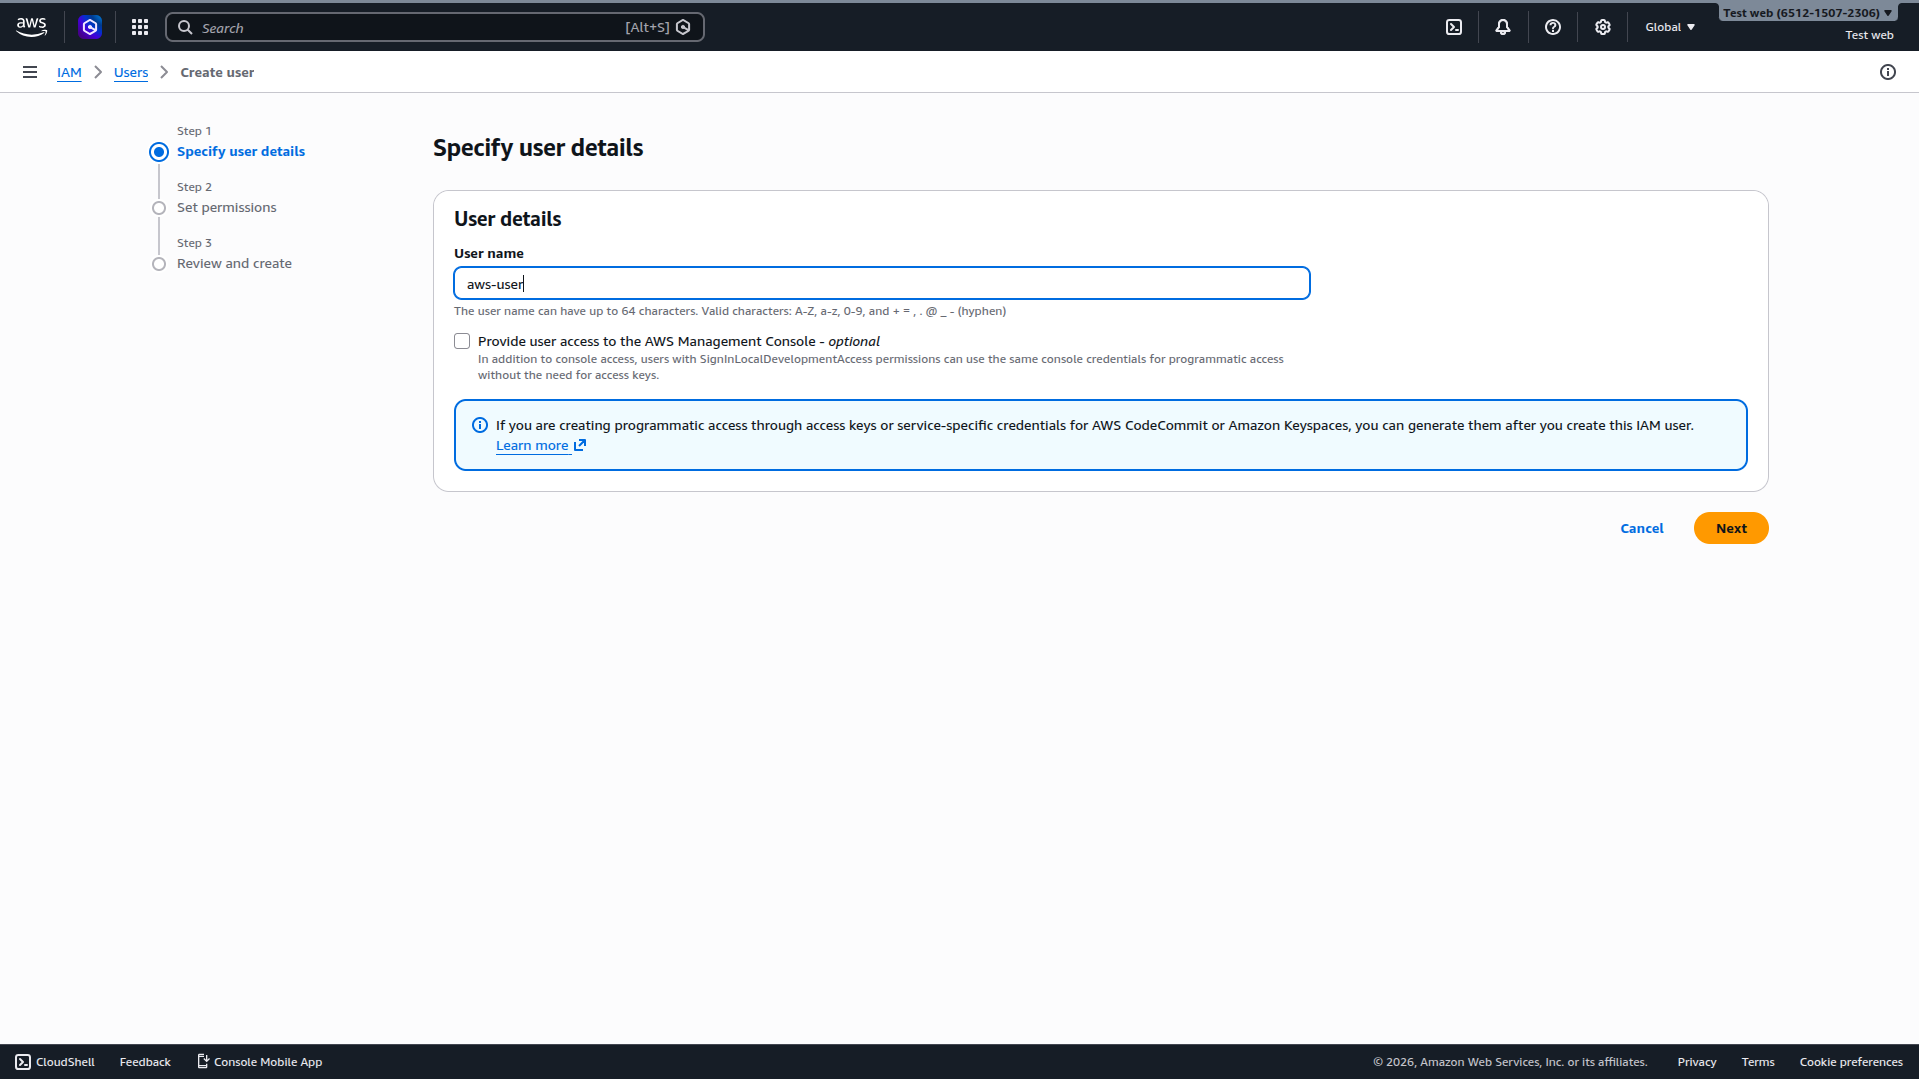
Step A: Specify User Details
Enter a descriptive name (e.g.,
autocall-s3-user).
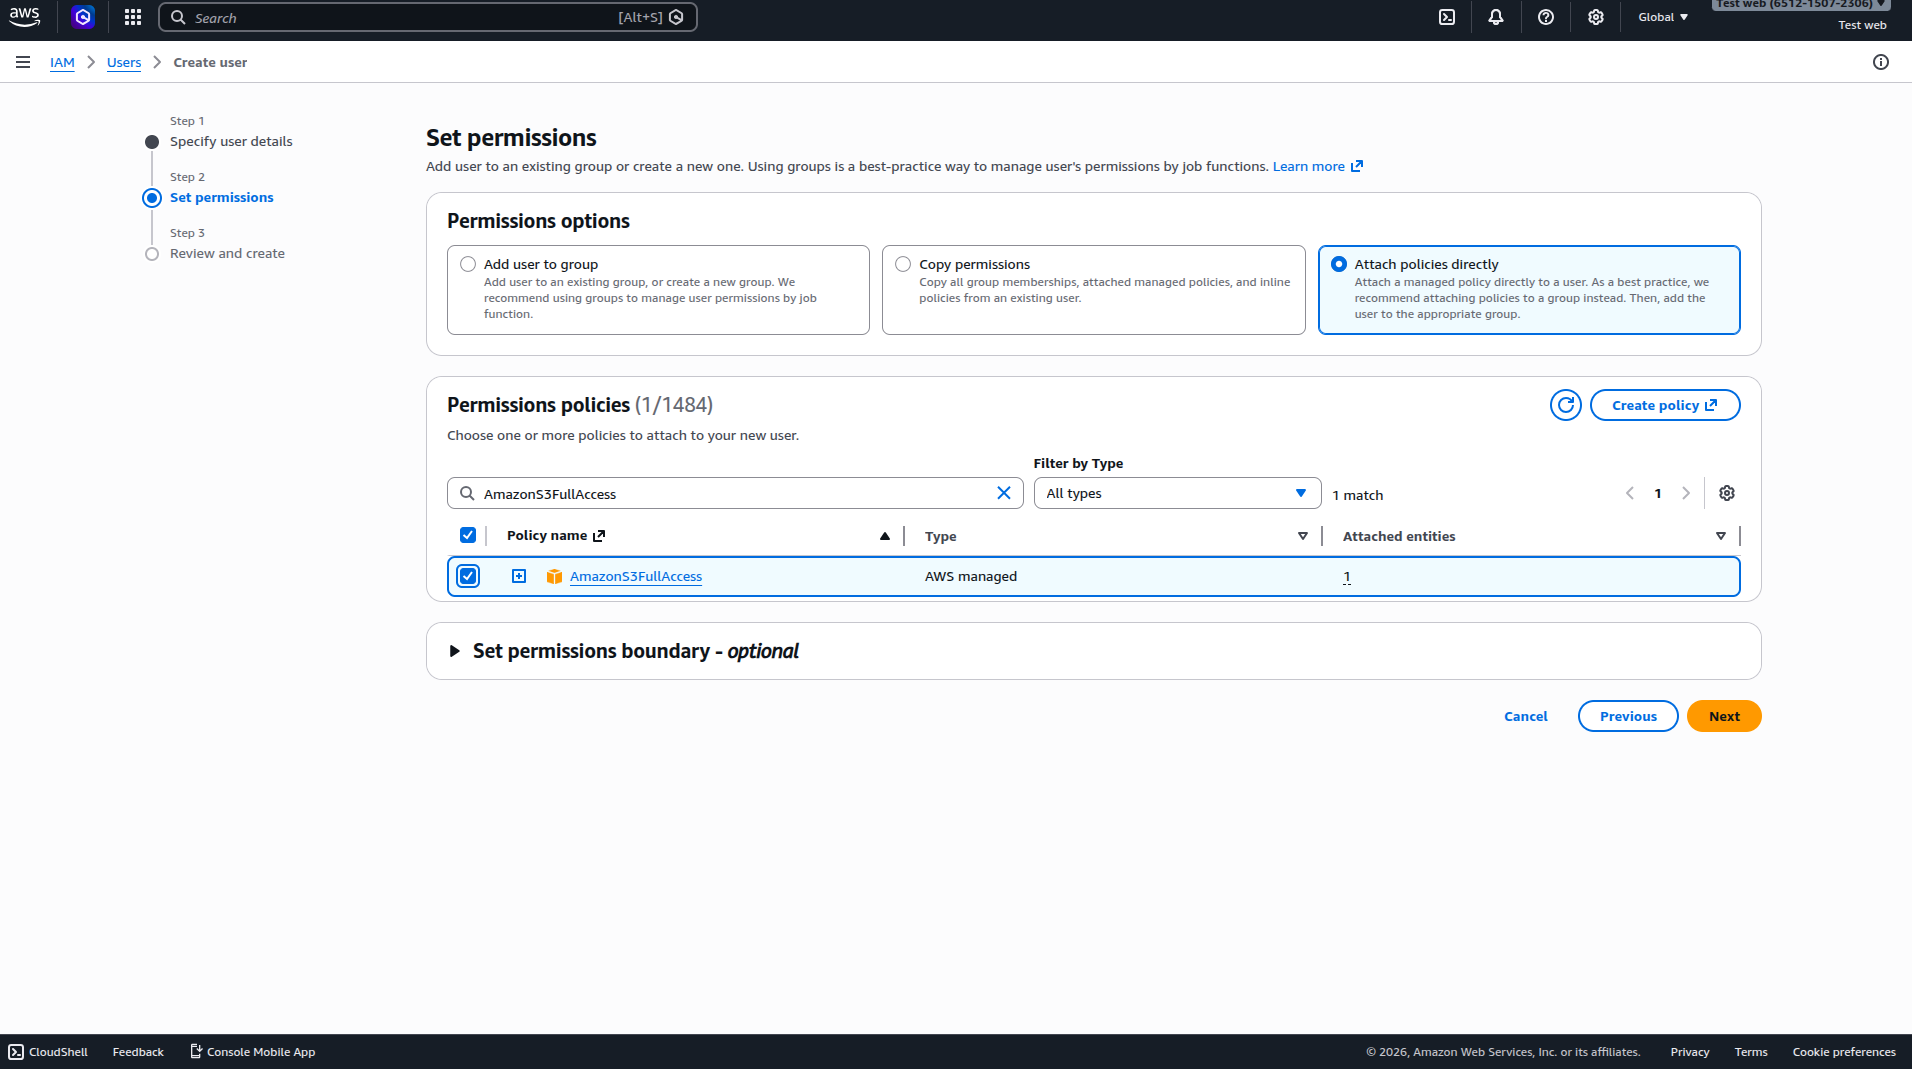
Step B: Set Permissions
Select Attach policies directly.
Search for AmazonS3FullAccessand ensure it is checked.
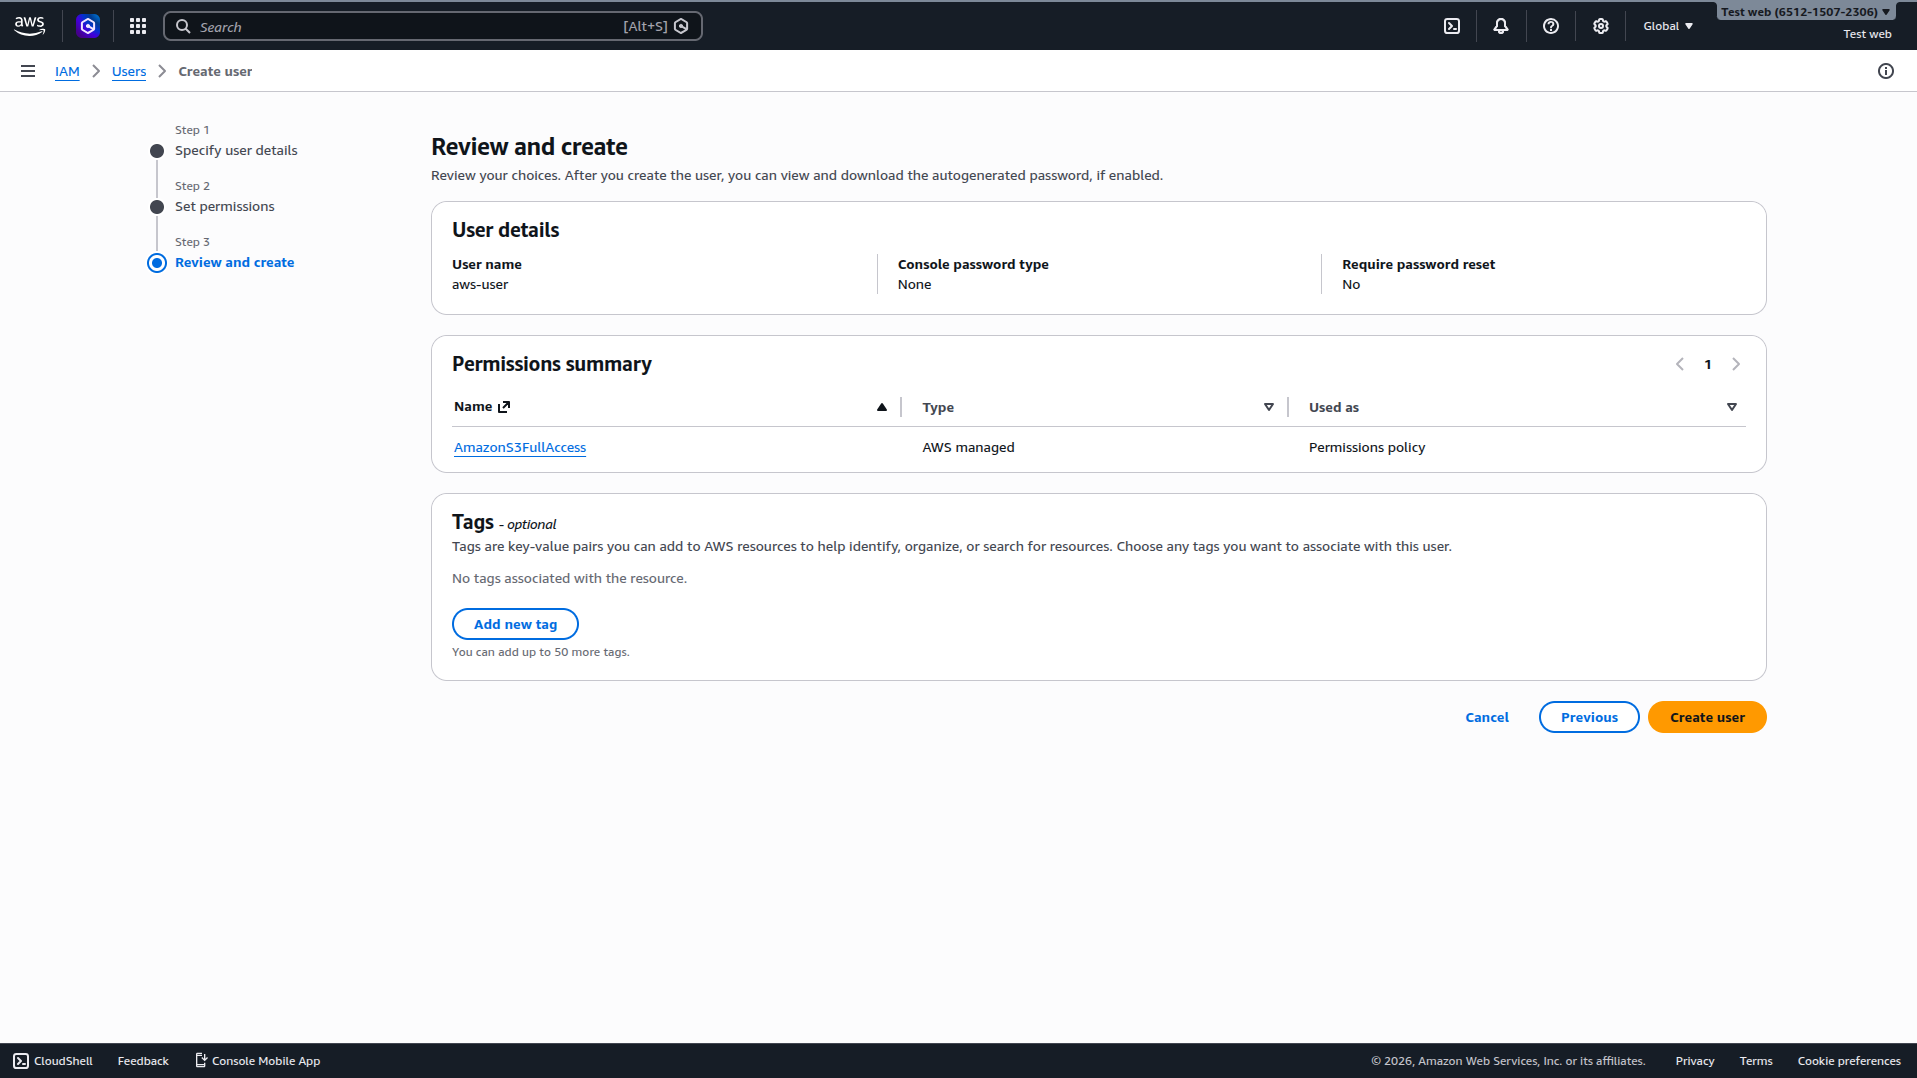
Step C: Review & Create
Verify the details and click Create user.
Step D: Generate Access Keys
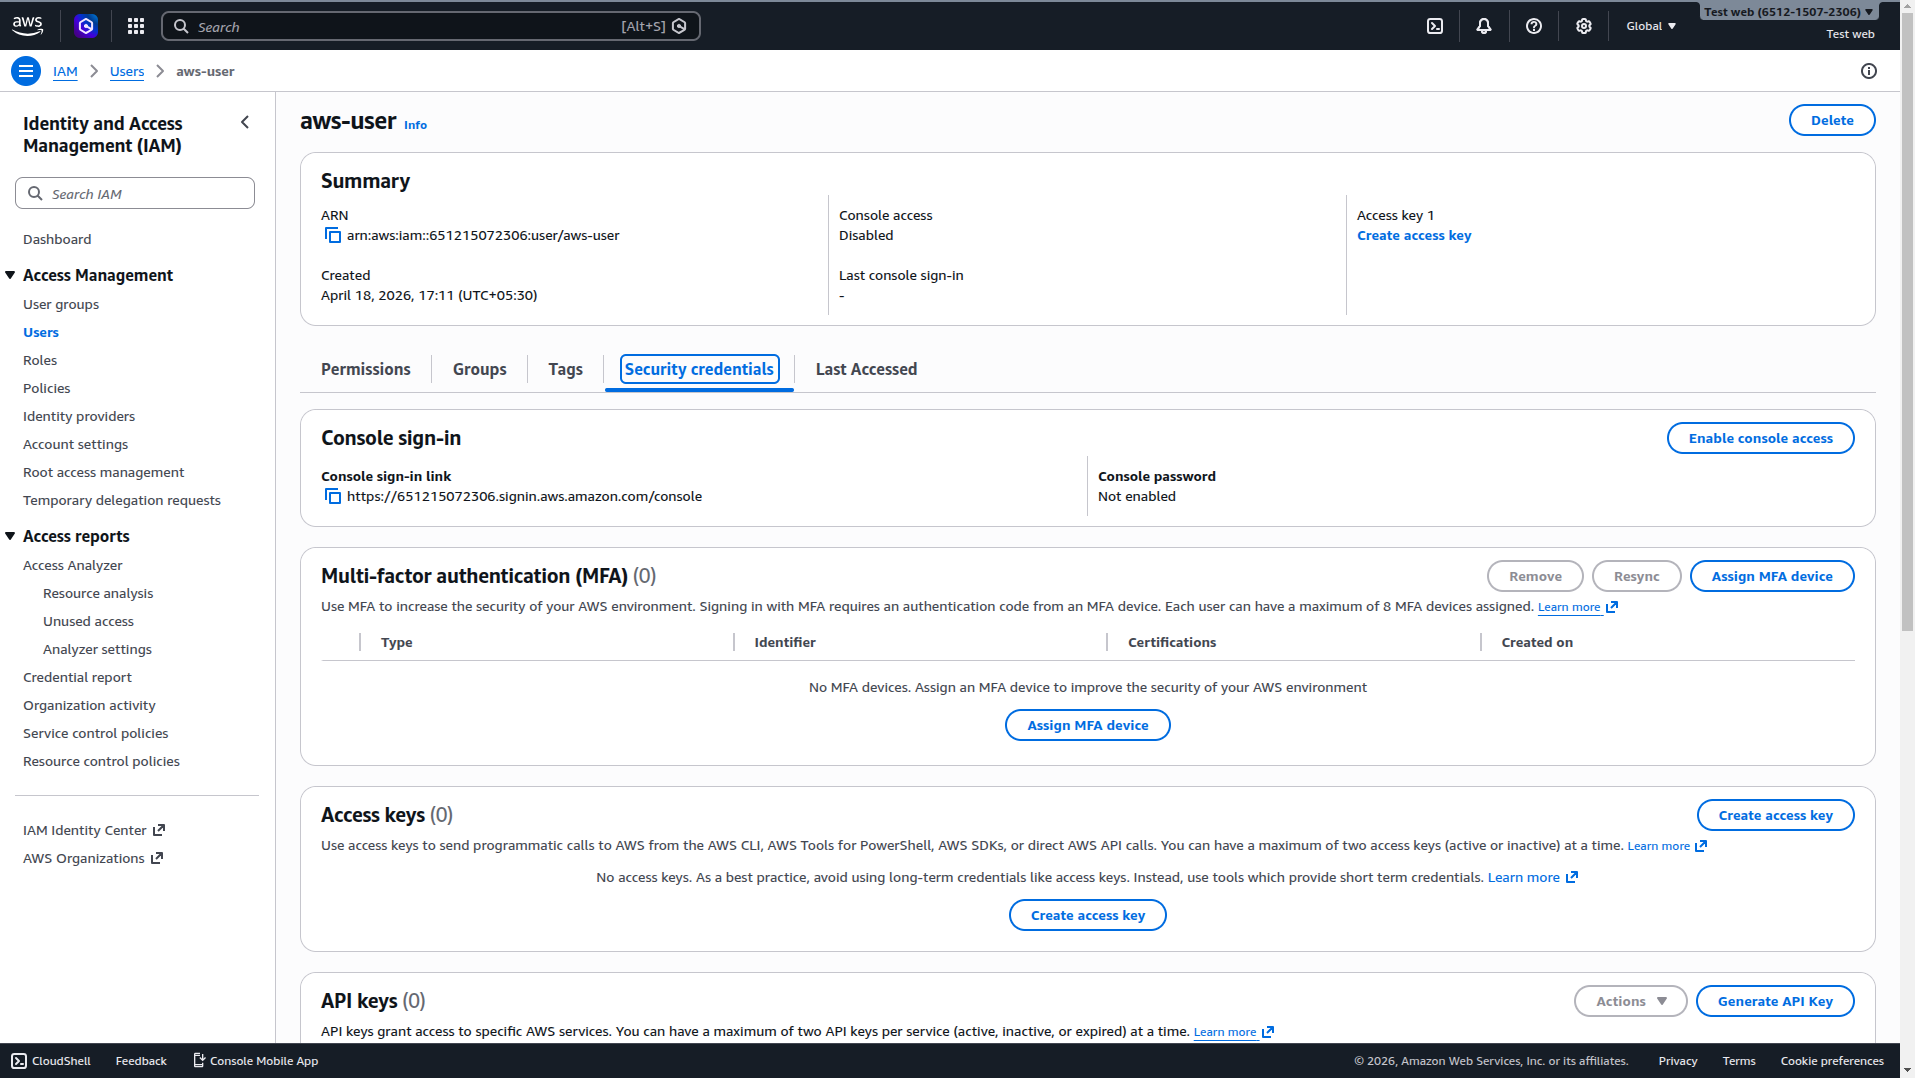
Navigate to the newly created user and click on the Security credentials tab.
Scroll down to the Access keys section and click Create access key.
Select Application running outside AWS from the best practices list and click Next.

(Optional) Set a description tag and click Create access key.
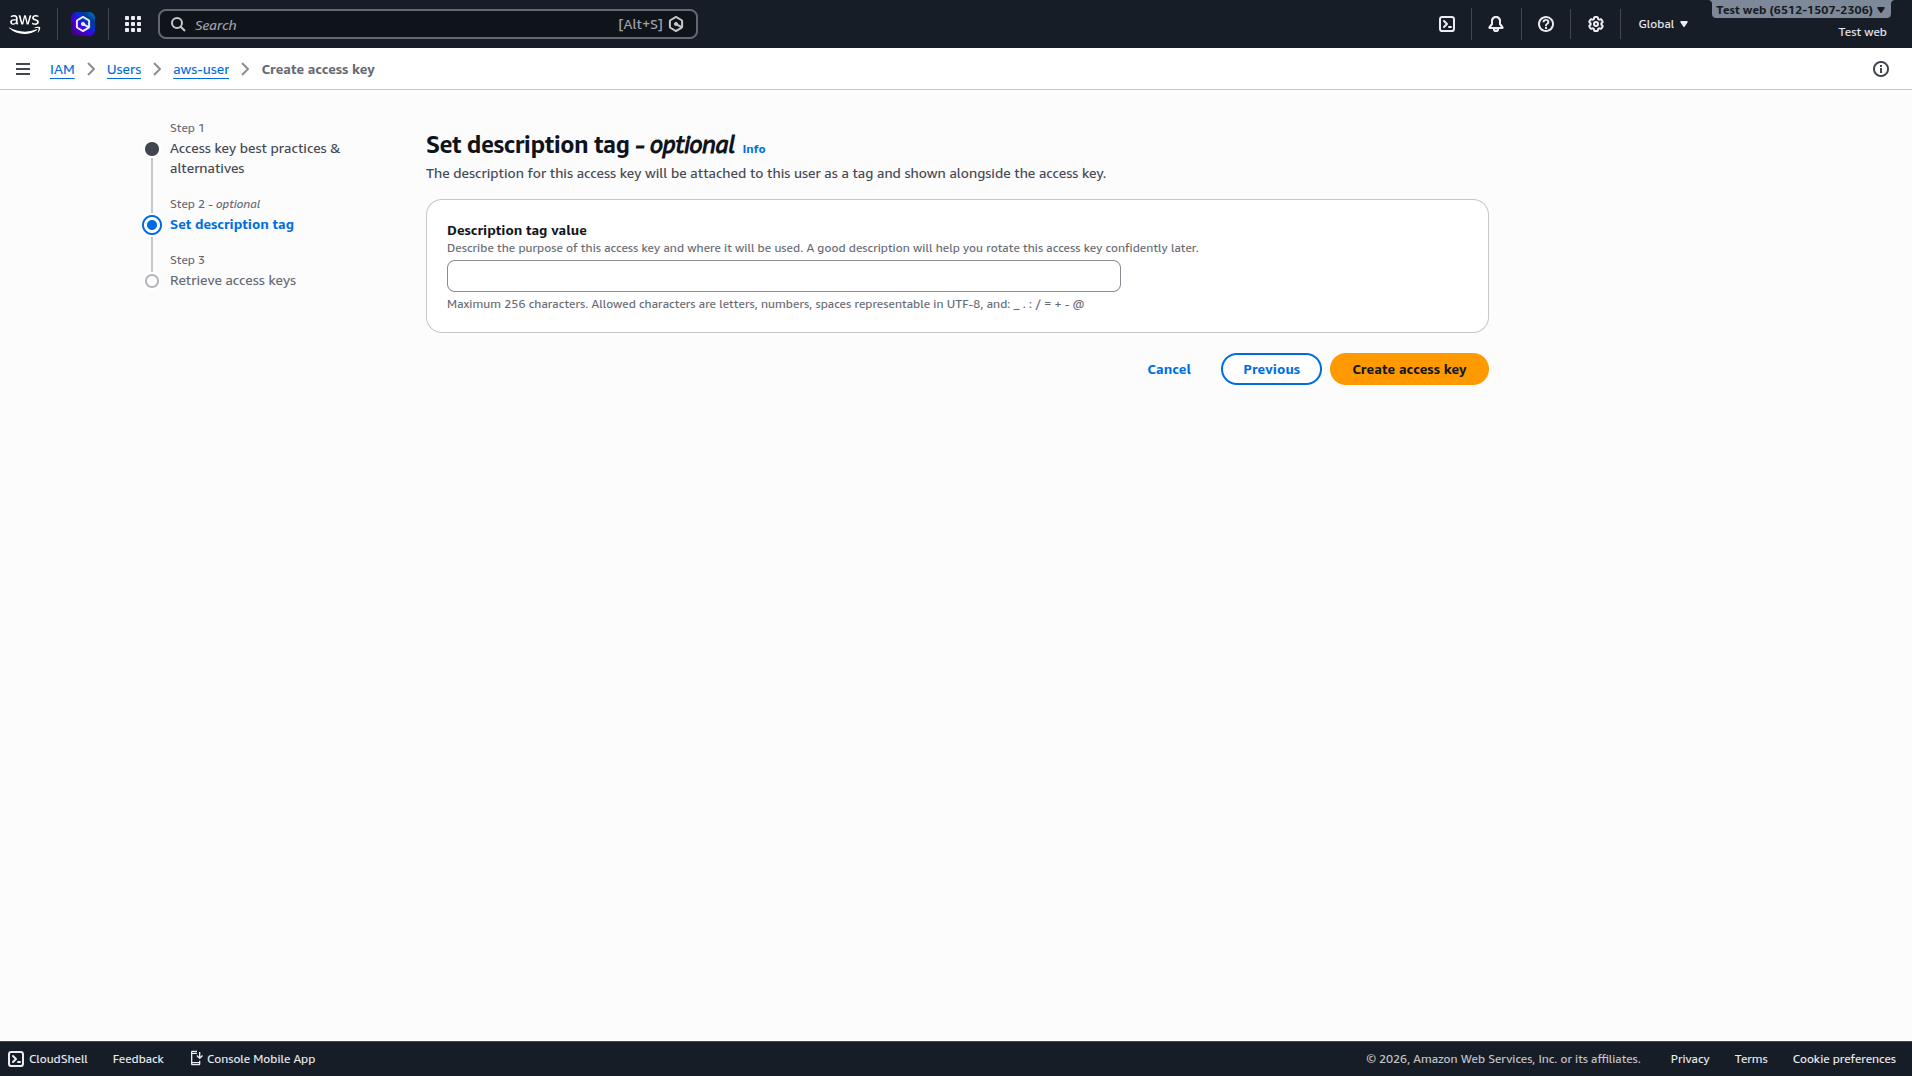
Critical: Copy your Access Key ID and Secret Access Key immediately and save them securely.

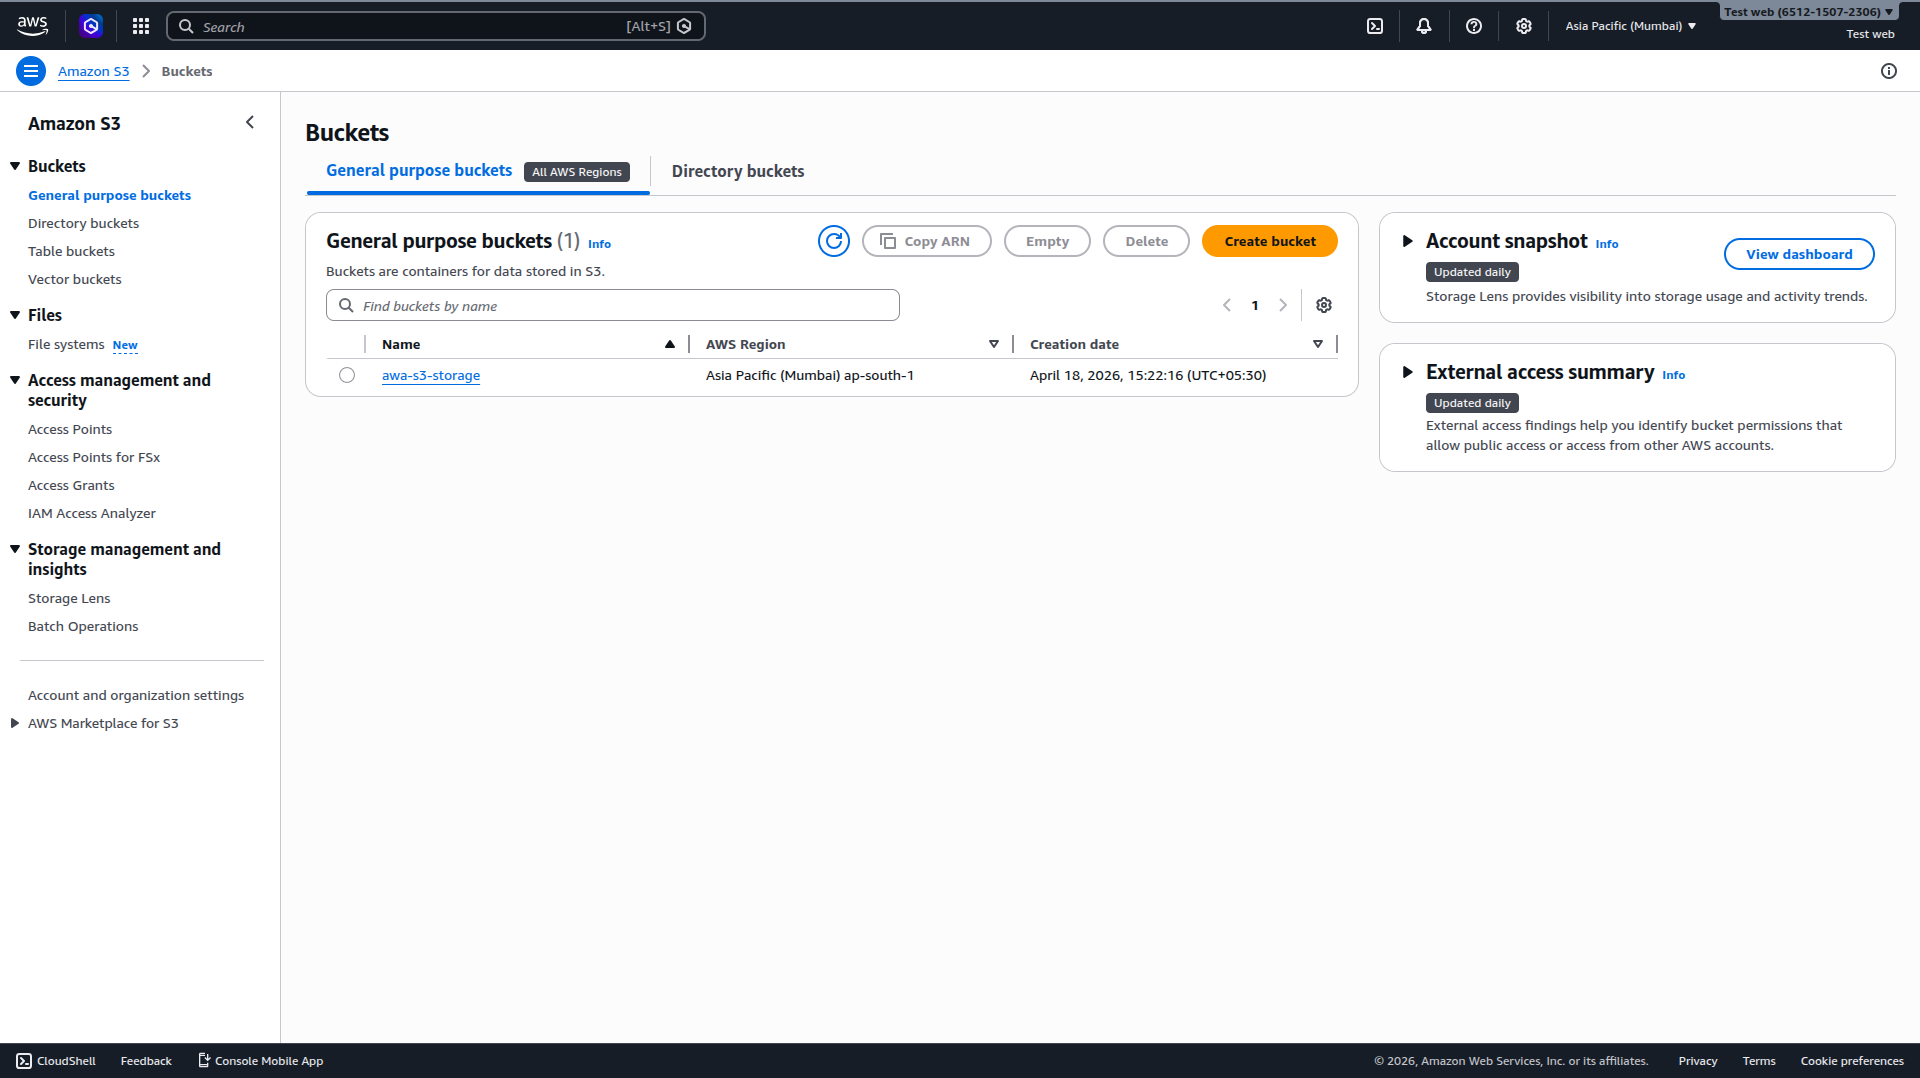
3. Storage Monitoring
You can track your storage usage and manage your uploaded files by navigating to the Buckets section in the Amazon S3 console.

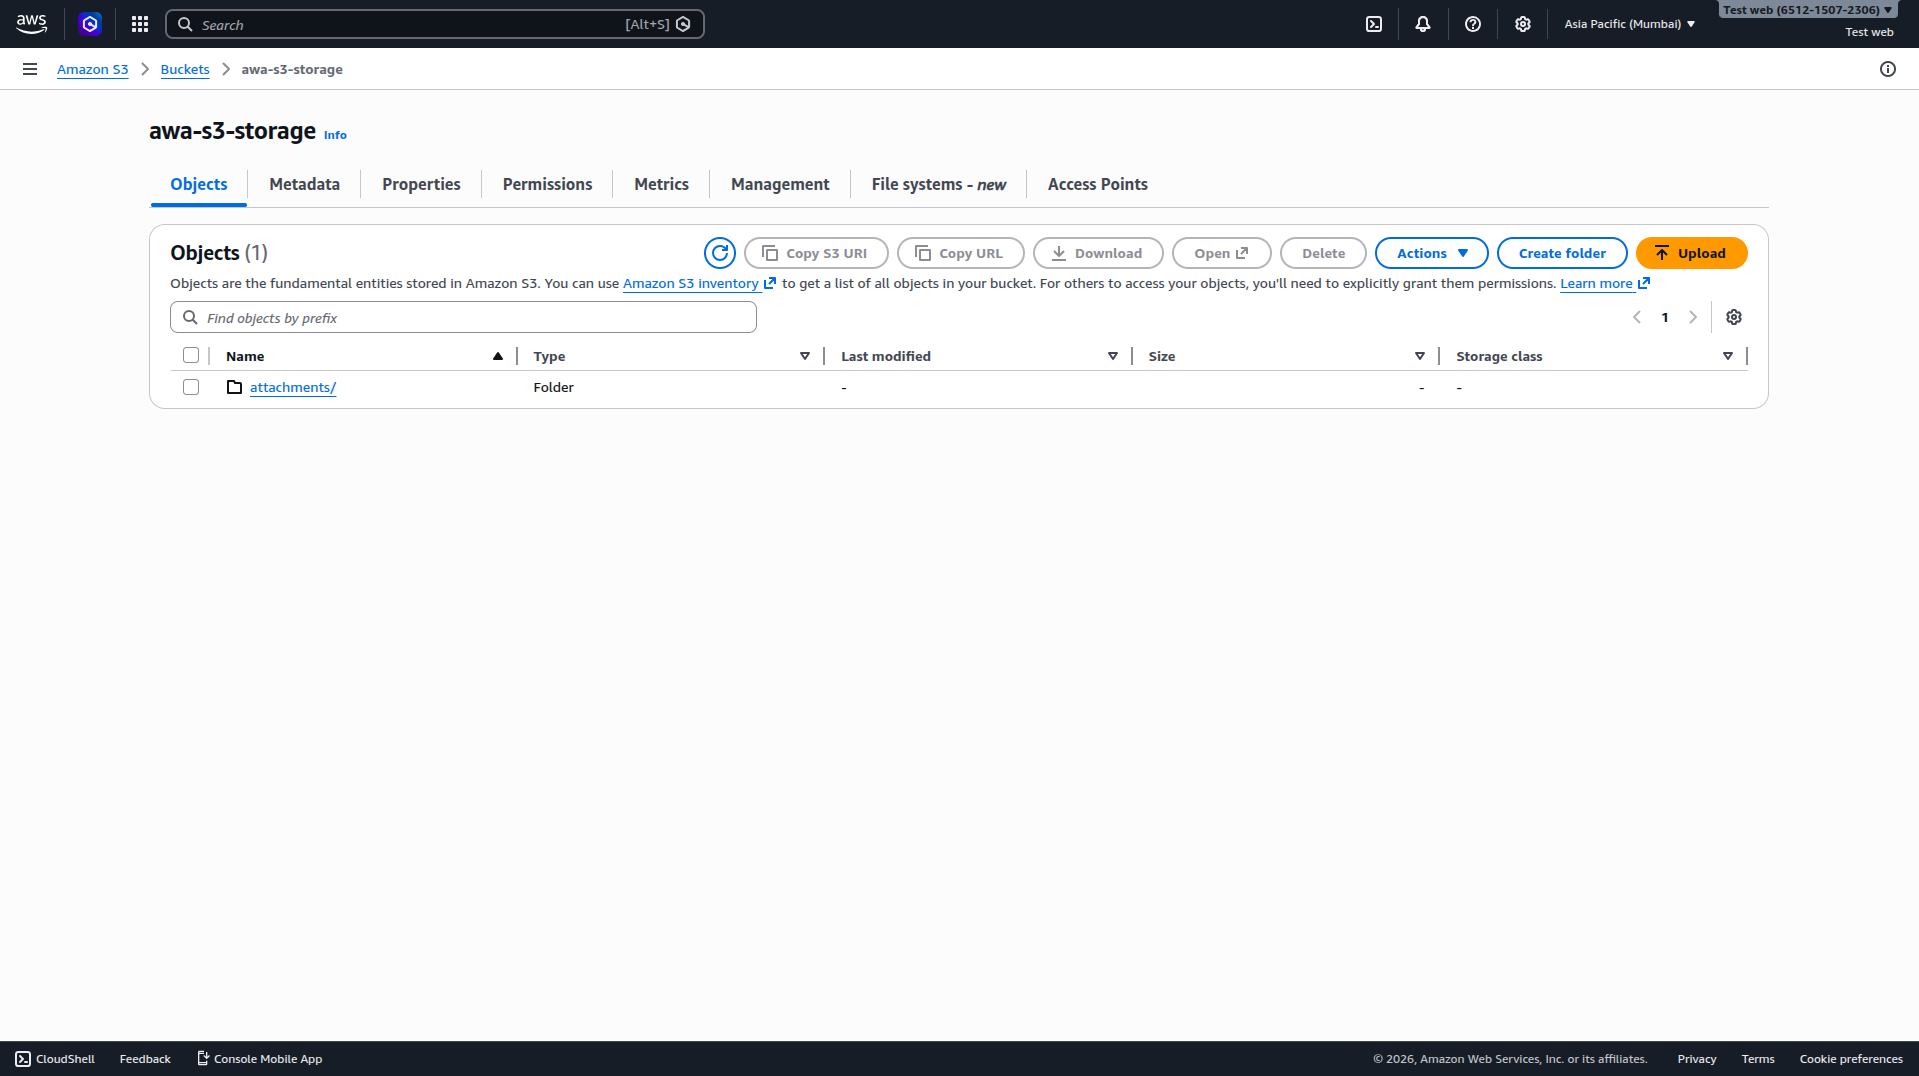
click on bucket name to monitor your storage
What's Next?
Let's get started — your journey with AutoCall begins here!