 WorkFlow Builder
Management
WorkFlow Builder
Management
Overview
The Workflow Builder in AutoCall is a visual drag-and-drop automation system that allows users to design intelligent AI voice call flows without writing code. It helps businesses create dynamic conversational workflows for automated customer interactions, response handling, data collection, call routing, and campaign automation.
The Workflow Builder enables users to connect multiple workflow nodes together to define how AI voice agents should interact during live calls.
Dashboard
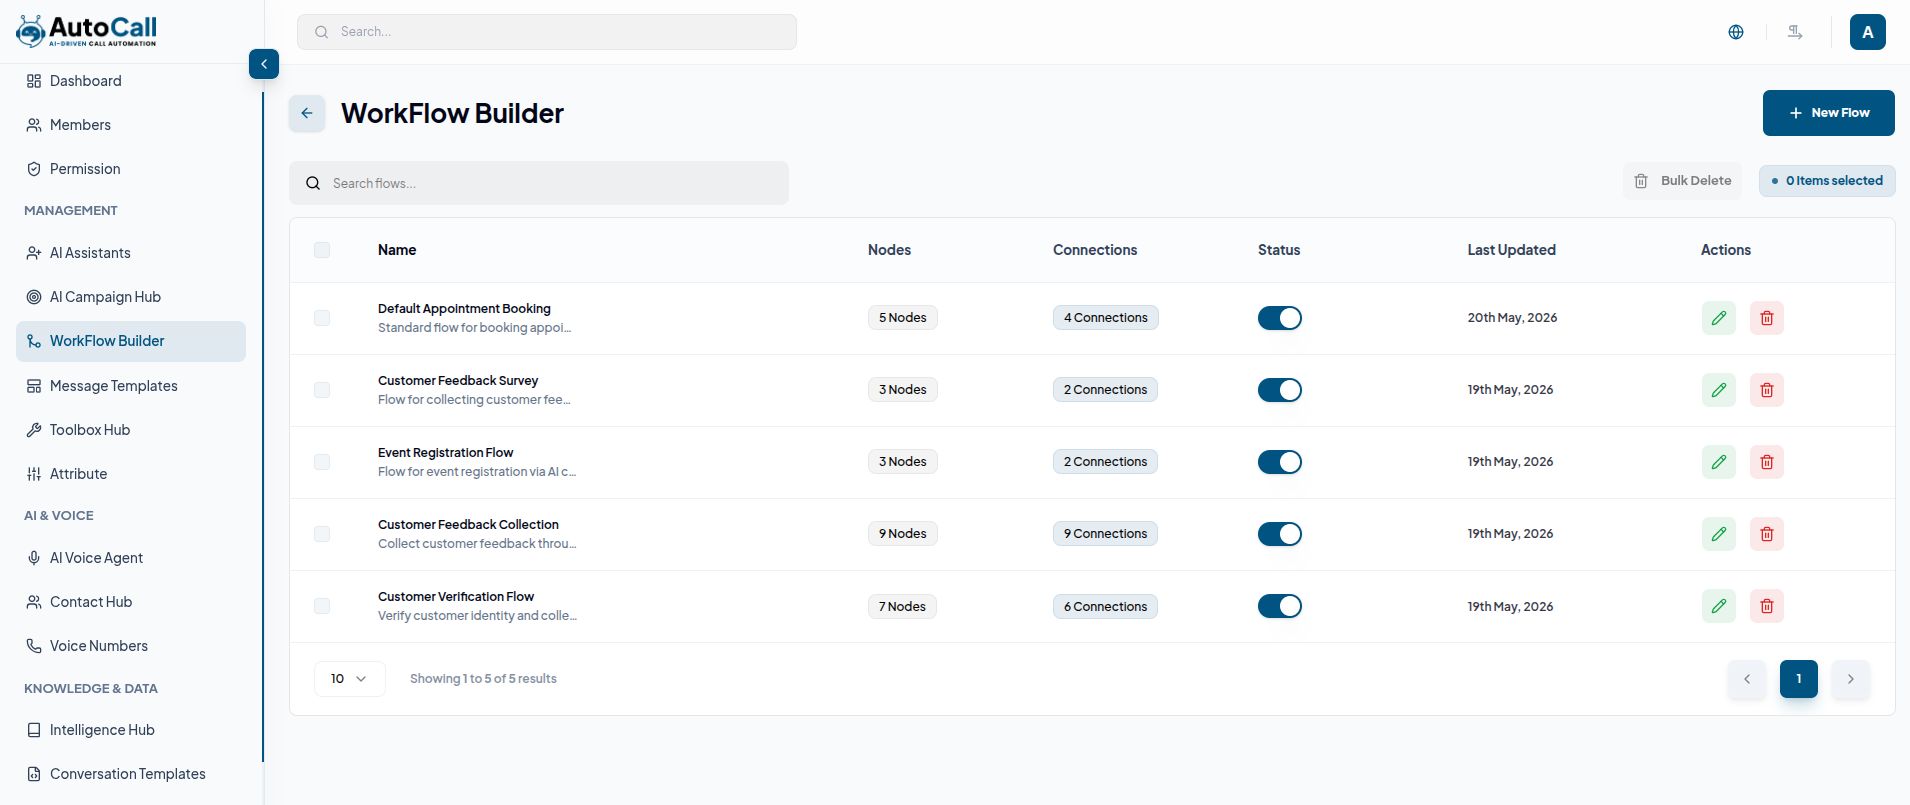
The Workflow Builder dashboard displays all created AI call workflows in a modern management layout. Each workflow item shows the workflow name, description preview, total nodes, total connections, last updated date, active status toggle, and quick action options.
The dashboard also includes:
- Search functionality for quick workflow lookup
- Active/Inactive workflow status management
- Bulk selection and bulk delete support
- Quick actions on each workflow: edit, delete
- Real-time workflow node and connection tracking
- Visual workflow management for AI call automation
Users can quickly manage workflows or create new automation flows using the New Flow button.
1. Add Flow
Click the New Flow button to open the workflow creation interface.
The form includes:
- Flow Name : Enter the workflow name
- Description : Add workflow details or conversation purpose
- Node Panel : Add automation nodes into the workflow
- Connection Lines : Connect nodes to define execution paths and conversation logic
- Workflow Canvas : Design and manage the complete call flow visually
The workflow builder provides multiple automation nodes for building dynamic AI conversations, including Message Output, WhatsApp Notice, Audio Playback, Decision Split, Variable Mapping, Wait Delay, Input Capture, Data Capture, Book Slot, API Request, Redirect Call, Team Alert and Terminate Call nodes for advanced call automation and workflow management.
After adding a node to the workflow canvas, users can Edit the node label, description, and configure all required settings from the properties panel. Each node also includes a Delete icon for quick node removal and easy workflow management.
The bottom-right Mini Canvas navigator helps users easily manage large workflows by providing a zoomed-out overview of the complete workflow structure. Users can quickly navigate across the canvas, move between workflow sections and manage complex automation flows more efficiently.
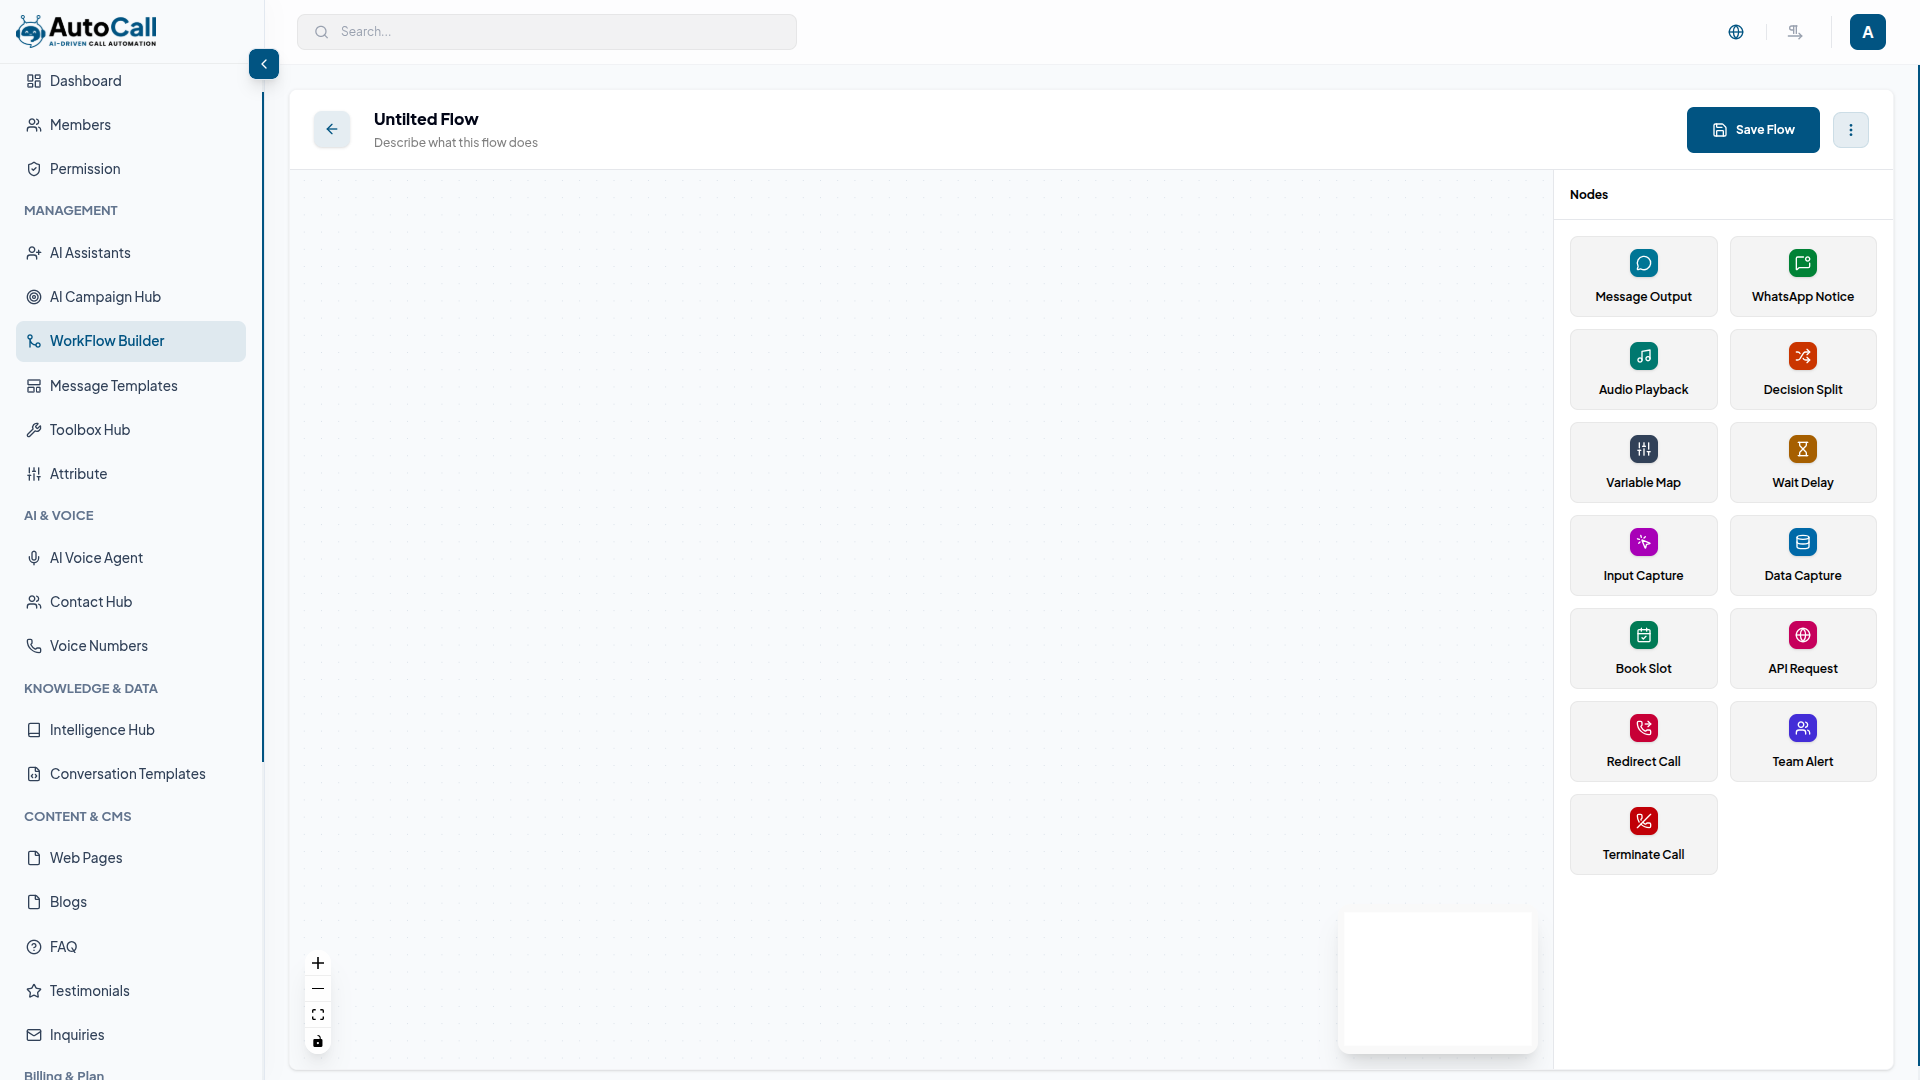
Configure the workflow, connect all required nodes, complete the node settings, and click the Save Flow button to create and store the new AI call workflow.
2. Edit Flow
Click the Edit option in the dashboard to open the flow editor. From there, you can easily update your workflow by changing the name, modifying node configurations, adjusting connections, editing descriptions and conditions, and updating automation settings.
You can also add new nodes, remove unwanted ones, and fine-tune the entire flow. Once your changes are complete, simply save the workflow to apply the updated AI call setup.

After editing the workflow, click on Save Flow to store and apply your changes.
3. Delete Flow
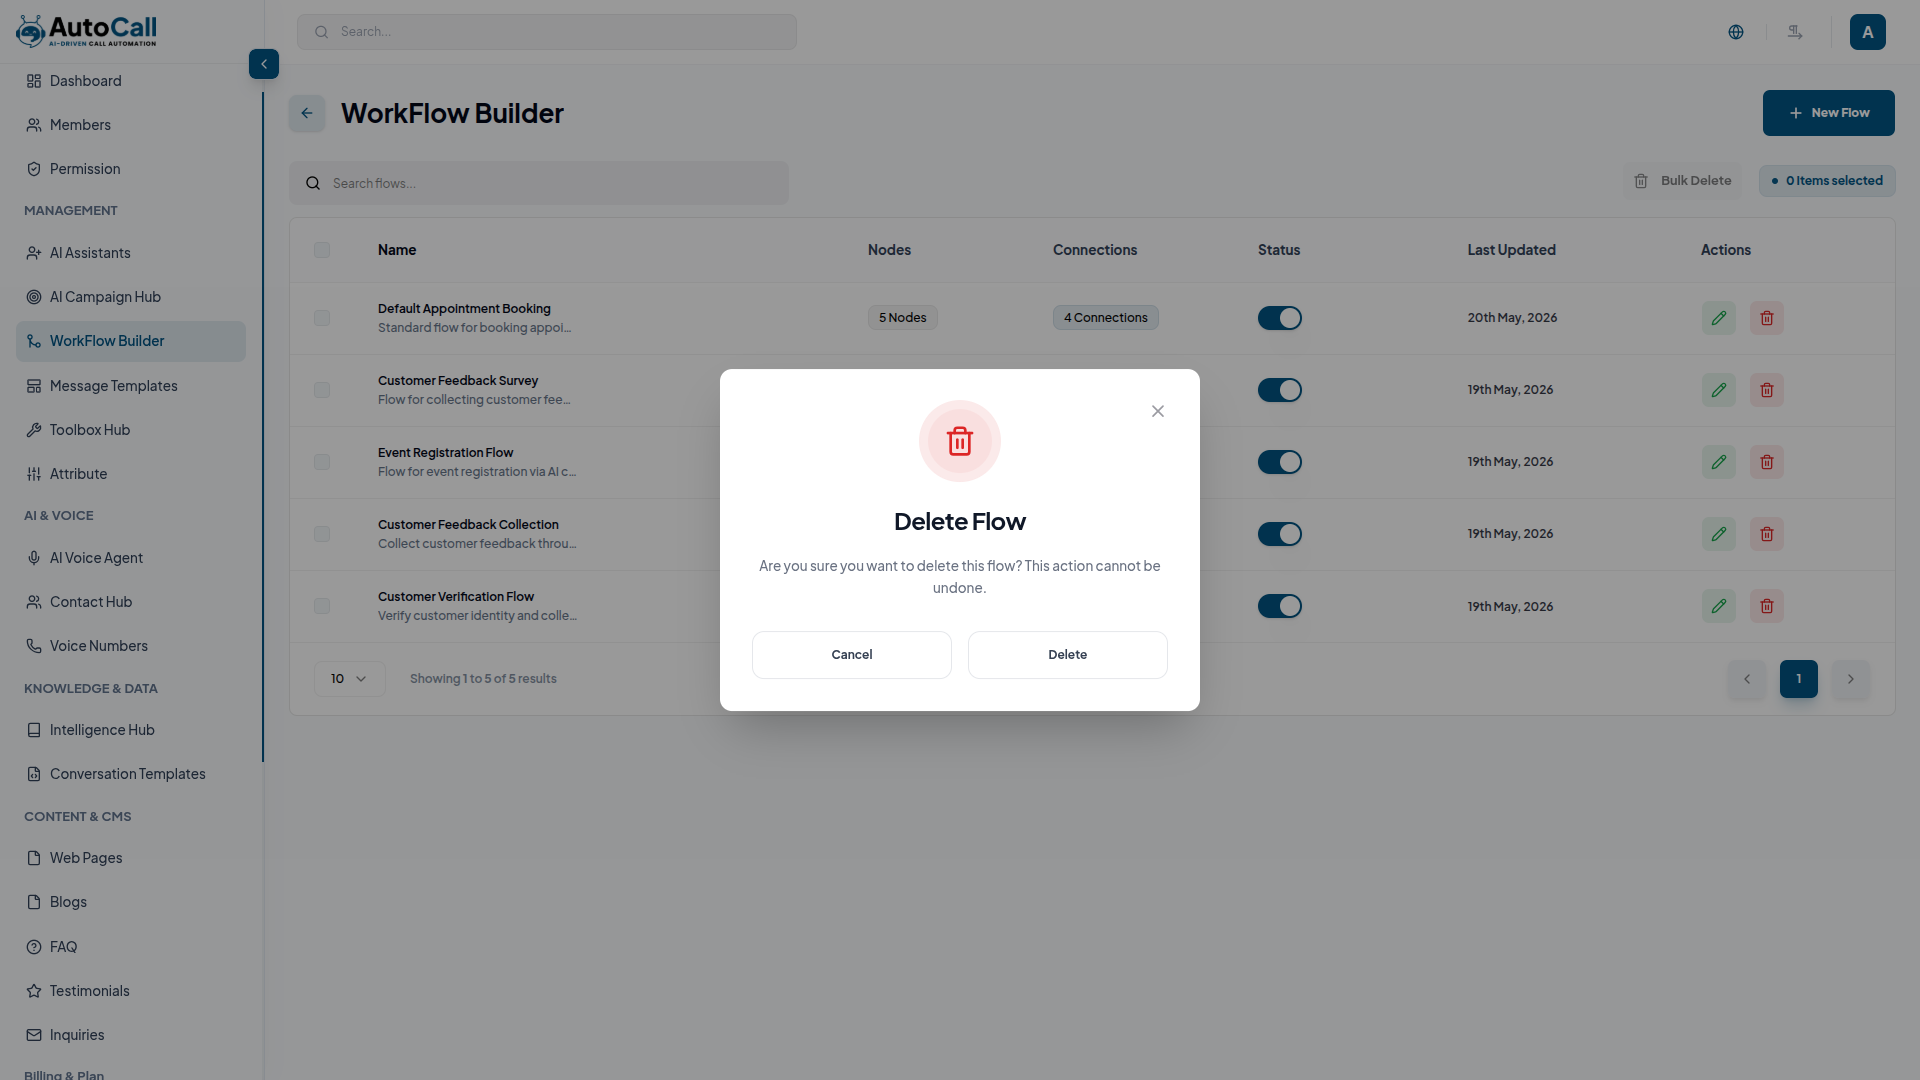
Click Delete Flow to permanently remove the selected workflow from the dashboard. A confirmation prompt will appear before deletion to prevent accidental removal. Once confirmed, the workflow will be permanently removed from the system.
Key Points
- Visual Drag & Drop Builder helps create workflows easily using a simple interface.
- Dynamic Call Flow Logic enables smart condition-based call execution.
- Real-Time Workflow Connections allow instant linking and updates between nodes.
- Reusable Flow Templates let you save and reuse workflows for quick setup.
What's Next?
Let's get started — your journey with AutoCall begins here!