 Deploy on Vercel
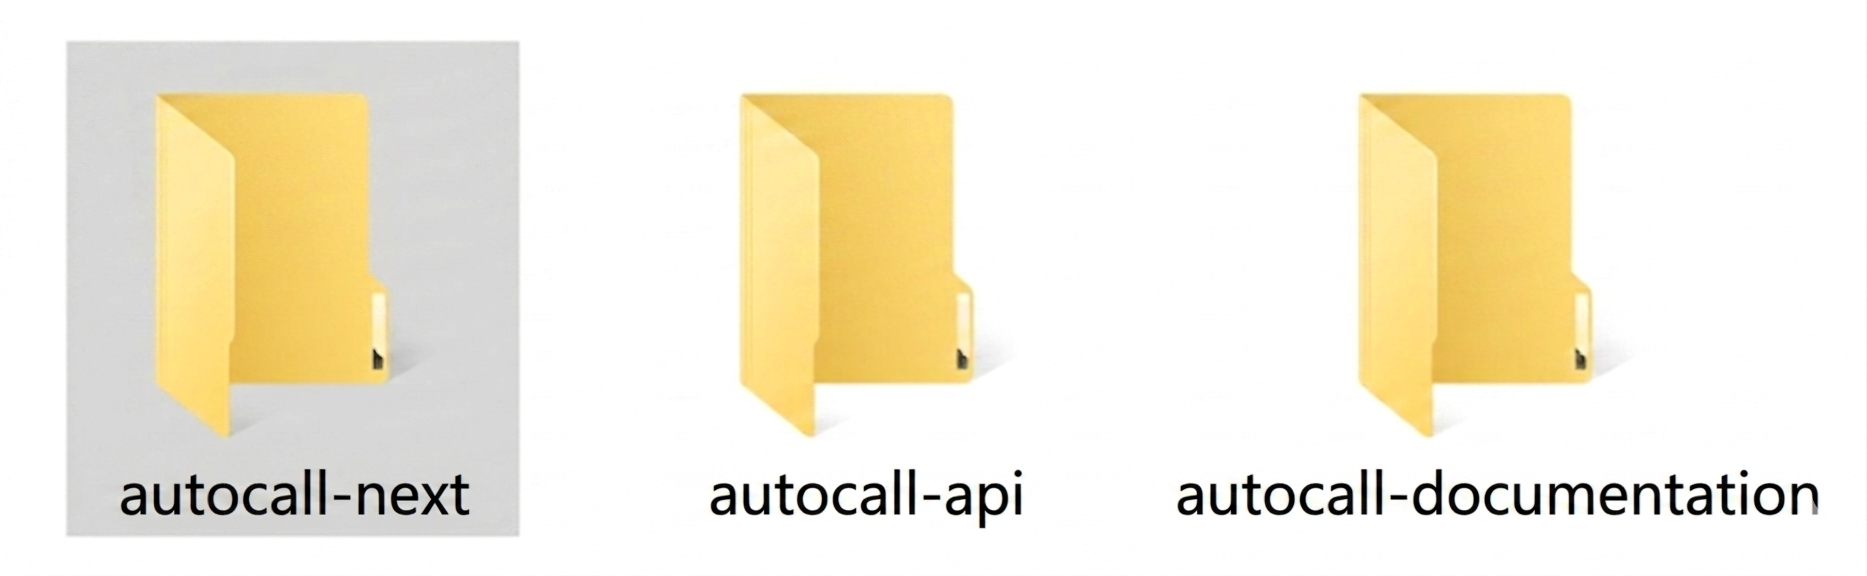
AutoCall Frontend & Dashboard
Note: The deployment steps on Vercel are streamlined for the AutoCall Next.js frontend. Ensure your backend is already deployed and accessible.
1. Open the autocall-next directory from your project source.
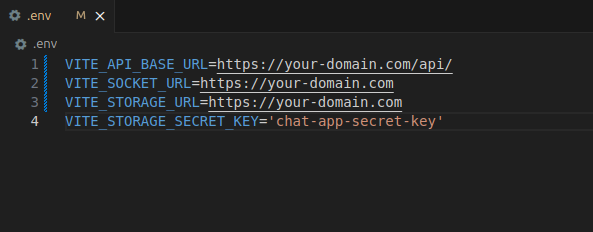
2. Environment Settings:
Create or update your .env.local file with production URLs.
Note: Replace placeholders with your actual live backend API domain to ensure connectivity.
-
NEXT_PUBLIC_API_BASE_URL: Live backend API endpoint (e.g.,
https://api.autocall.com/api). -
NEXT_STORAGE_URL: Base URL for media and file access (e.g.,
https://api.autocall.com).
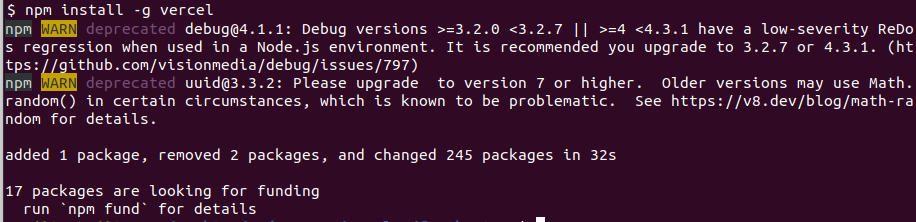
3. Install Vercel CLI:
Install the Vercel CLI globally using npm to enable terminal-based deployments.
- npm install -g vercel
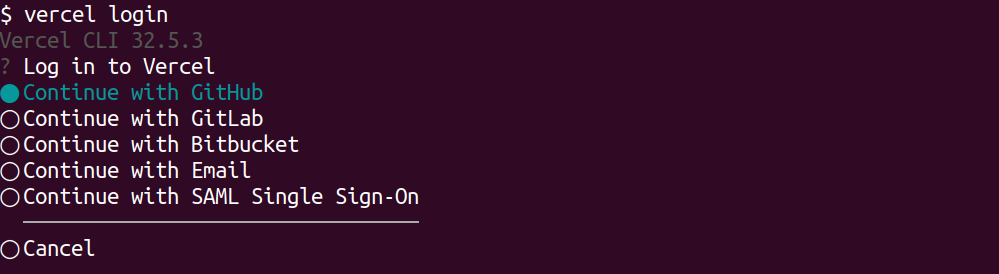
4. Login to Vercel
Authenticate your local machine with your Vercel account.
- vercel login

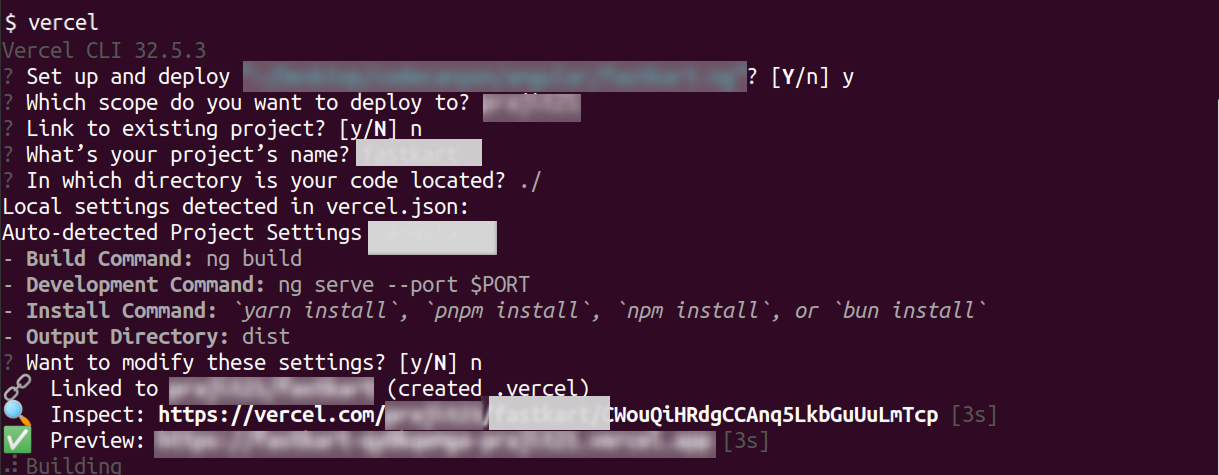
5. Deploy Project:
Navigate to the autocall-next root and run the deployment command.
- vercel
Default Credentials
Admin Account:
- Email: admin@autocall.com
- Password: admin@123
Use these to access the main Command Center and manage users.
Demo User Account:
- Email: john@autocall.com
- Password: 123456789
A test user account for exploring AI features and front-end tools.
What's Next?
Let's get started — your journey with AutoCall begins here!