 Team Members
Overview
The Team Members section allows you to manage the individual users assigned to your created teams. Once a team is established, you can populate it with members who will share the team's access permissions and handle specific tasks.
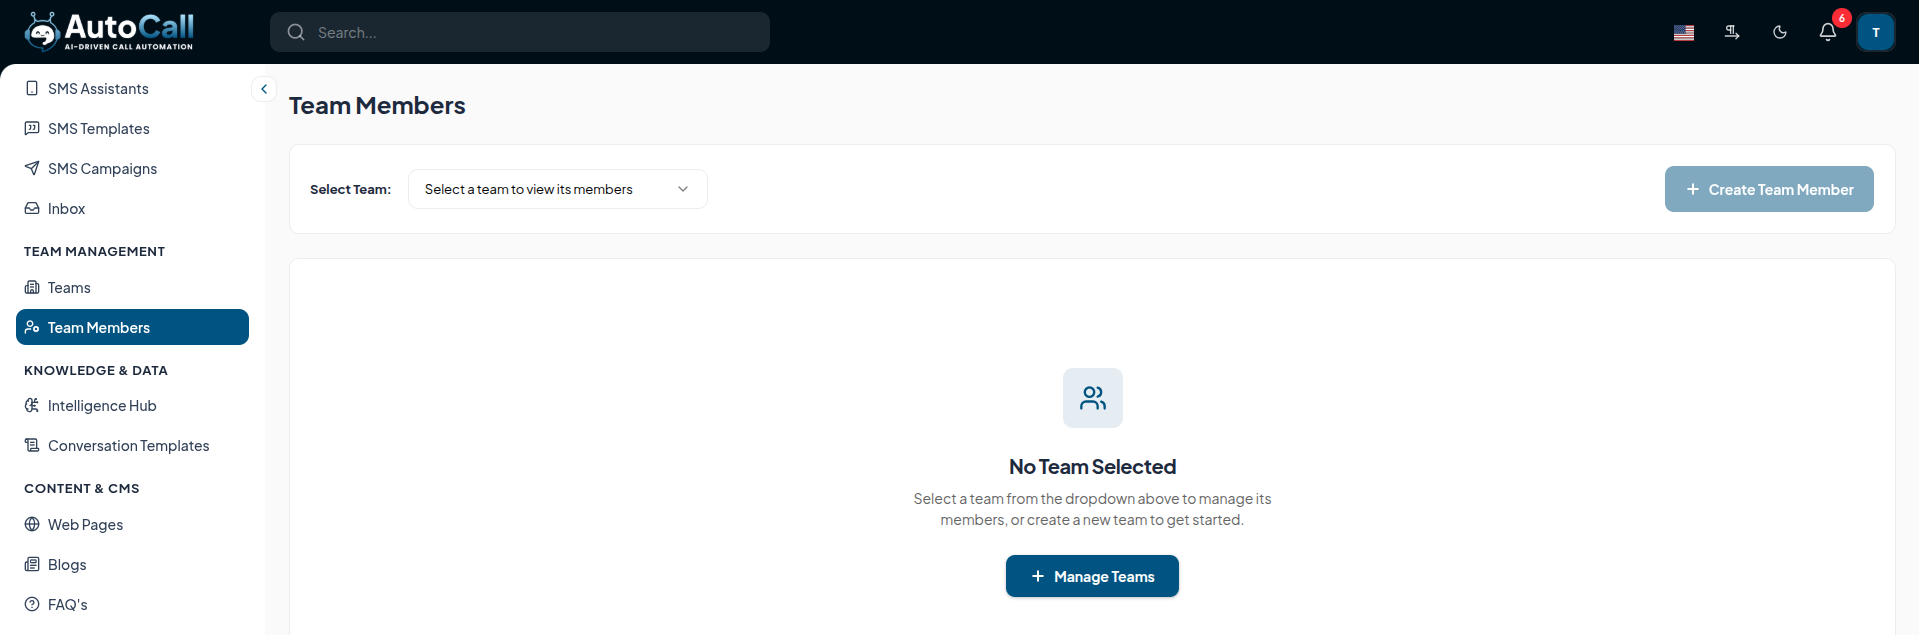
Before you can view or add team members, you must first select the corresponding team from the dropdown menu.
1. Select Team
To begin managing members, use the Select Team dropdown at the top of the page. This will filter the dashboard to display only the members belonging to the chosen team.
2. Create Team Member
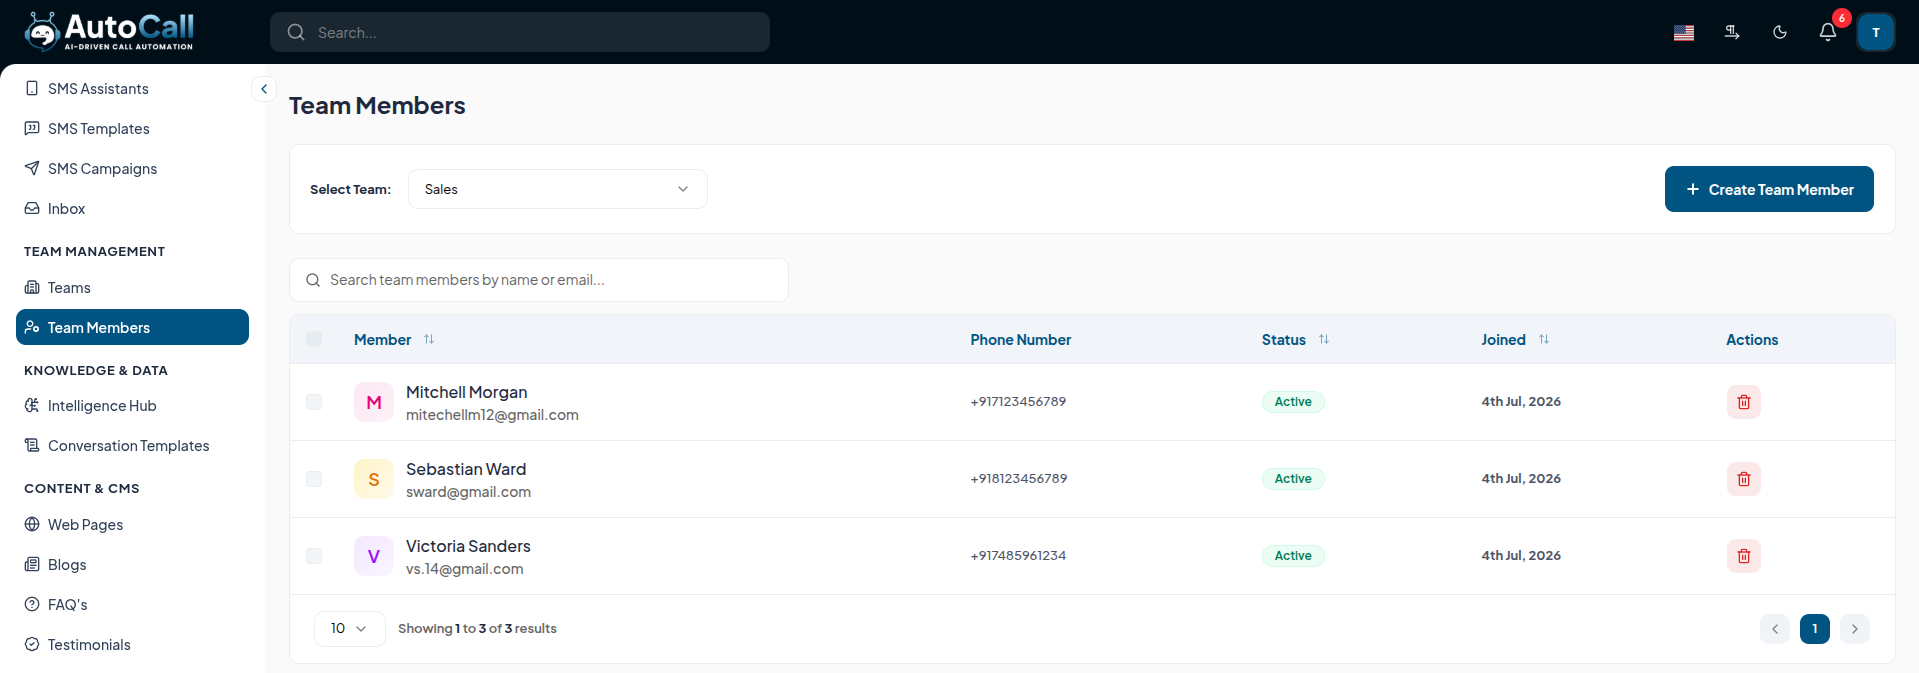
Once a team is selected, click the Create Team Member button to add a new person to that team. You will need to provide their First Name, Last Name, Email, Password and Phone Number.
You can also set the member's initial Status (Active or Inactive). Once created, the member will instantly gain the access permissions associated with their assigned team.

3. Team Members Dashboard
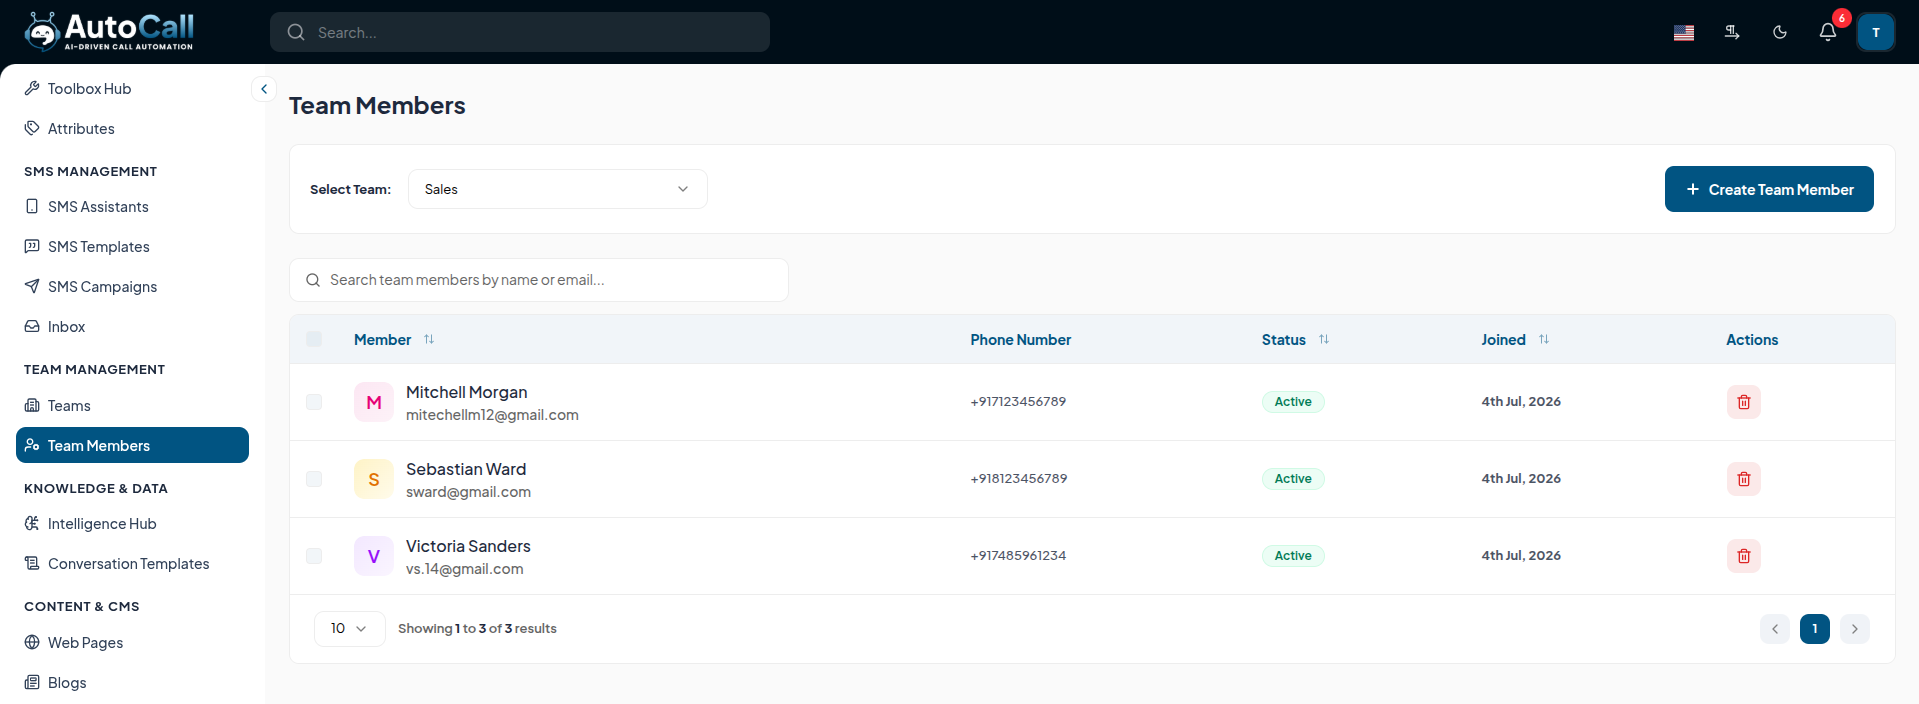
After adding members, they will appear in the team's table. The dashboard displays the member's Name, Email, Phone Number, Status, Joined Date and available Actions.
4. Remove Team Member
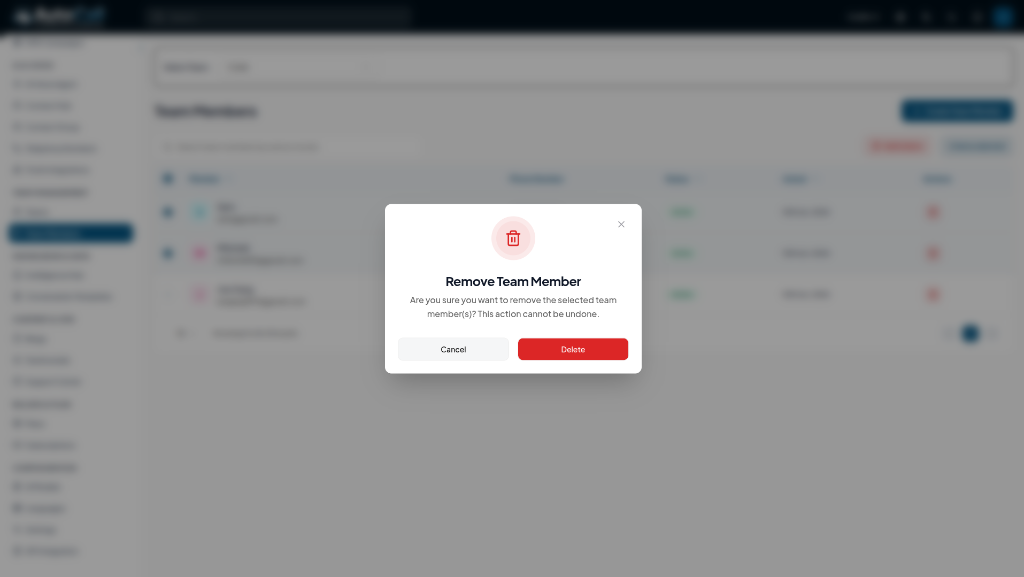
If a member leaves the team or no longer requires access, you can click the Delete (trash icon) in the Actions column to remove them. A confirmation dialog will ensure you don't accidentally remove an active member.
Key Points
- Members inherit the exact access permissions of their assigned team.
- You must select a team from the dropdown before adding members.
- Easily toggle a member's active status.
What's Next?
Let's get started — your journey with AutoCall begins here!

