 Trunk
Integration
Trunk
Integration
Overview
The SIP Trunk Integration page allows you to connect AutoCall with external telephony providers. By configuring trunks, you enable the system to route outbound and inbound calls seamlessly using your preferred SIP providers.
Trunk Integrations List
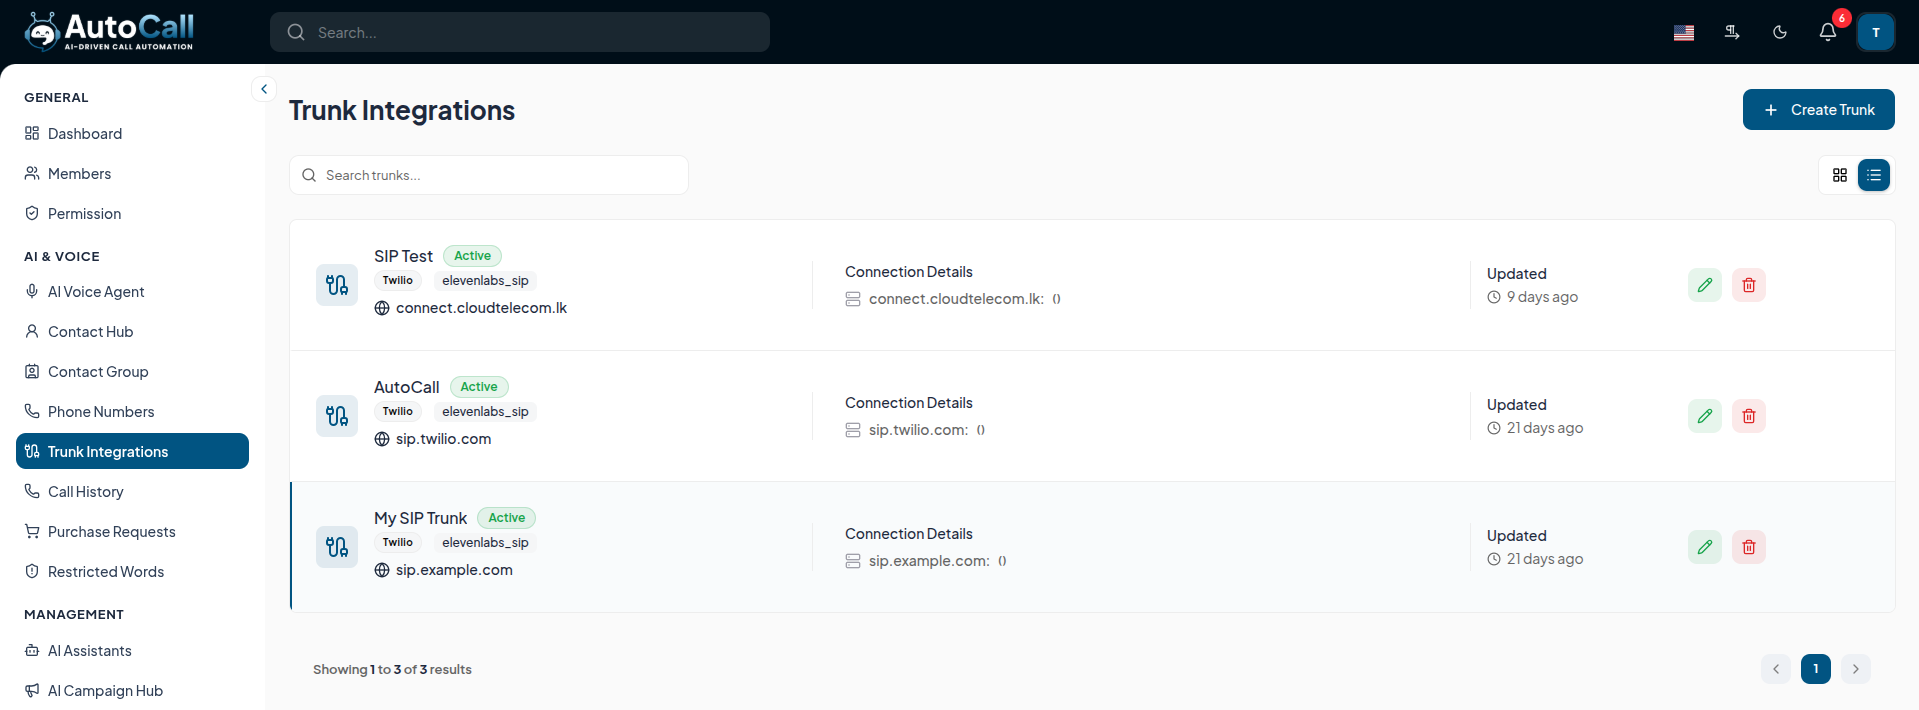
The dashboard displays all configured SIP Trunks in a clear list view:
- Trunk Details: Shows the trunk name, current status (e.g., Active), provider (e.g., Twilio), and engine details.
- Outgoing & Inbound: Displays the configured SIP URI, port, and transport protocol (UDP, TCP, TLS) for both incoming and outgoing connections.
- Updated: Shows when the configuration was last modified.
- Actions: Quick access to edit or delete existing trunks.
1. Create Trunk Integration
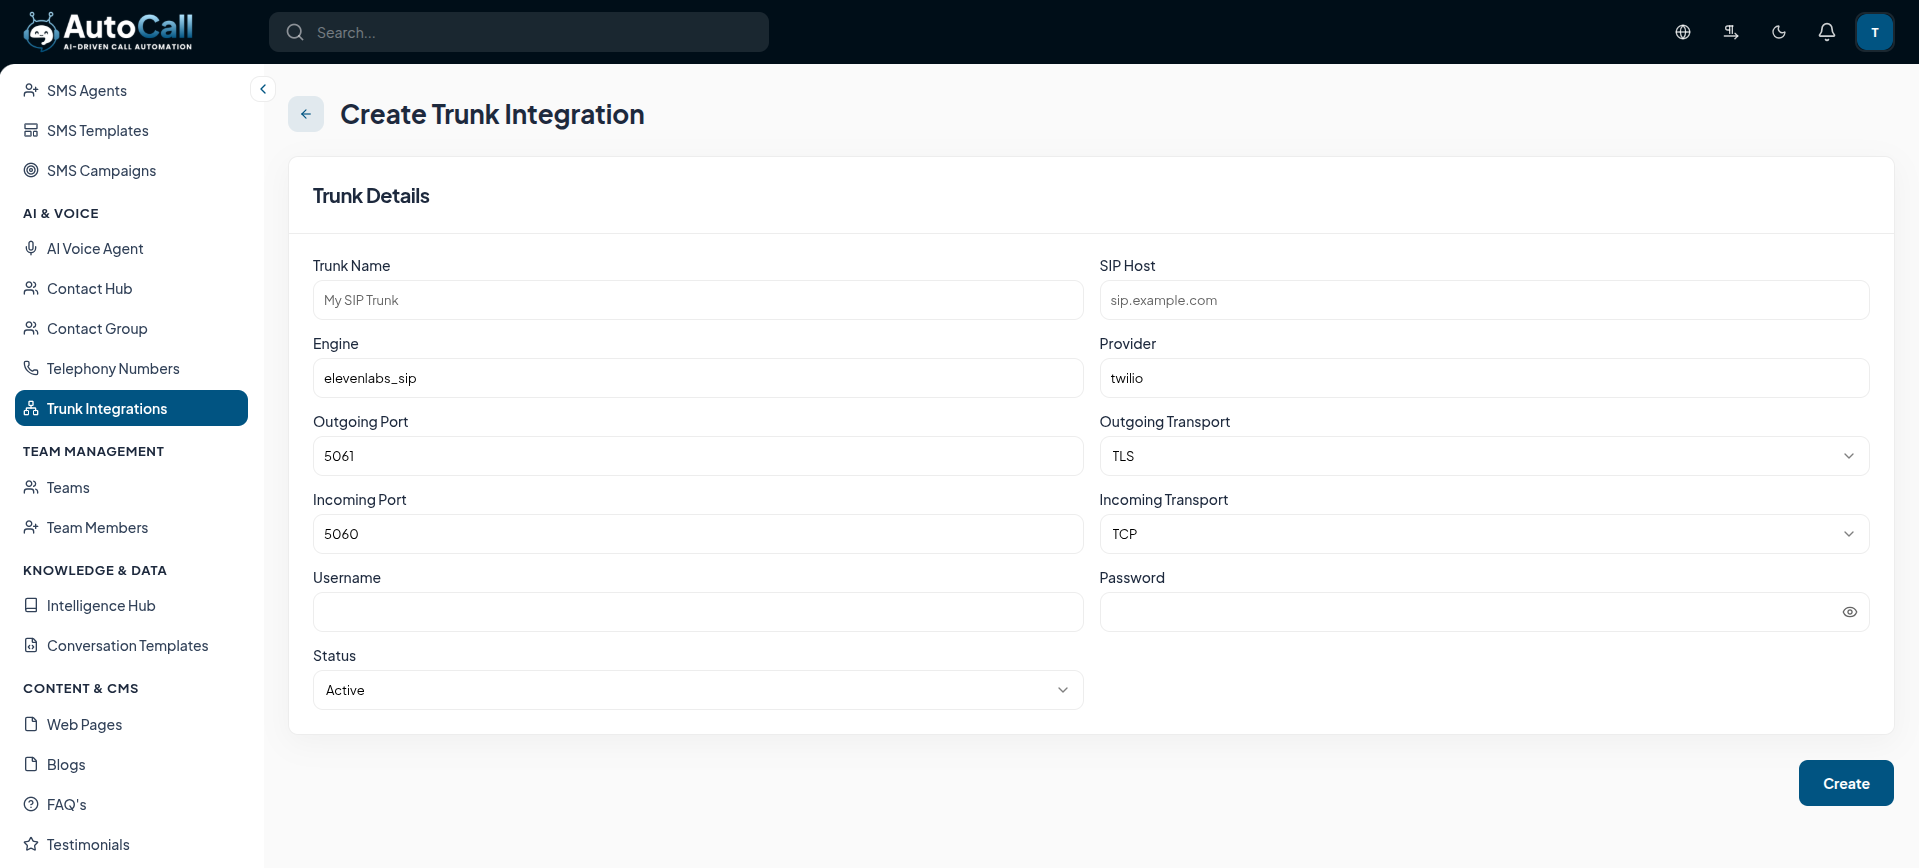
Click the + Create Trunk button to add a new SIP Trunk. You will need to provide detailed configuration settings:
- Trunk Name & Provider: Define a friendly name and specify your provider (e.g., twilio).
- SIP Host & Engine: Enter the SIP domain/host and the corresponding engine configuration.
- Ports & Transport: Configure the specific Outgoing and Incoming Ports (e.g., 5060, 5061) along with their transport protocols (UDP, TCP, TLS).
- Authentication: Input the Username and Password required to authenticate with the SIP provider.
- Status: Set the initial status of the trunk (e.g., Active).
Click Create to save the integration.
2. Edit Trunk
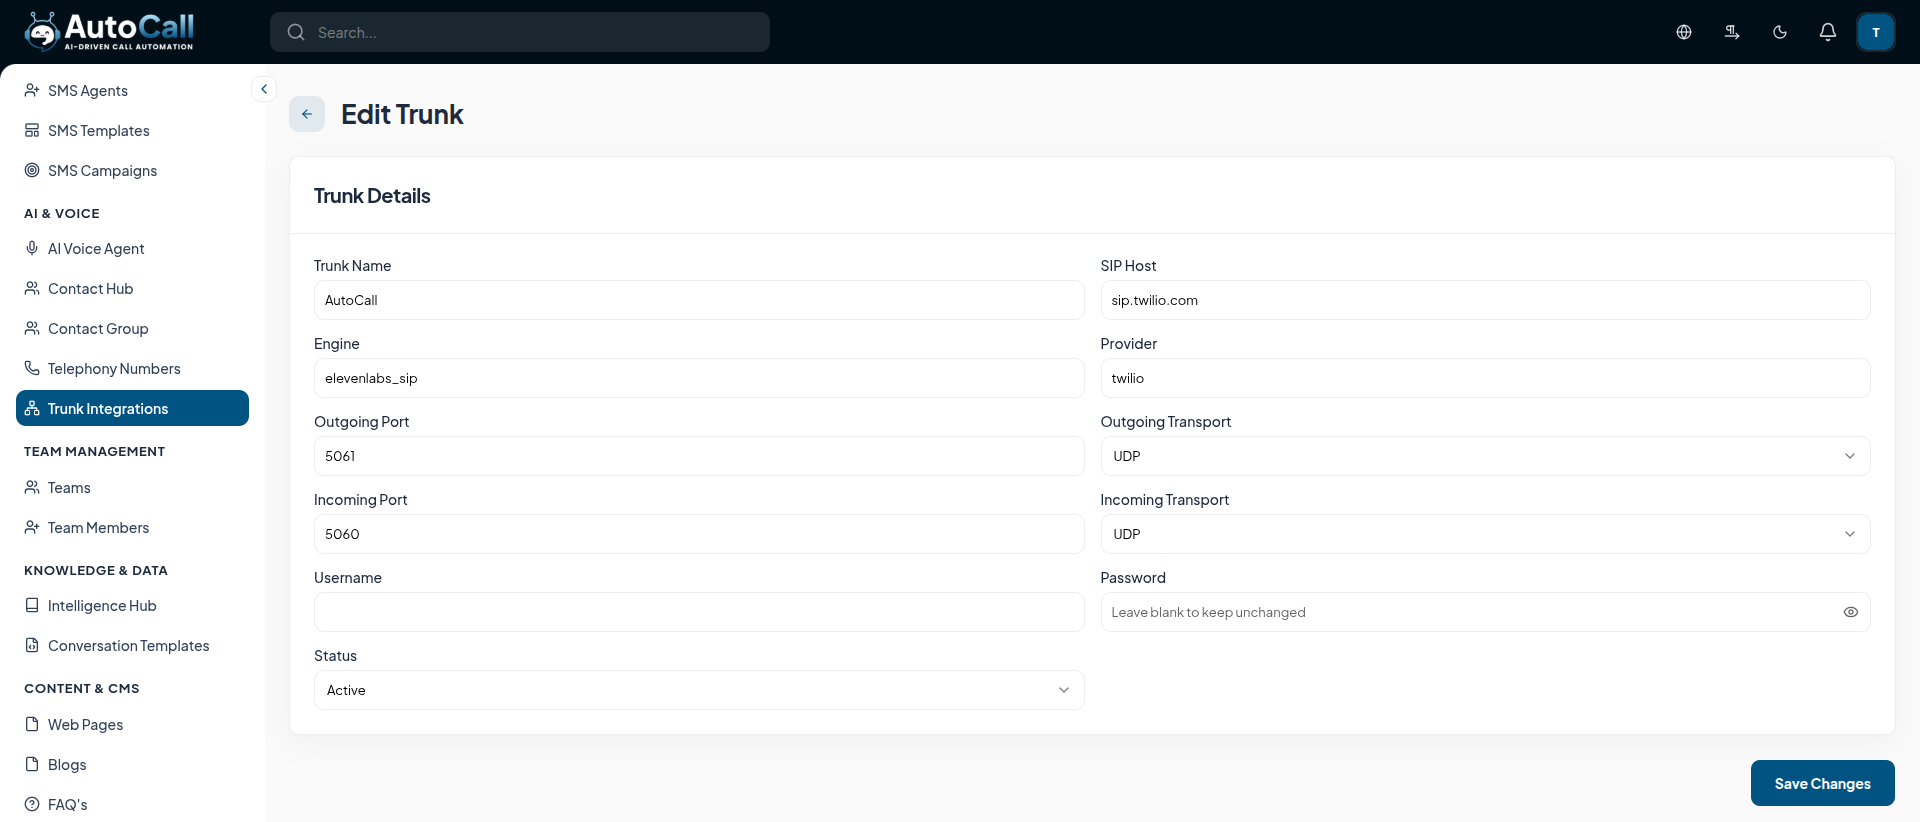
Click the Edit (pencil icon) button on any trunk to modify its details. You can update ports, credentials, or change the transport protocol. Click Save Changes once finished.
3. Delete Trunk
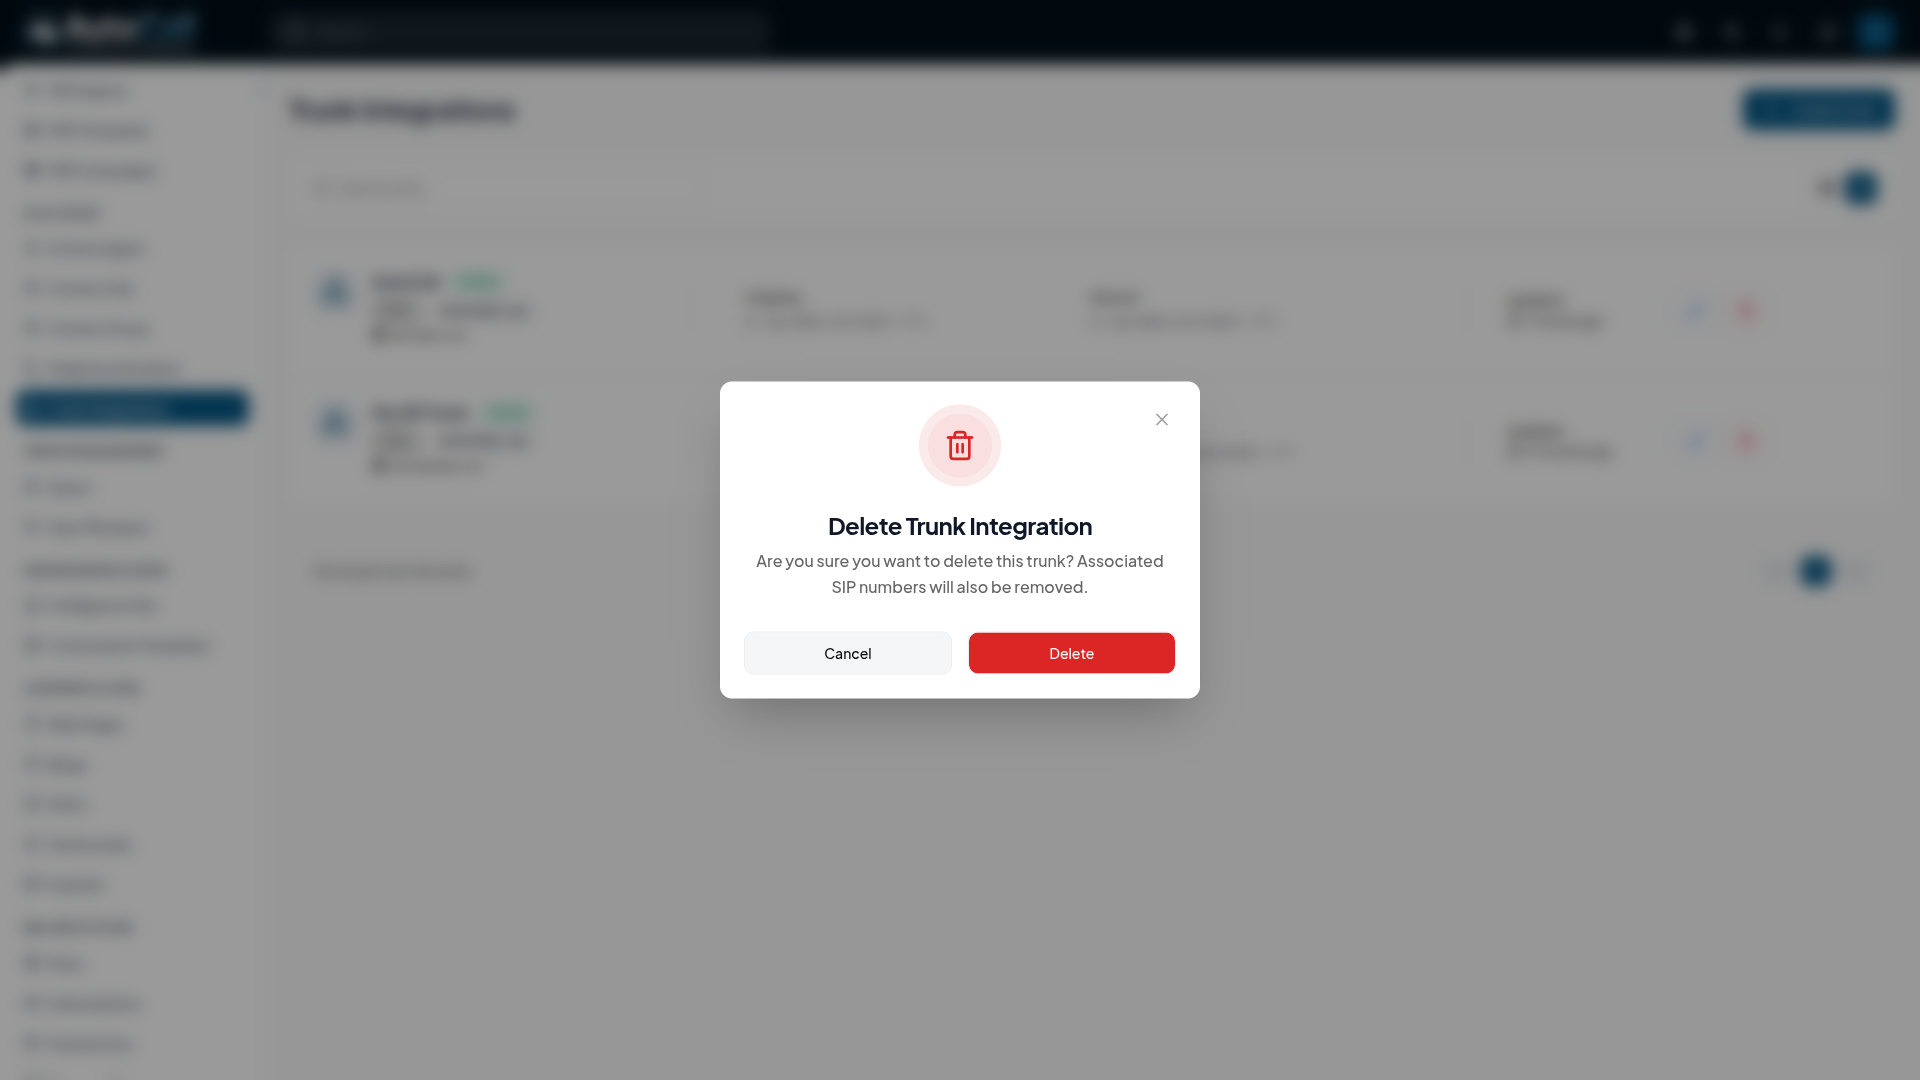
Click the Delete (trash icon) button to remove a trunk. A confirmation modal will appear advising that associated SIP numbers may also be affected.
Click Delete to permanently remove the trunk integration.
Key Points
- Centralized management of SIP endpoints ensures flexible routing.
- Supports multiple transport protocols (UDP, TCP, TLS) for secure and reliable connections.
- Easily toggle active status to instantly pause or resume telephony traffic on specific trunks.
What's Next?
Let's get started — your journey with AutoCall begins here!


