 Plivo
Integration
Plivo
Integration
Overview
Connect your Plivo account to enable AutoCall to make outgoing and receive incoming calls seamlessly. This integration connects your Plivo phone numbers and SIP trunks to our platform.
1. Get Plivo Credentials
Log in to your Plivo Console. From the main dashboard, locate your Auth ID and Auth Token.
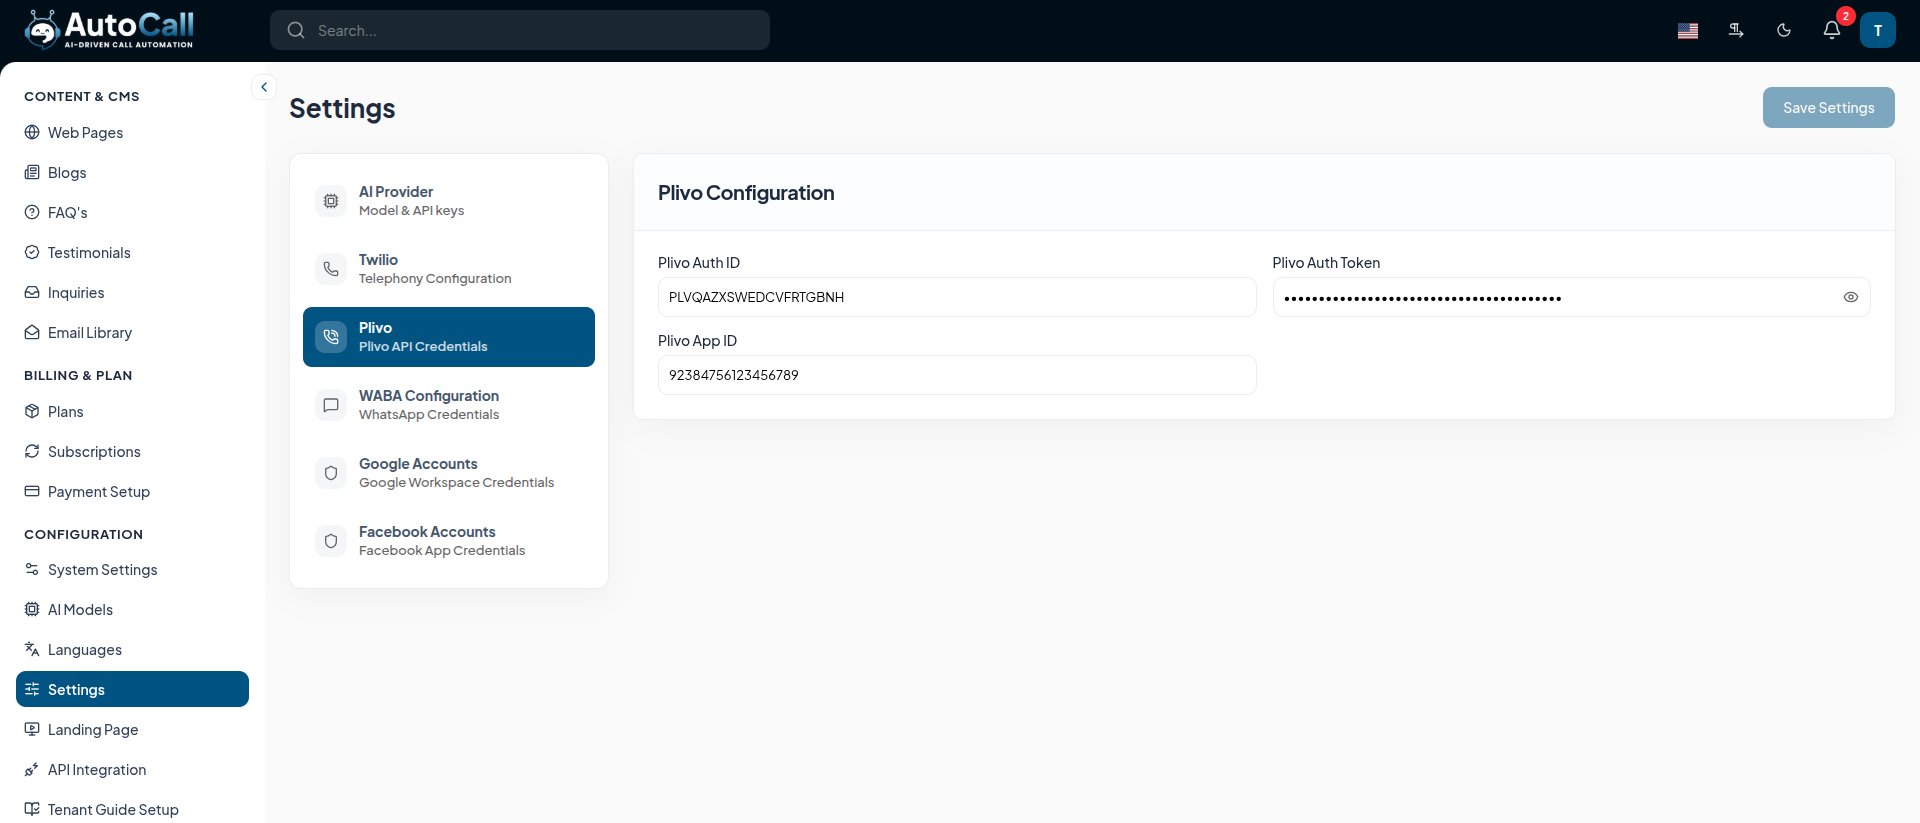
Copy these credentials as you will need them to connect AutoCall to Plivo.
2. Buy a Phone Number
Navigate to Phone Numbers > Buy Numbers in the Plivo sidebar to acquire a new number for your AutoCall platform.
- Select your preferred Country and region from the search filters.
- Ensure that the Voice capability is checked, as this is required for inbound and outbound calls.
- Click Search to display a list of available numbers.
- Click Buy Number next to your chosen number and confirm the purchase.
Once purchased, the number will appear in your Active Numbers list. You will use this number to route incoming calls to your application.
3. Setup Incoming Calls (Application)
To receive incoming calls, route your Plivo number to AutoCall via an Application.
- Go to Voice > Applications and click Add New Application.
- Enter a name for your application.
- In the Answer URL, enter your AutoCall incoming webhook URL. Example:
https://yourdomain.com/api/plivo/incoming. - Save the application and assign it to your purchased Phone Number.
4. Configure Environment Variables
Once you have gathered all the necessary Plivo credentials, you need to store them securely in your application's environment configuration file.
- Open the
.envfile in the root directory of your backend project. - Locate the Plivo configuration variables and paste the values you just copied:
PLIVO_AUTH_ID=your_auth_id_here
PLIVO_AUTH_TOKEN=your_auth_token_here
Save the file and restart your backend server to apply the changes.
What's Next?
Let's get started — your journey with AutoCall begins here!


