
 Taxido Laravel
Installation
Taxido Laravel
Installation
Getting Started With Taxido Laravel
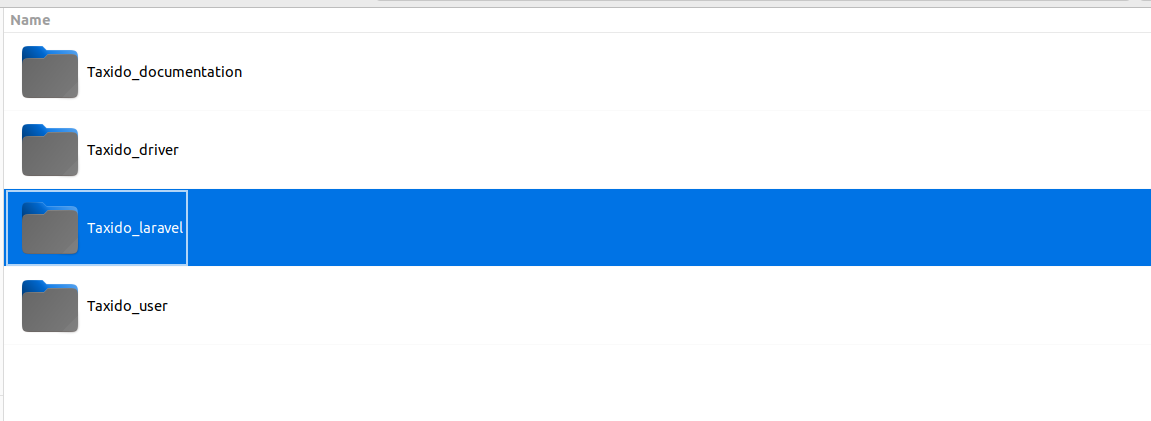
1. Open Taxido_laravel directory that you downloaded from CodeCanyon.
2. Environment Settings:
- Add the required database credentials in .env .
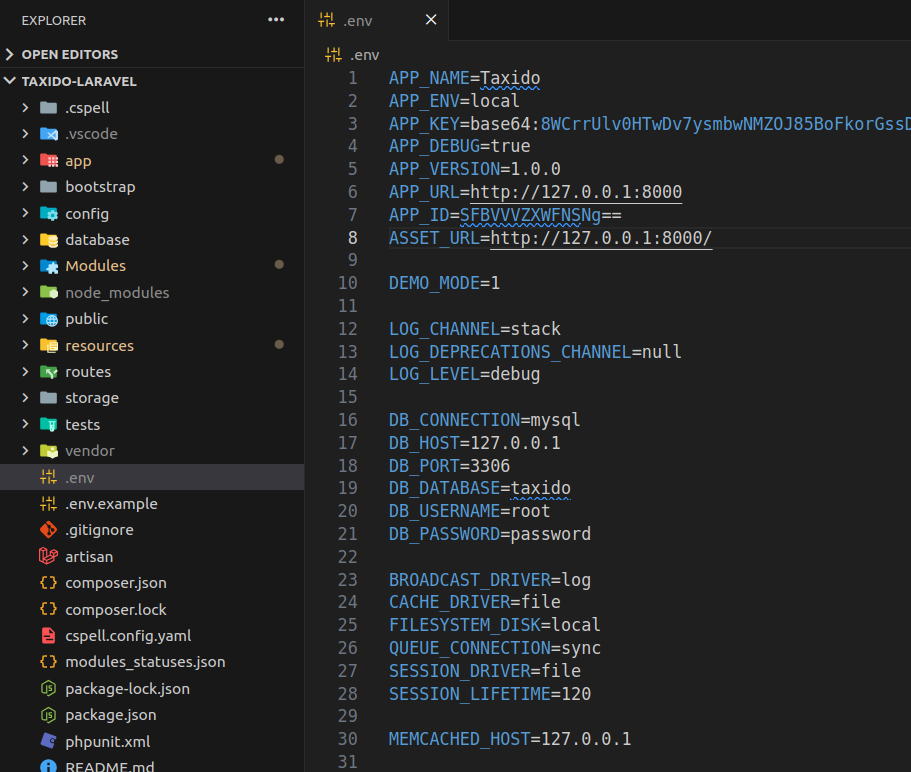
- Add values to the below keys in the .env file
If you're running your Laravel project on your own computer (localhost), make sure to use localhost with current running port and put in APP_URL. as a given example below
If you want to install on live server, you need to add your live server api url like a APP_URL=http://api.your-domain.com.
APP_URL=http://localhost:8000
                  DB_DATABASE=database_name
                  DB_USERNAME=database_username
DB_PASSWORD=database_password.png)
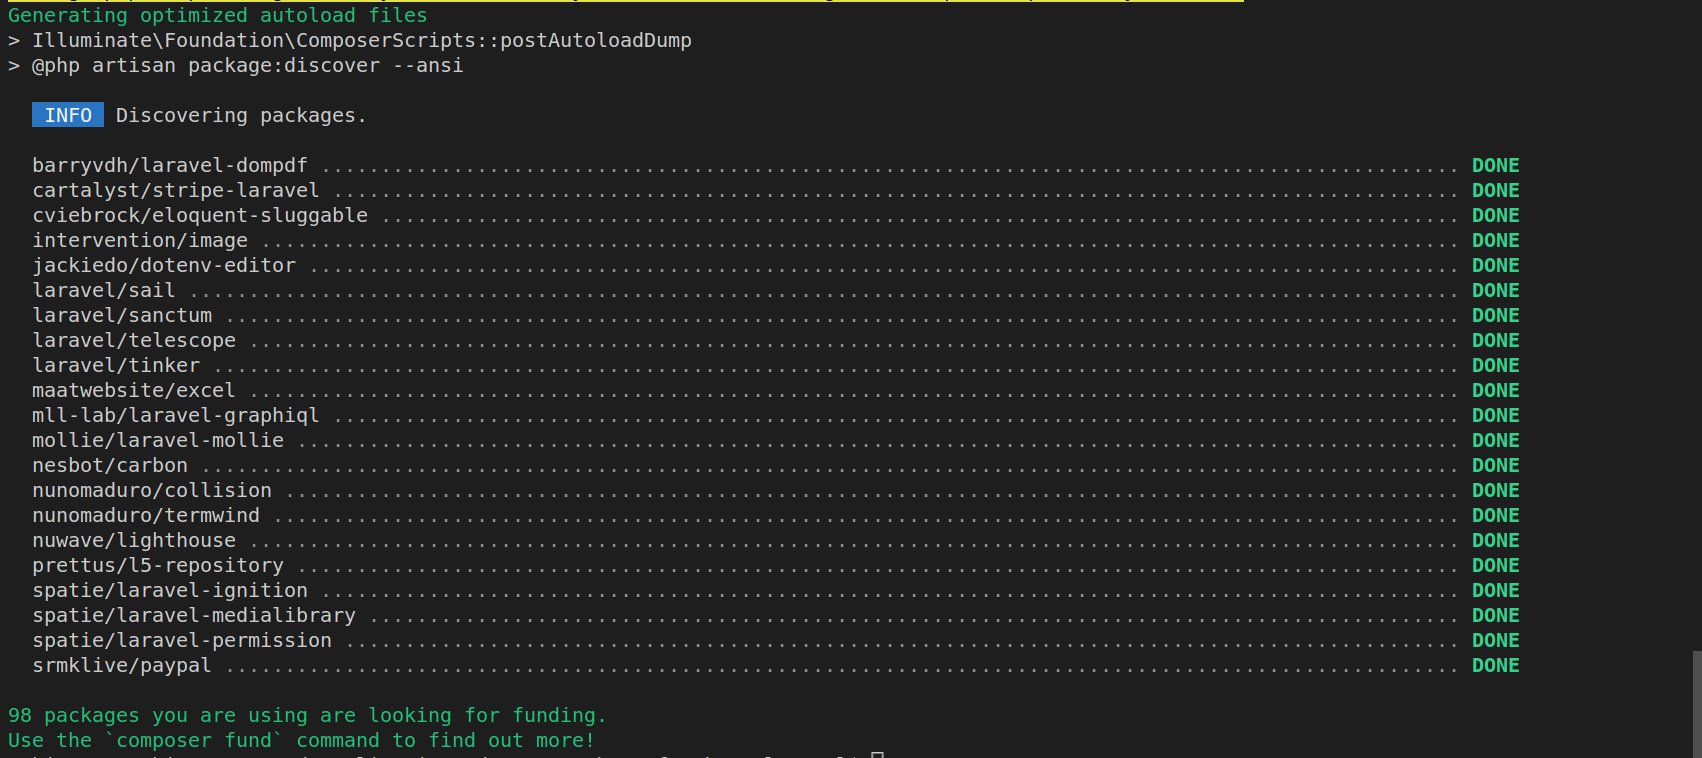
2. Install Required Dependencies:
- In the Taxido_laravel folder, run following command in the terminal to install the required dependencies.
composer install 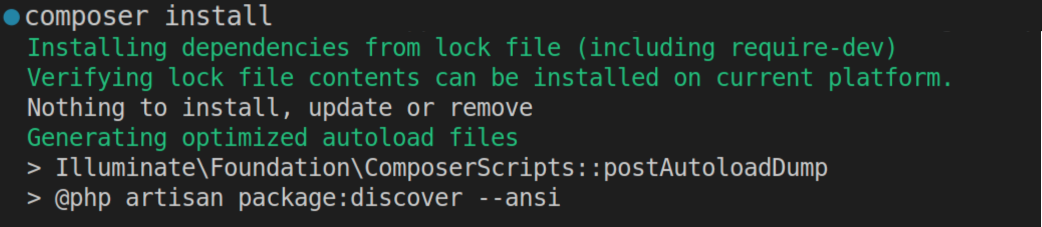
3. Building Assets and SCSS:
Note: Please make sure you've installed NodeJs. If you haven't installed, you can easily do by following this link: Link to Laravel Prerequisites.
- To set up and compile your assets and SCSS files, follow these steps:
- First, you need to install the necessary Node modules.
npm i- Compile assets and scss by running below command.
npm run build- Use the command below to start the development server with hot reload, allowing you to see changes instantly without refreshing the browser.
npm run dev4. Run Taxido Laravel:
- Once you've finished all the previous steps, you can run the Taxido Laravel by adding following command.
php artisan serve
- When you start your Taxido Laravel project, it typically runs on the default port, you can access it by opening 127.0.0.1:8000 in your web browser.
5. Run Taxido Installation Wizard:
- Once you open 127.0.0.1:8000 in your web browser, the Taxido installation wizard will appear.
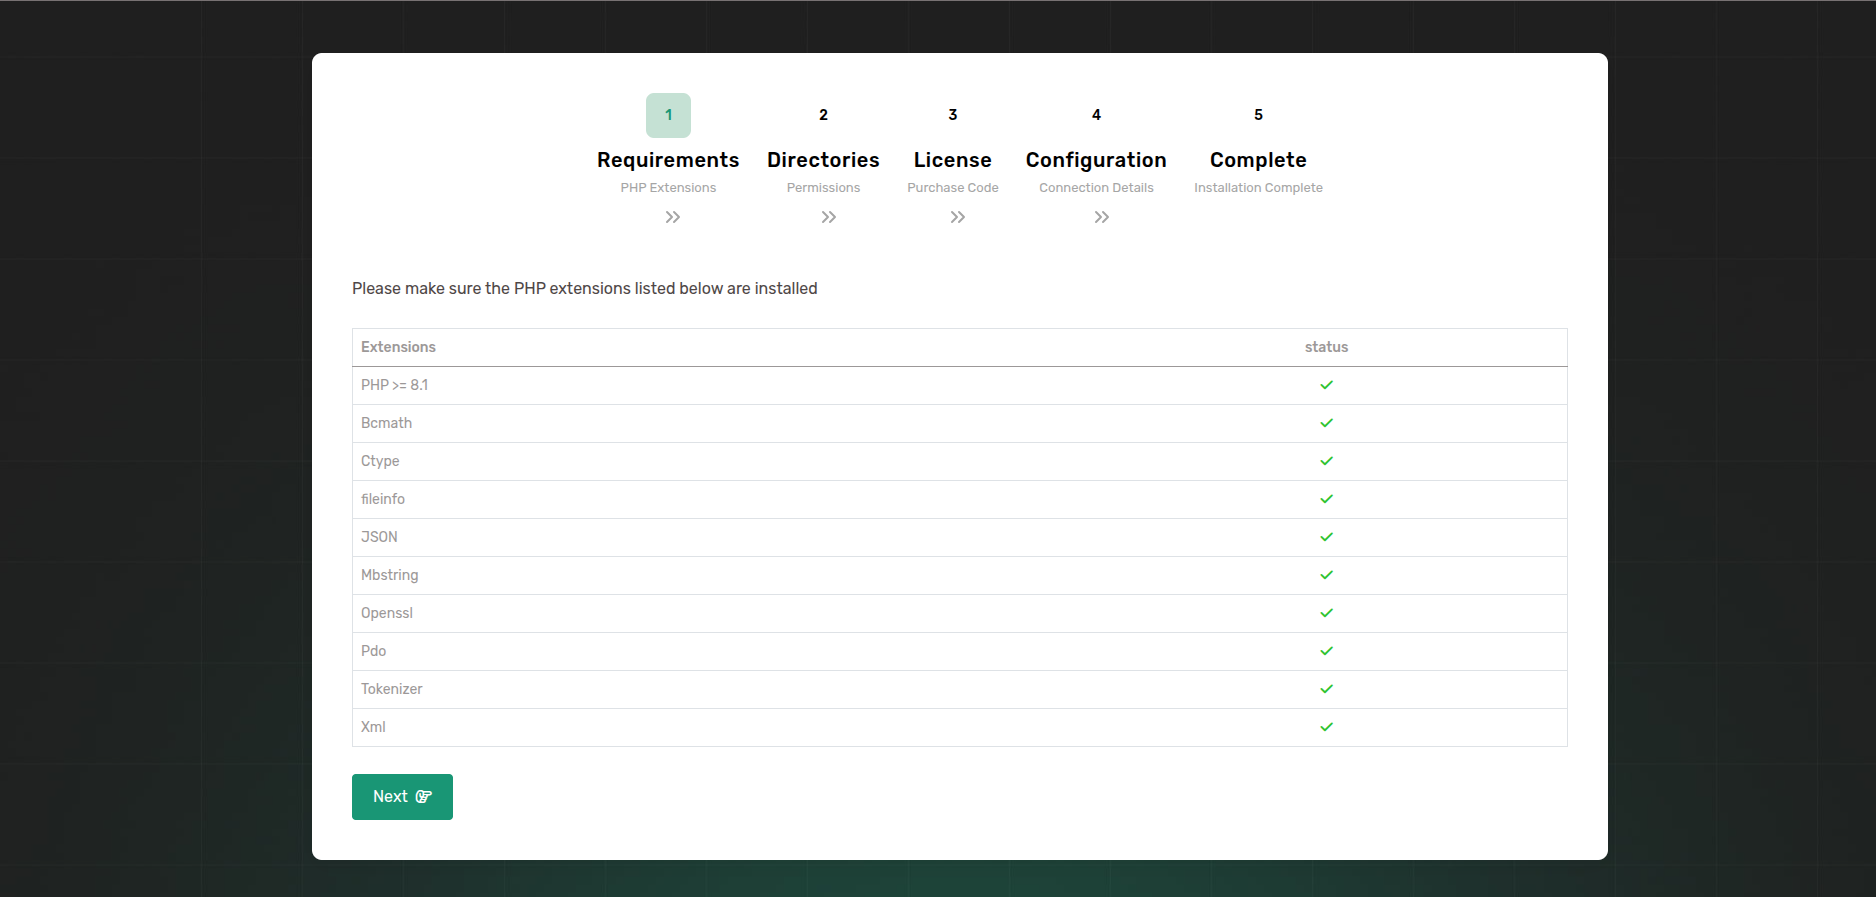
- Step 1: Before you proceed to the next step, make sure that the specified PHP extensions are installed on your system.
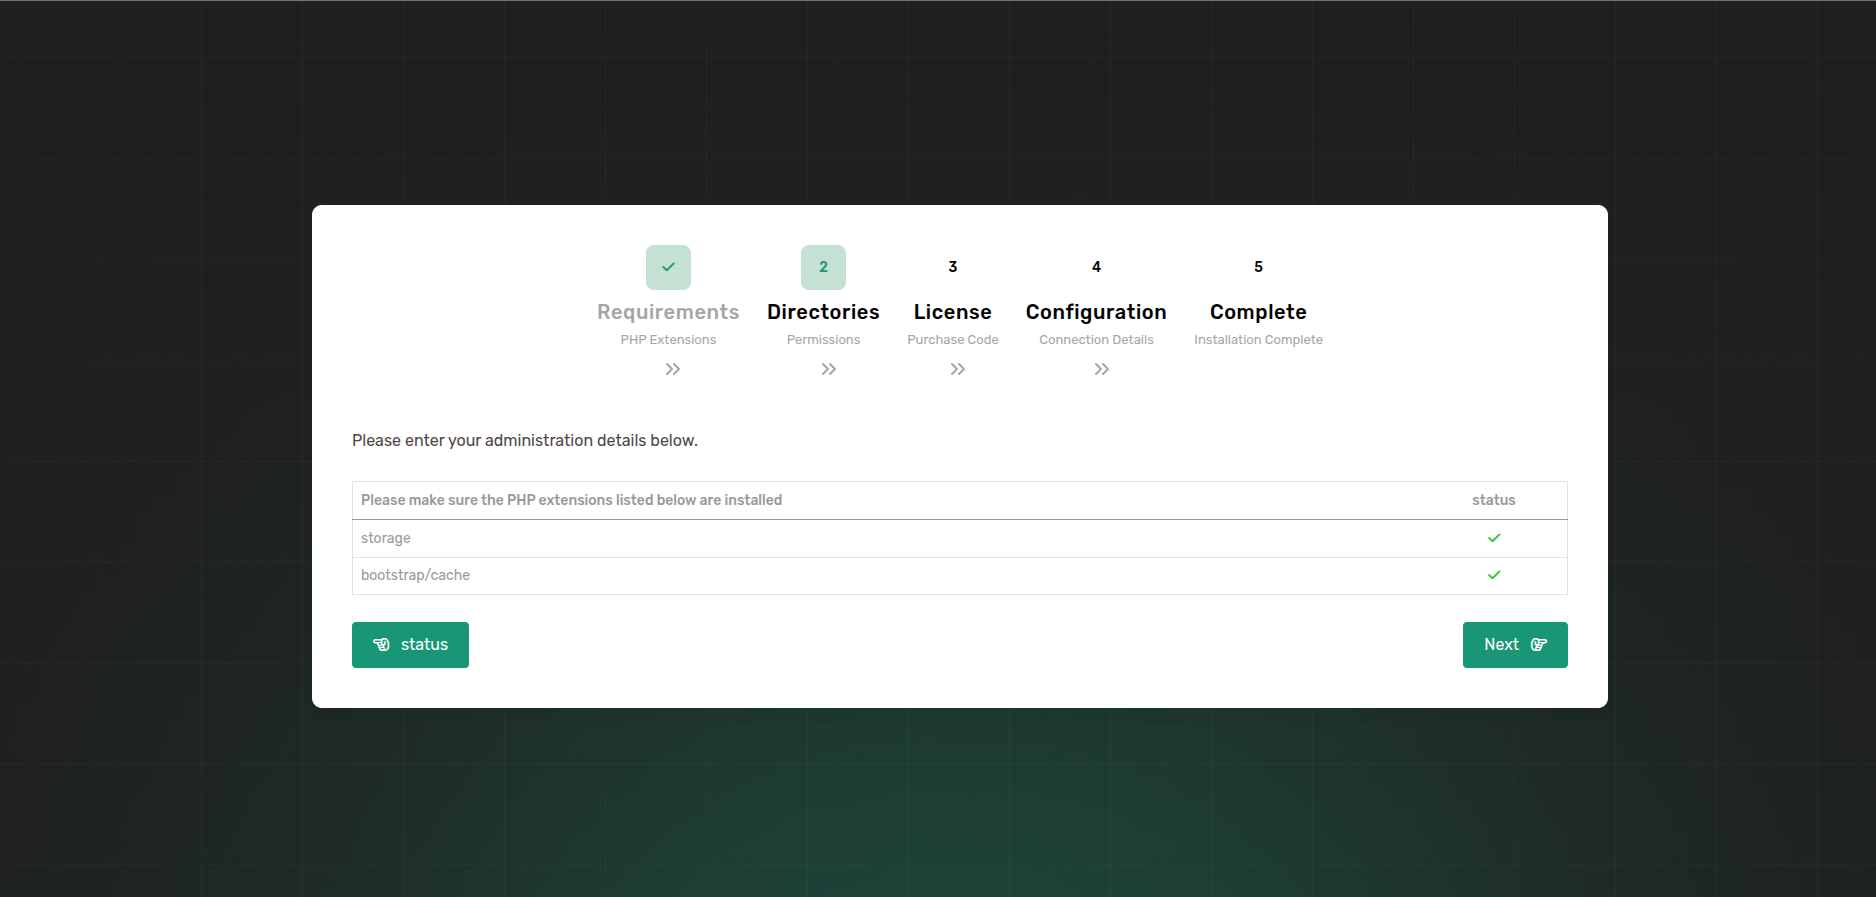
- Step 2: Once all the required PHP extensions are installed, proceed to the next step to check permissions for specific folders to ensure they are allowed.
- If permissions are not allowed for the mentioned folders, please allowed folder permissions and proceed to the license verification step.
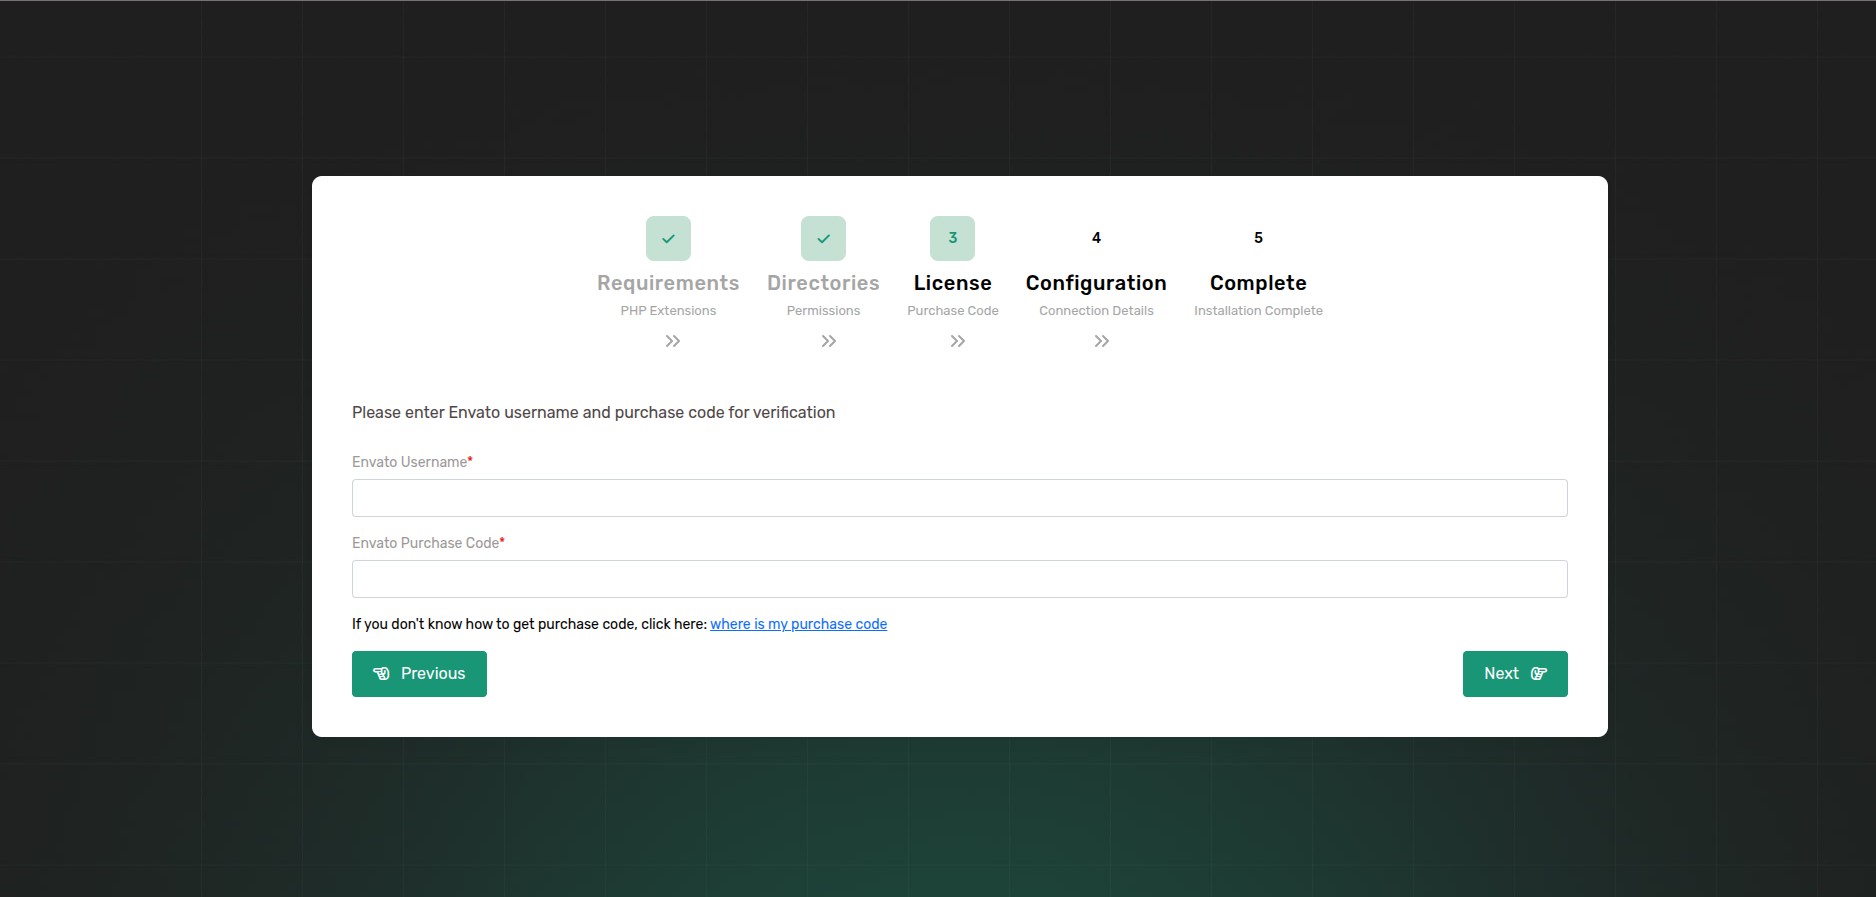
- Step 3: Before using the Taxido API, it's important to verify your Envato purchase license code.
- Enter in your Envato username and the Taxido purchase code and click next button.
- If you don't know where to find your purchase code, click here: Where Is My Purchase Code?
Note: Once a license is verified, it can't be used for another project. An Envato Purchase License can only be verified on one domain at time.
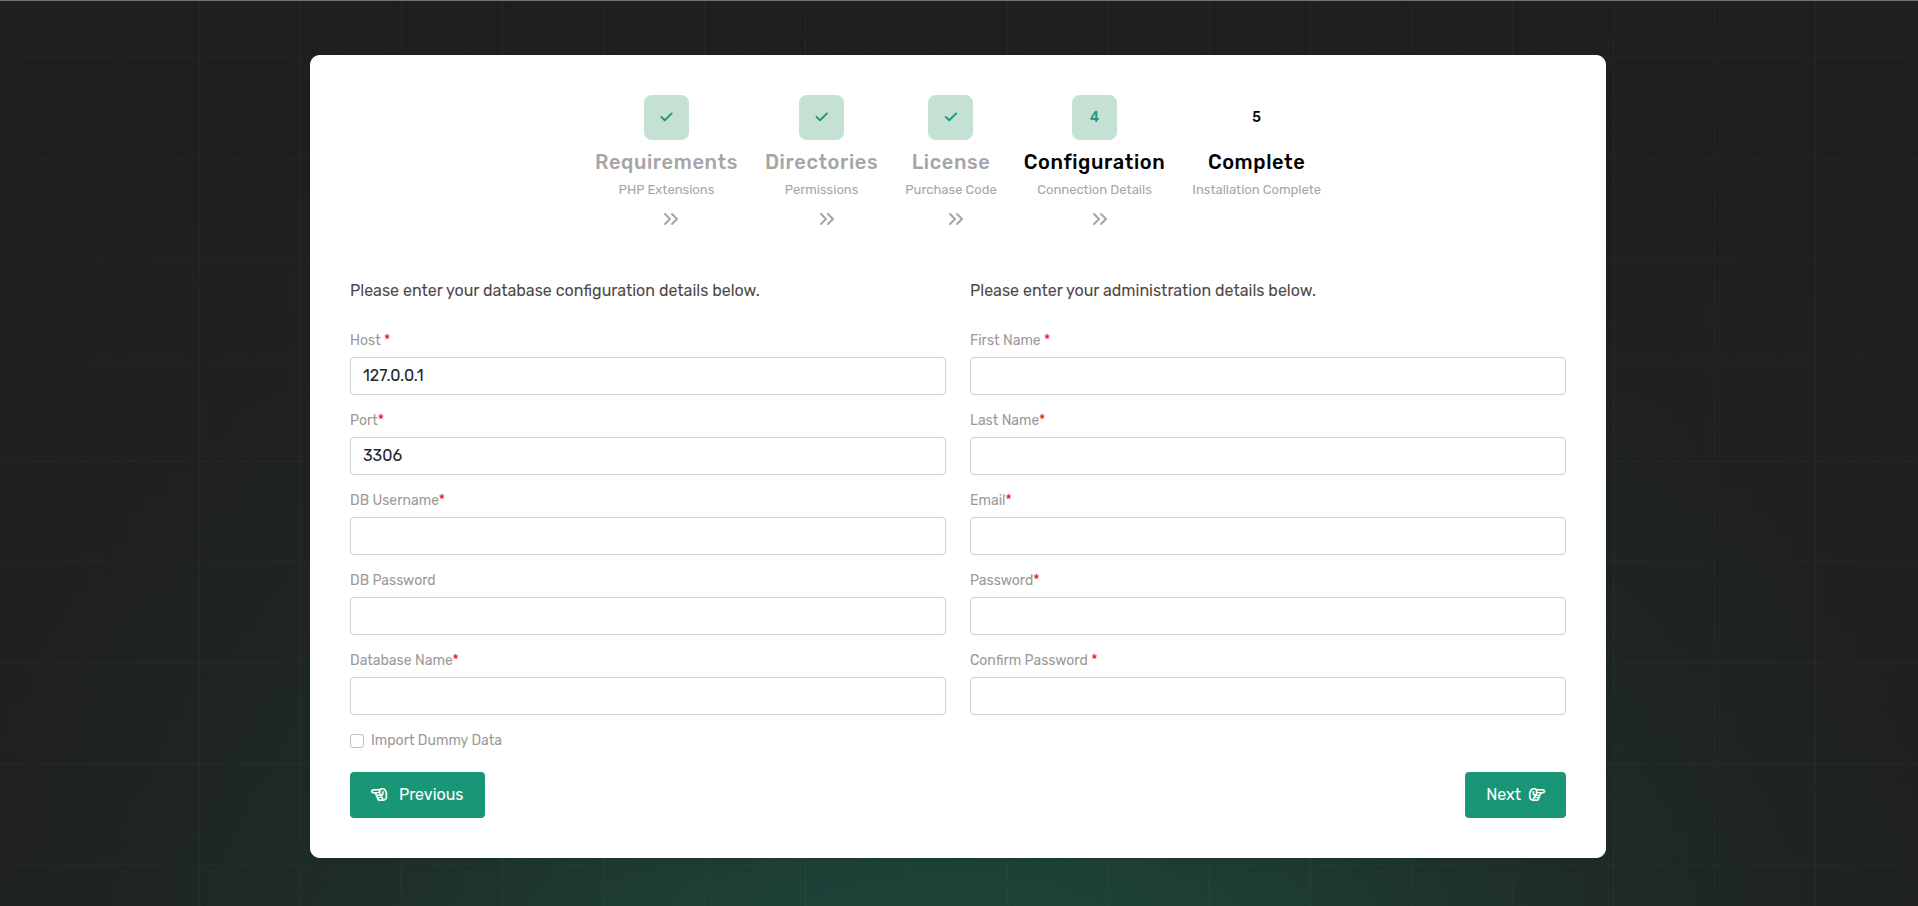
- Step 4: Once the license has been verified, proceed to the database configuration step.
- Enter the essential MySQL database credentials to connect the Laravel API to the MySQL database such as a database host, username, password, and database name.
- To import sample data, select "Import Dummy Data". After selecting this option, the administration details will be hidden. Click the "Next" button to the sample data will be imported.
- If you prefer not to import sample data, you can deselect "Import Dummy Data" After that, enter the administration details. Once done, click the "Next" button to proceed.
Note: After entering the required information and clicking "Next," the database setup will start. It might take few minutes, so please wait patiently.
.png)
- Step 5: Once all steps are finished, Congratulations! Taxido has been successfully installed and configured on your system! 🎉, you can proceed by using the default credentials.
For Postman API Documentation Click Here.
Here are some common solutions if your project isn't running successfully:
Default Credentials
Admin Credential:
- Url: https://your-domain.com/admin/login
- Email: admin@example.com
- Password: 123456789
Driver Credential:
- Url: https://your-domain.com/admin/login
- Email: driver@example.com
- Password: driver@123