

 Setting
The Setting Tab in Setting Management include the following options, allowing detailed customization of the Setting section of your application:
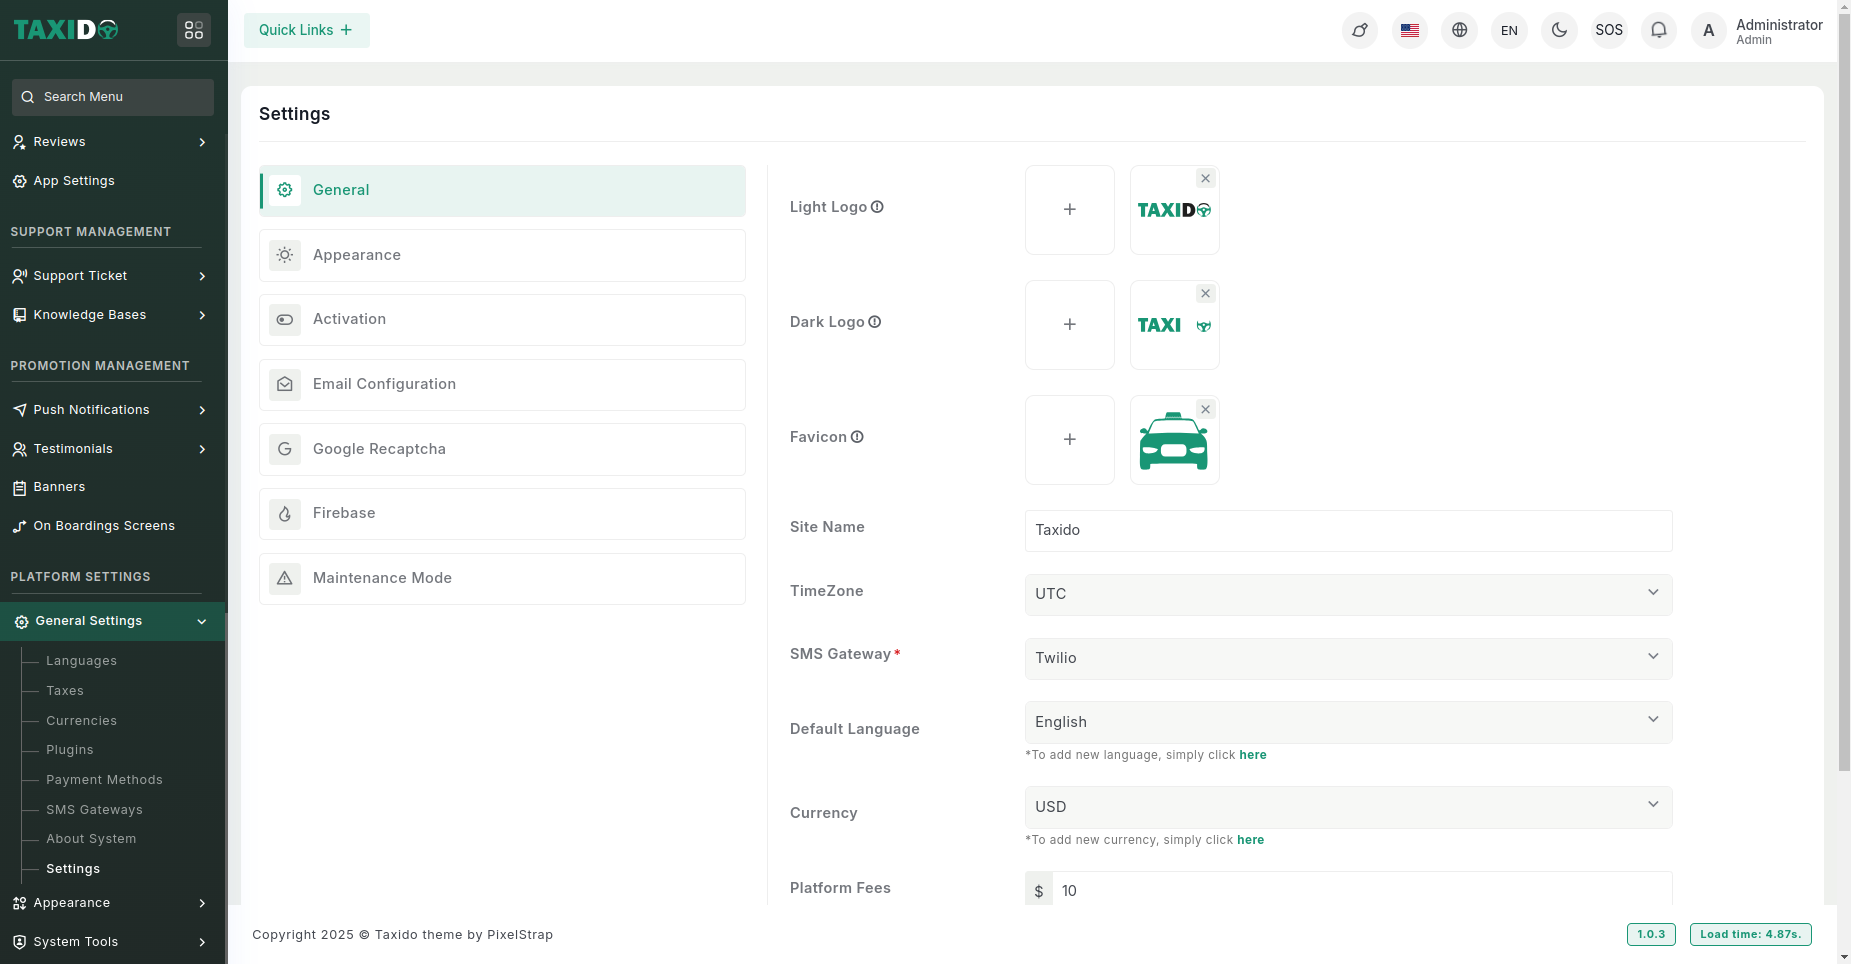
General
In the "General" tab, you can set up key website details as depicted in the provided screenshot.
Appearance
In the "Appearance" tab, you can customize the visual aspects of the admin panel, including colors and fonts.
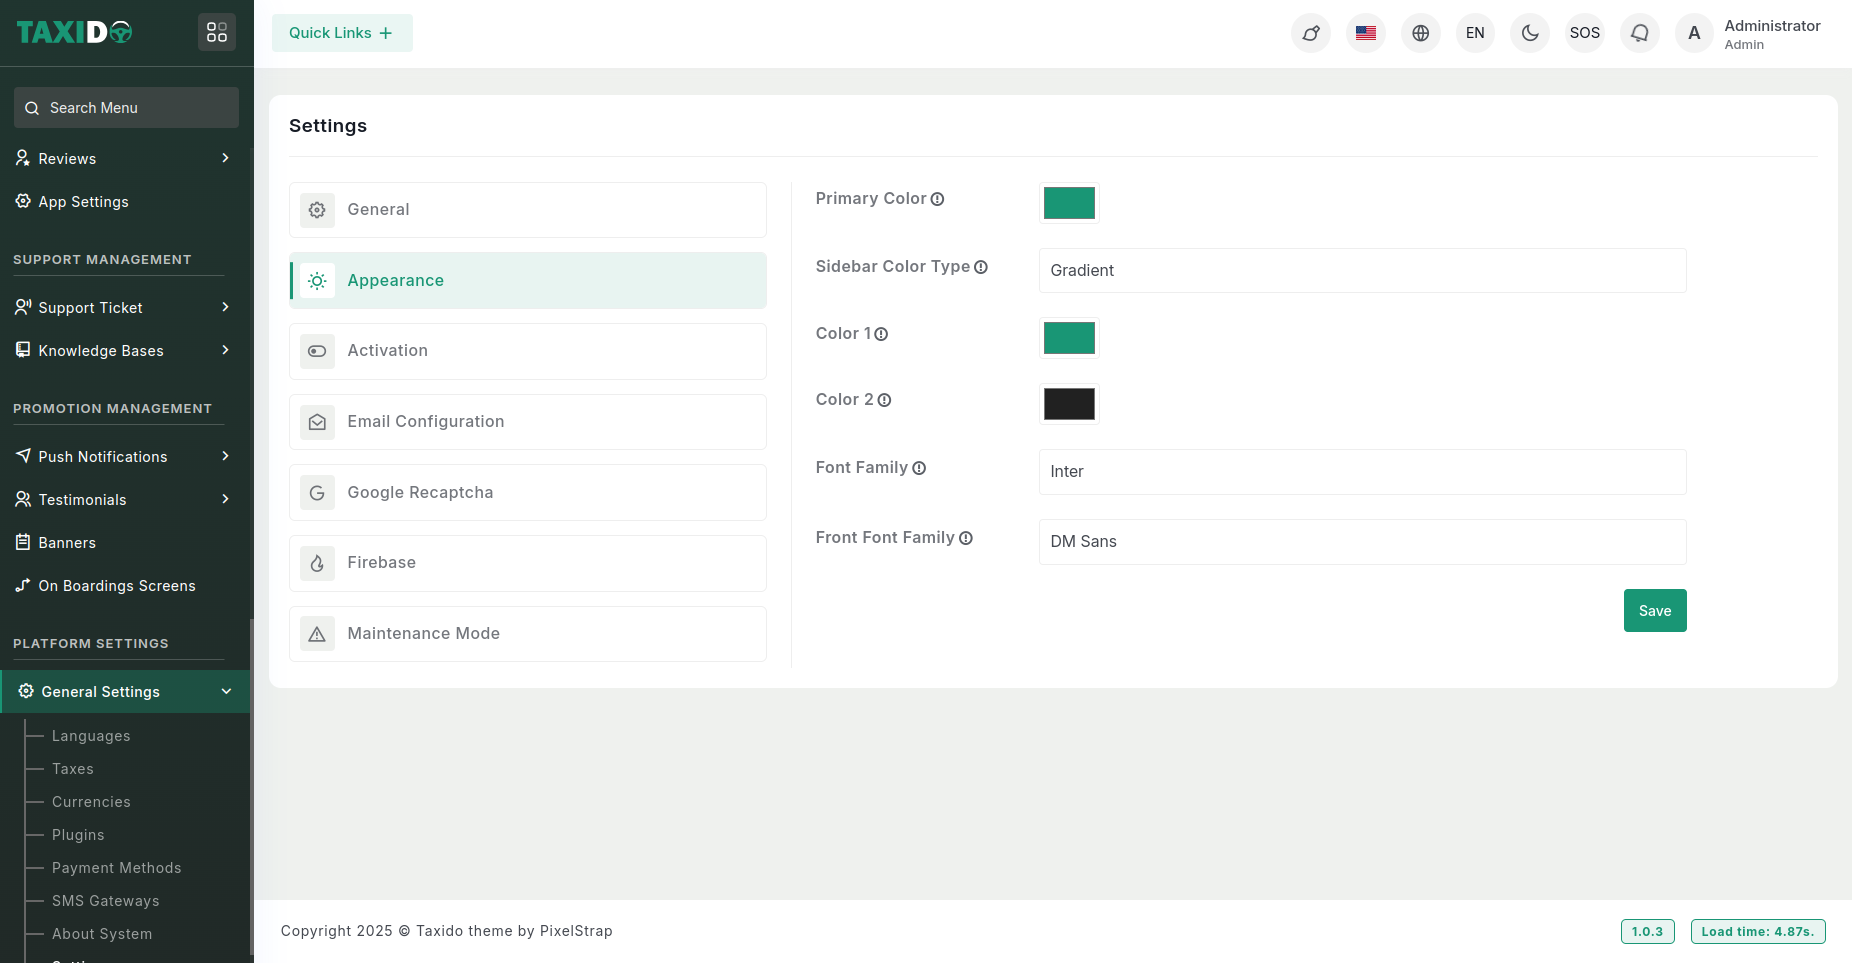
- Primary Color: Select the primary color to customize the admin panel theme.
- Sidebar Color Type: Choose between a solid or gradient background for the sidebar.
- Gradient Colors: If "Gradient" is selected, set the two colors to create the gradient effect.
- Font Family: Select a font style for the admin panel interface.
- Front Font Family: Select a font style for the Landing Page interface.
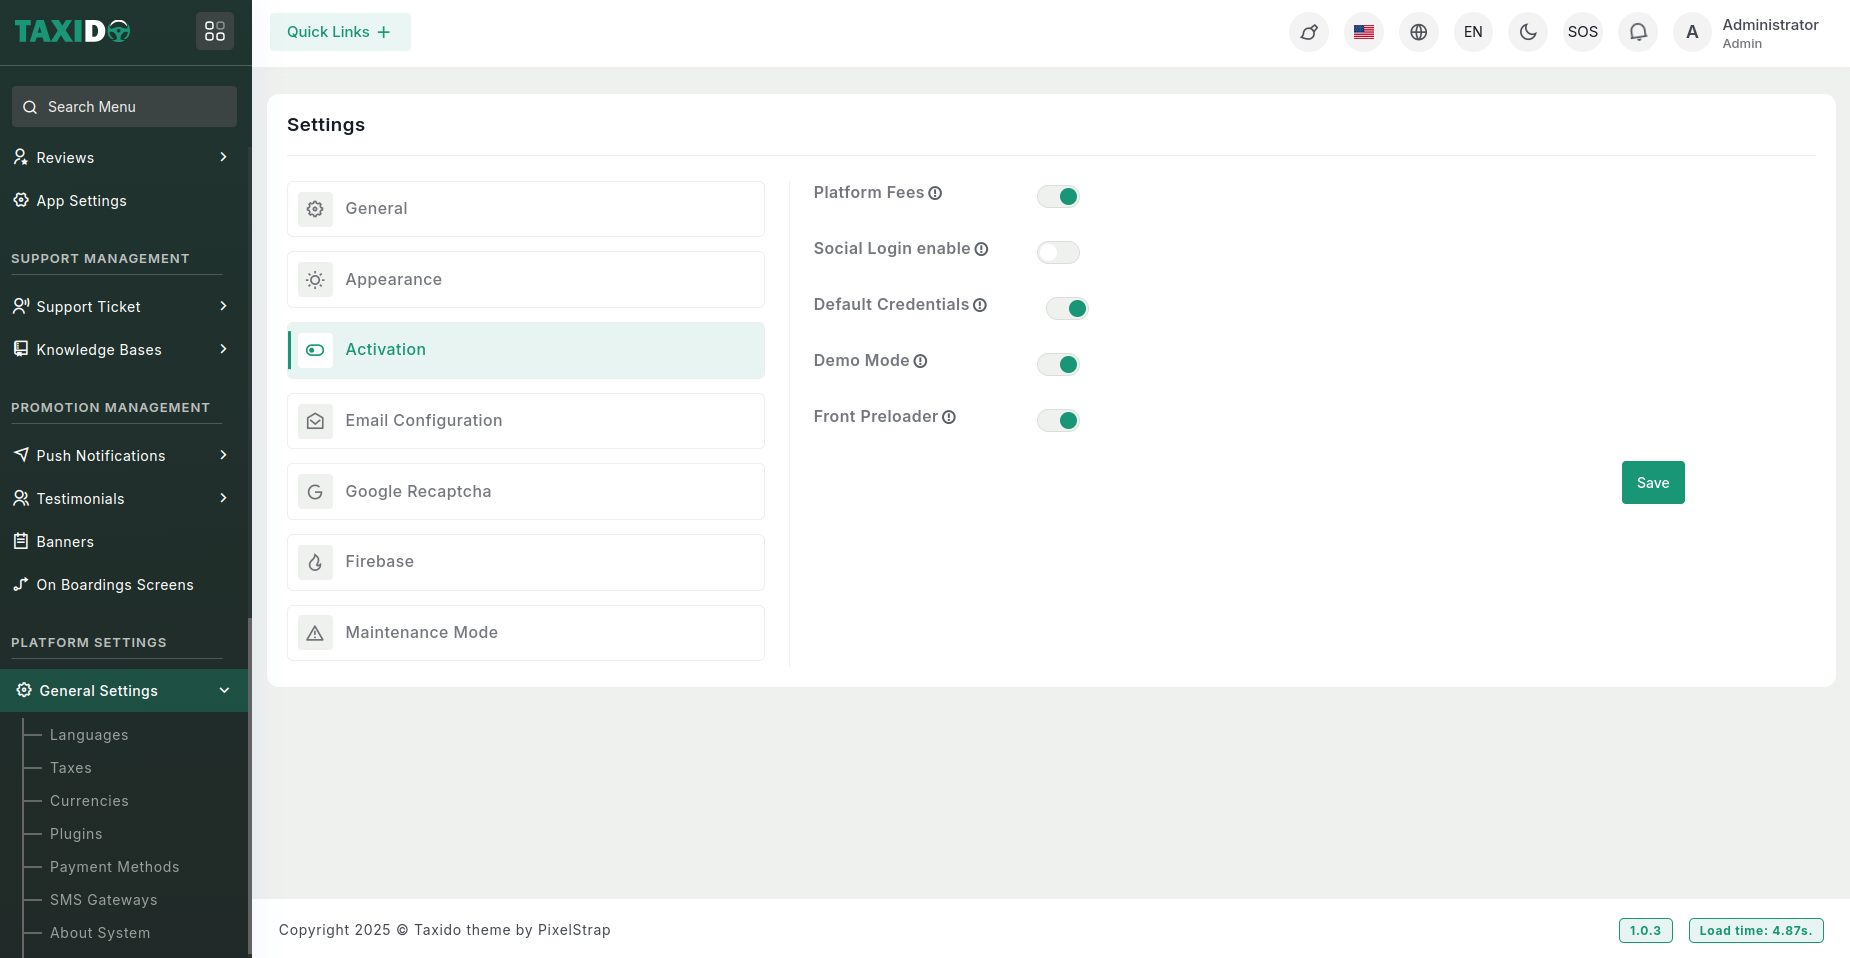
Activations
- In the Activation tab, you can configure key platform settings, with detailed guidance available in the tooltips within the admin panel.
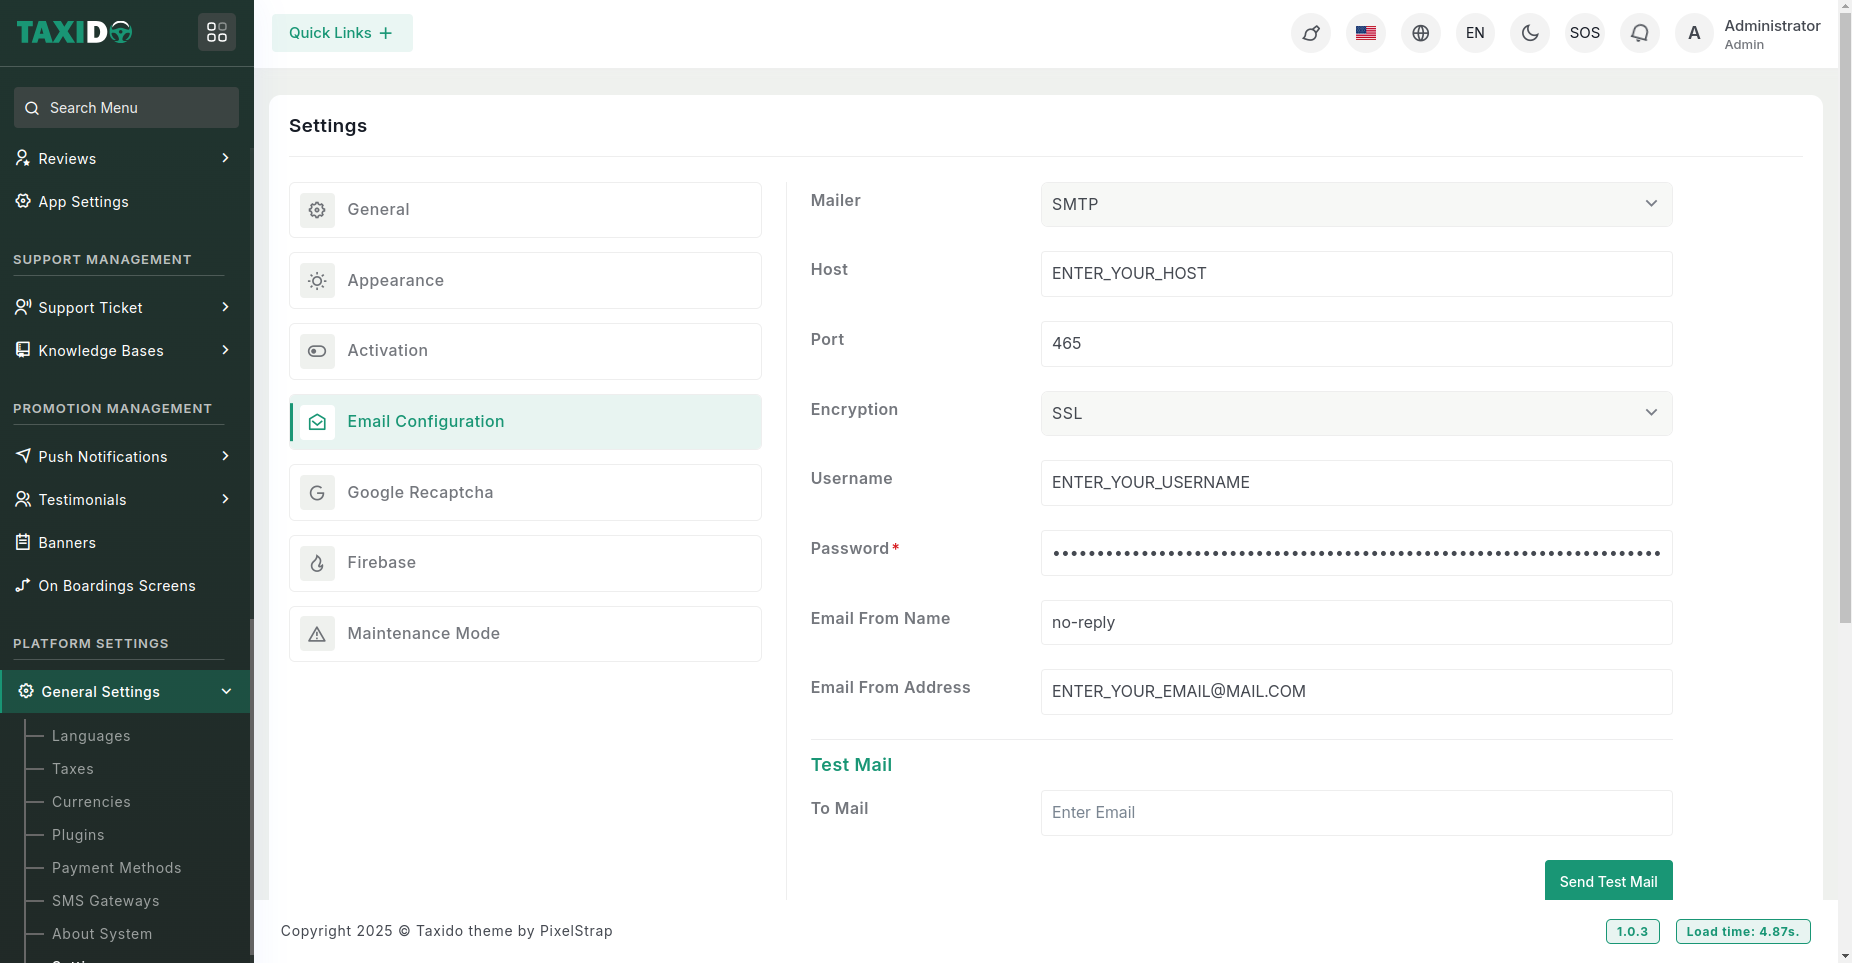
Email Configuration
In the Mailer Tab, you can select any of the 2 options:
- Sendmail
- SMTP
Please review the document and complete the mail configuration form:
https://docs.cpanel.net/knowledge-base/email/how-to-create-and-connect-to-an-email-account/
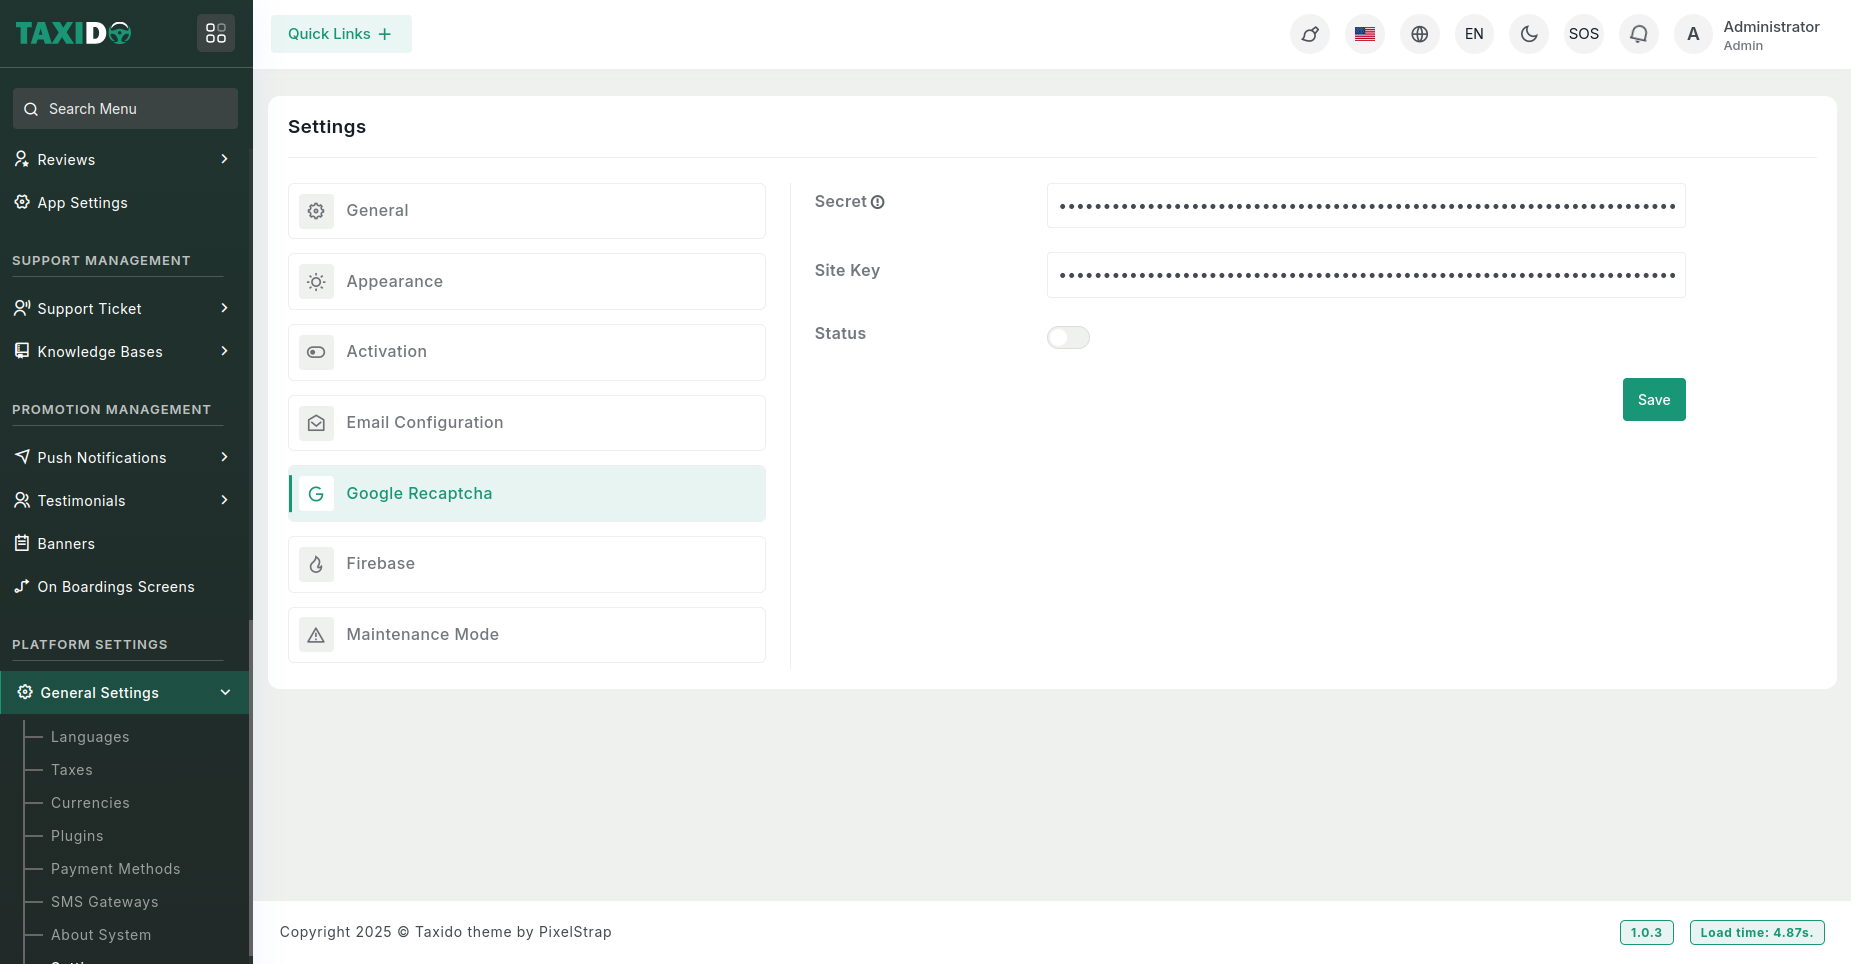
How to Generate Google reCAPTCHA Site Key and Secret Key
- Visit the Google reCAPTCHA website: https://cloud.google.com/recaptcha/docs/create-key-website
- Click on the "Admin Console" button in the top-right corner.
- Sign in with your Google account (or create one if you don’t have one).
- Click the "+ (plus)" button to create a new reCAPTCHA project.
- Fill out the form:
- Label: Choose a name for your project.
- reCAPTCHA Type: Select either "reCAPTCHA v2" or "reCAPTCHA v3".
- Domains: Enter your website domain (e.g., example.com).
- Agree to the reCAPTCHA Terms of Service and click "Submit".
- Your reCAPTCHA keys (Site Key and Secret Key) will be displayed on the next page.
- Copy the Site Key and Secret Key for use in your website's form or application.
- Logo: Upload logo for your project.
- App Name: Enter the app name for your project.
- Privacy Policy URL: Enter the privacy policy page url.
- Term & Condition URL: Enter the terms & condition page url.
- App Store URL: Enter the app store url.
- Play Store URL: Enter the play store url.
Social Login
- In the "Social Login" tab, configure the required key details as shown in the provided screenshot. These keys allow integration with social login providers, enabling users to log in using their social media accounts.
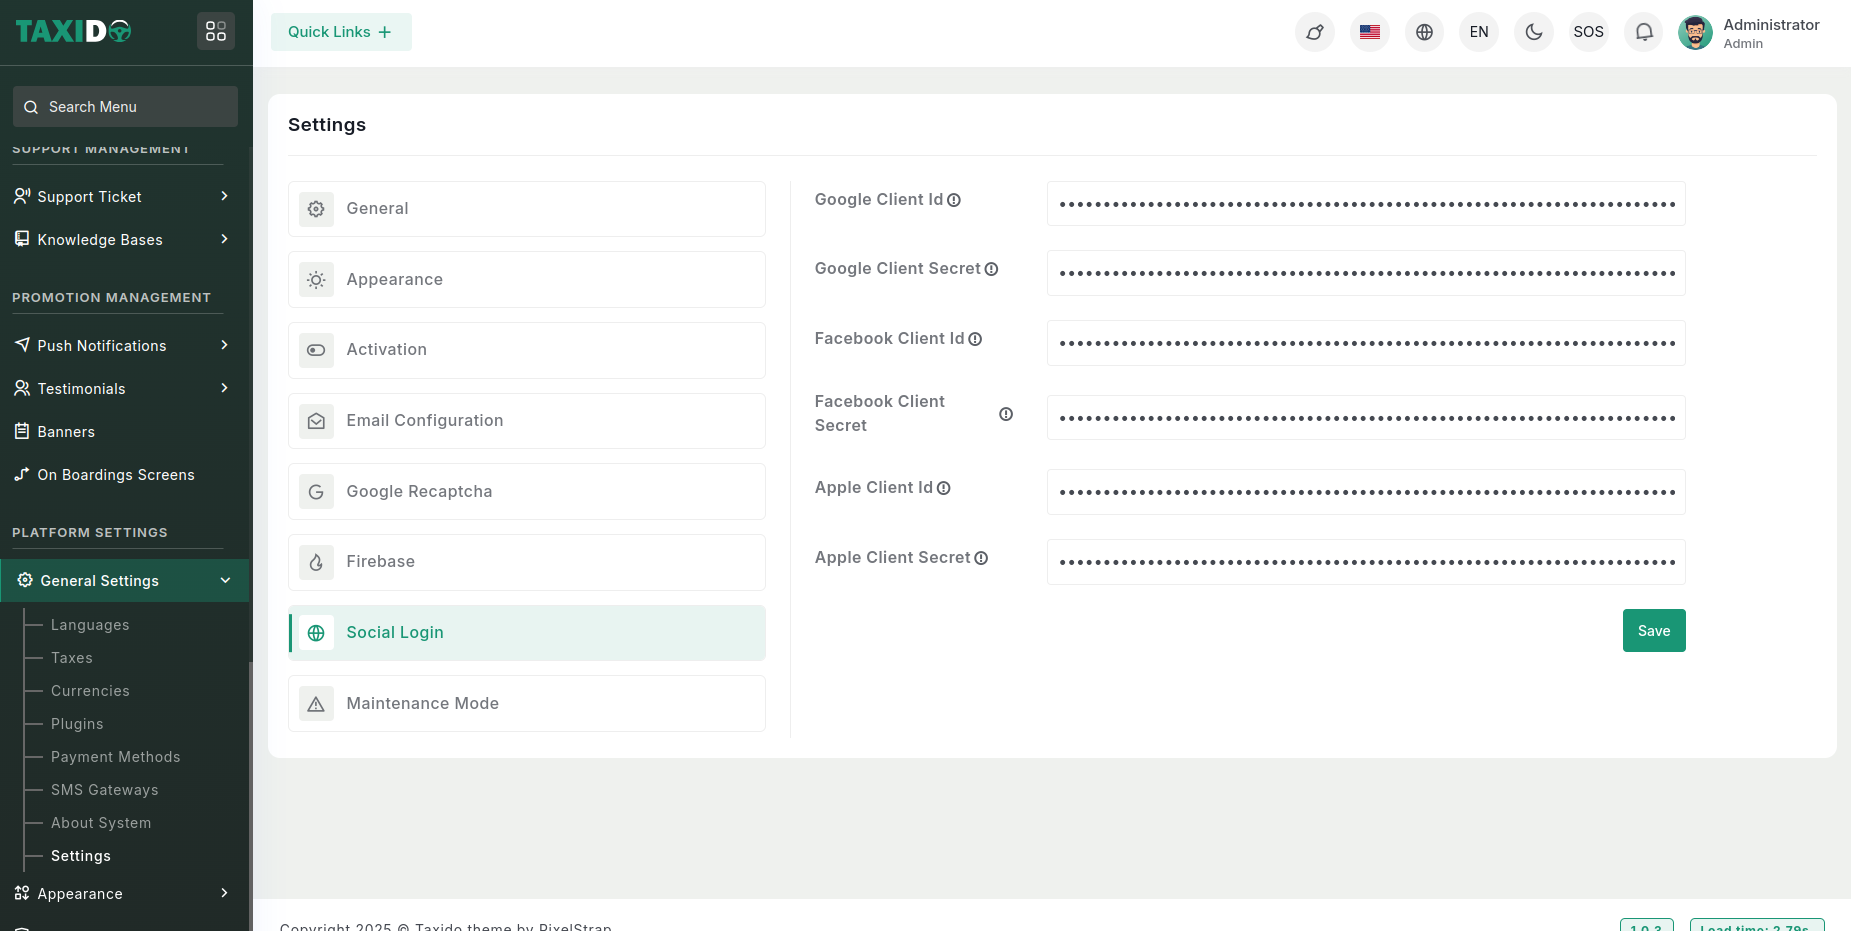
Create Credentials :
For Google follow this link: https://docs.ultimatemember.com/article/141-social-login-google-app-setup
For Facebook follow this link: https://www.cozmoslabs.com/docs/profile-builder/add-ons/social-connect/create-facebook-app-social-connect/
For Apple follow this link: https://developer.apple.com/documentation/sign_in_with_apple/configuring_your_environment_for_sign_in_with_apple
- Google Client Id: Enter the Client ID provided by Google for OAuth authentication.
- Google Client Secret: Enter the Client Secret associated with the Google Client ID.
- Facebook Client Id: Enter the Client ID provided by Facebook for authentication.
- Facebook Client Secret: Enter the Client Secret associated with the Facebook Client ID.
- Apple Client Id: ID provided by Apple for Sign In with Apple.
- Apple Client Secret: Enter the Client Secret associated with the Apple Client ID.
Maintenance Mode
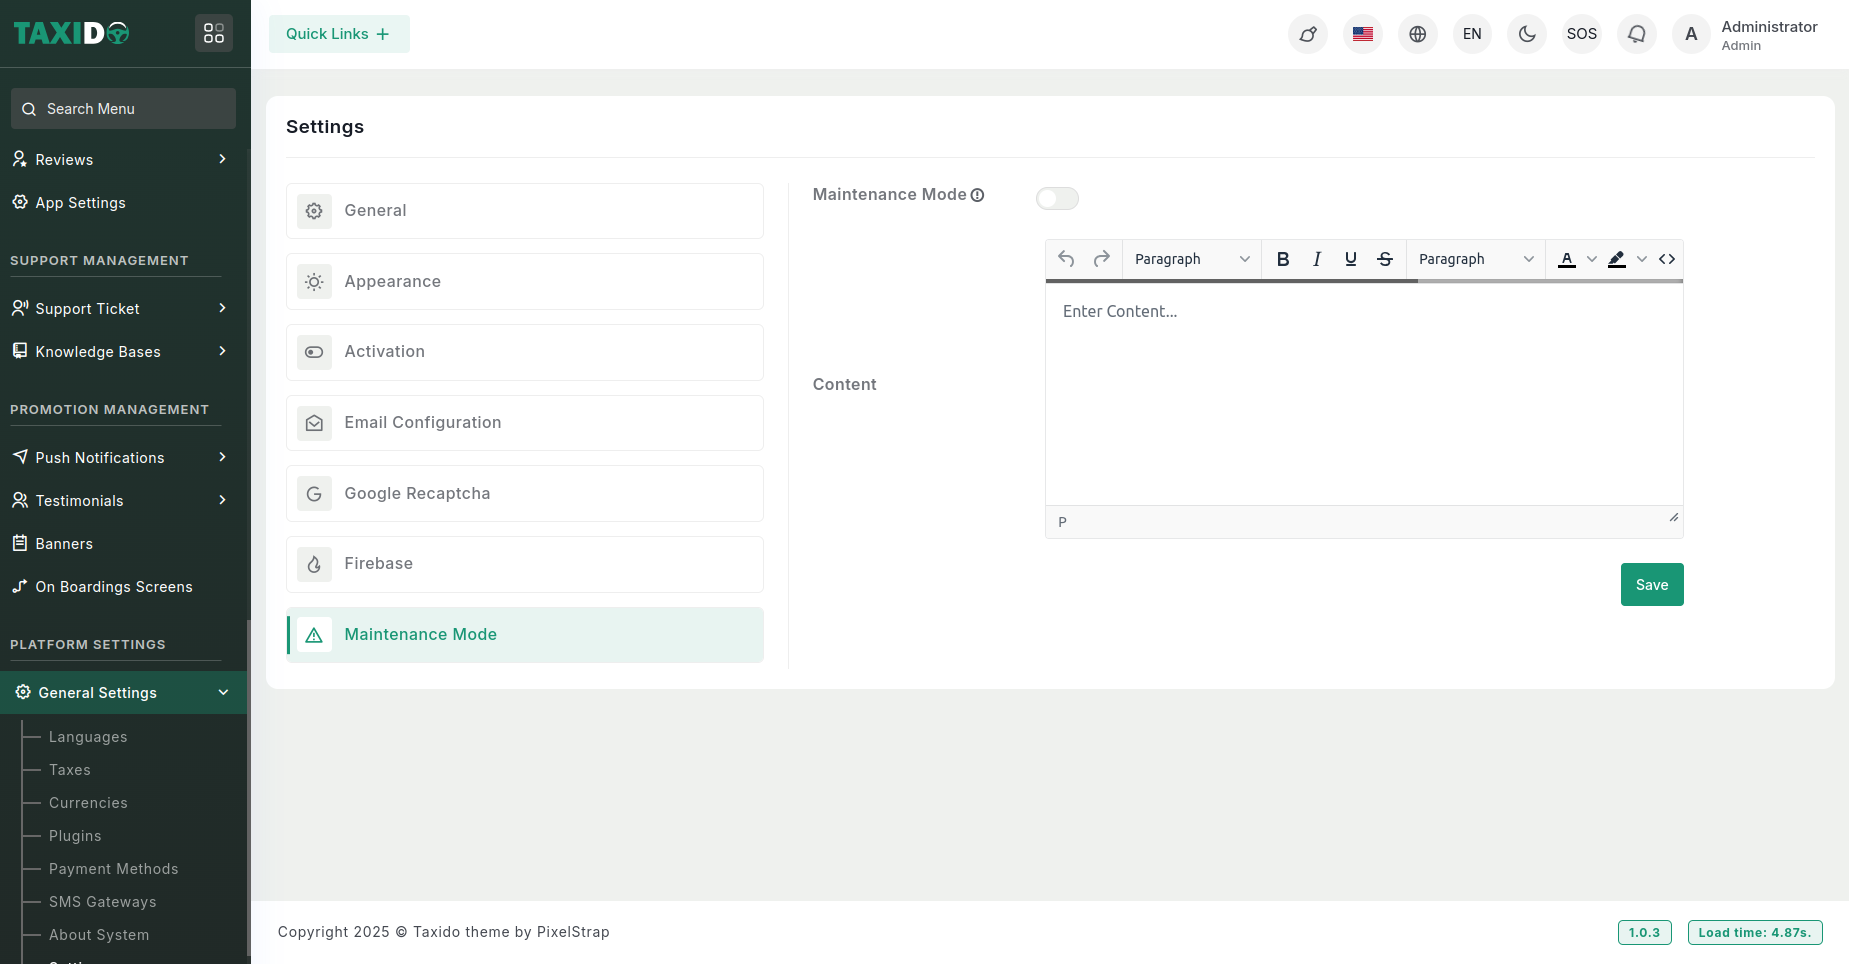
- Maintenance Mode: Toggle this option to activate or deactivate the maintenance mode. If enabled, the maintenance mode will be show in the landing page; if disabled, it will not be showed.
- Content: Enter the message or content to display when maintenance mode is enabled.