
 How to setup payment gateways?
CASH Payment Gateway

- Status: This field determines whether the CASH payment option will be visible to customers on the frontend checkout page.
Paypal Payment Gateway
Create a PayPal Business Account:
- If you don't already have a PayPal Business account,go to PayPal's website and sign up for one.
- You'll need to provide some basic information about your business.
Log In to Your PayPal Business Account:
- Once you have a PayPal Business account, log in to your account's dashboard.
Once you have a PayPal Business In your PayPal Business account dashboard, click on the "Tools" menu and select "All Tools."account, log in to your account's dashboard.
- In your PayPal Business account dashboard, click on the "Tools" menu and select "All Tools."
- Under the "Integrate PayPal" section, click on "Open" next to "REST API apps."
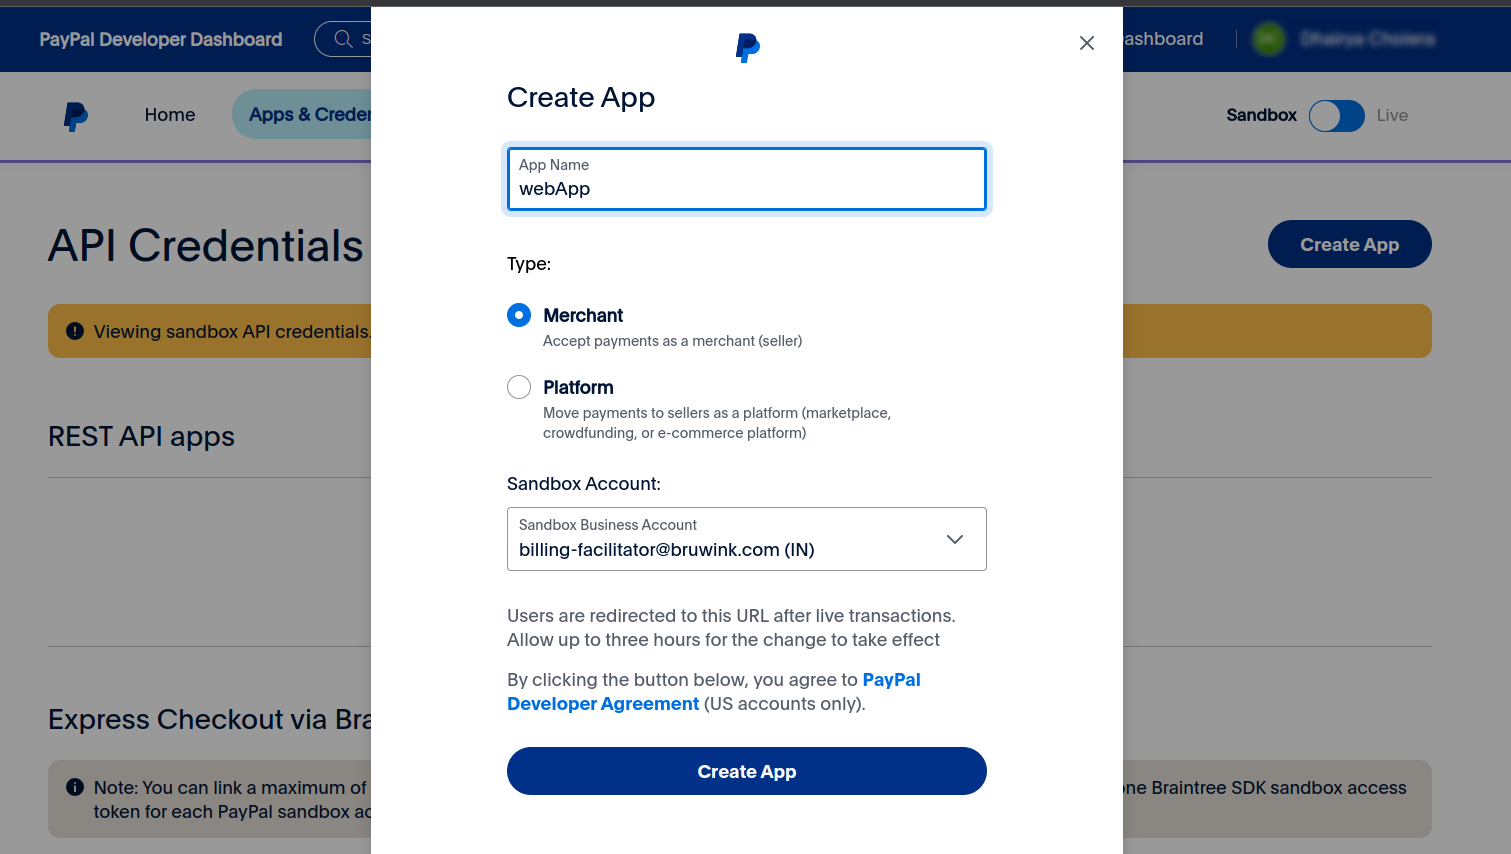
- Click on the "Create App" button to create a new REST API application.
- Fill in the required information for your application, such as the name and the sandbox developer account you want to associate with your app. Make sure to choose the "Business" account type for the app.
- Click the "Create App" button.
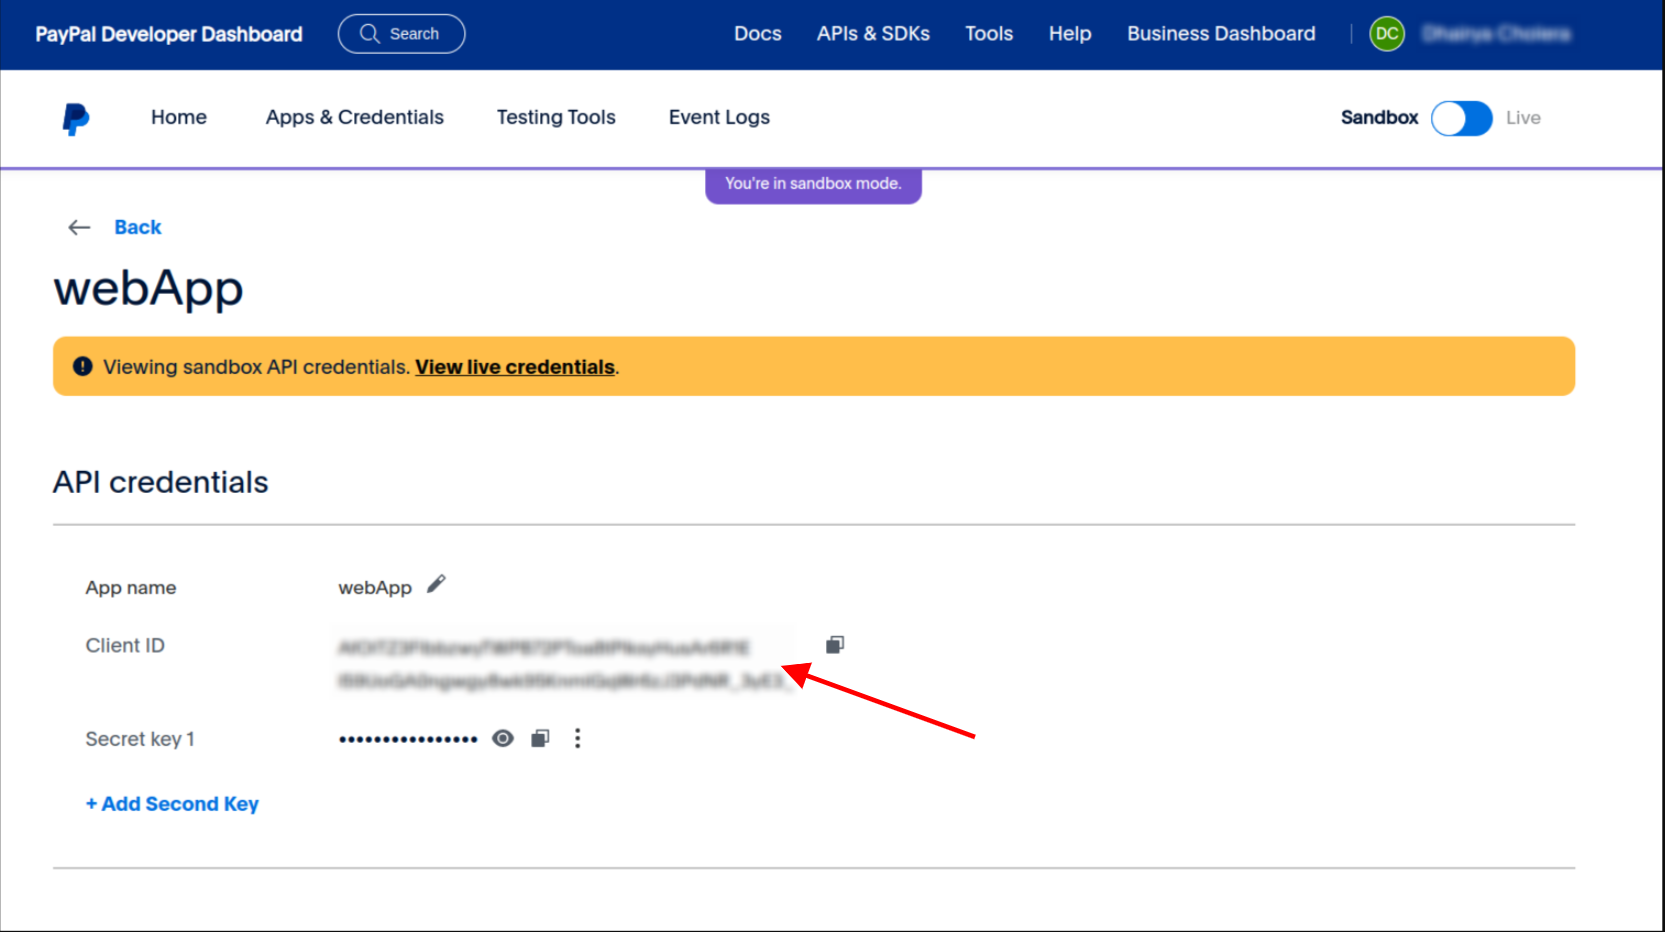
- Once the app is created, you'll be able to see your "Client ID" and "Secret" on the app details page.
- These are the credentials you'll need for integration. Keep them secure and don't share them publicly.
Access Your PayPal API Credentials:
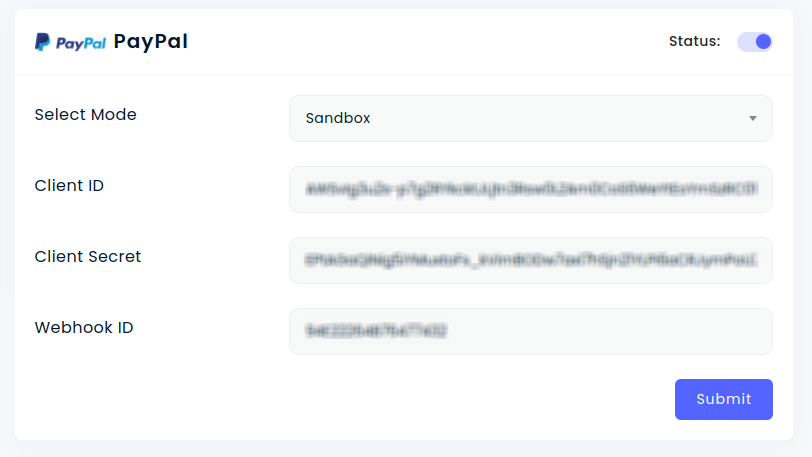
- Status: This field determines whether the PayPal payment option will be visible to customers on the frontend checkout page.
- Sandbox Mode :Set this to true if you're testing in the PayPal sandbox environment. Use false for live transactions.
- Client Id: Integrate your Client ID from step 1 to authenticate your application with PayPal.
- Secret: For security reasons, never expose your Secret Id on the front-end. Store it securely on your server-side code to interact with PayPal's APIs.
Stripe Payment Gateway
Create a Stripe Account:
- If you don't already have a Stripe account, go to Stripe's website and sign up for an account.
- You'll need to provide some basic information about your business.
Log in to Your Stripe Dashboard:
- Once you have your Stripe account, log in to your Stripe dashboard.
Access Your API Keys:
- In your Stripe dashboard, navigate to the "Developers" section.
- You can usually find this by clicking on your account name or logo in the upper-right corner of the dashboard and selecting "Developers" or "API keys."
Get Your Secret Key:
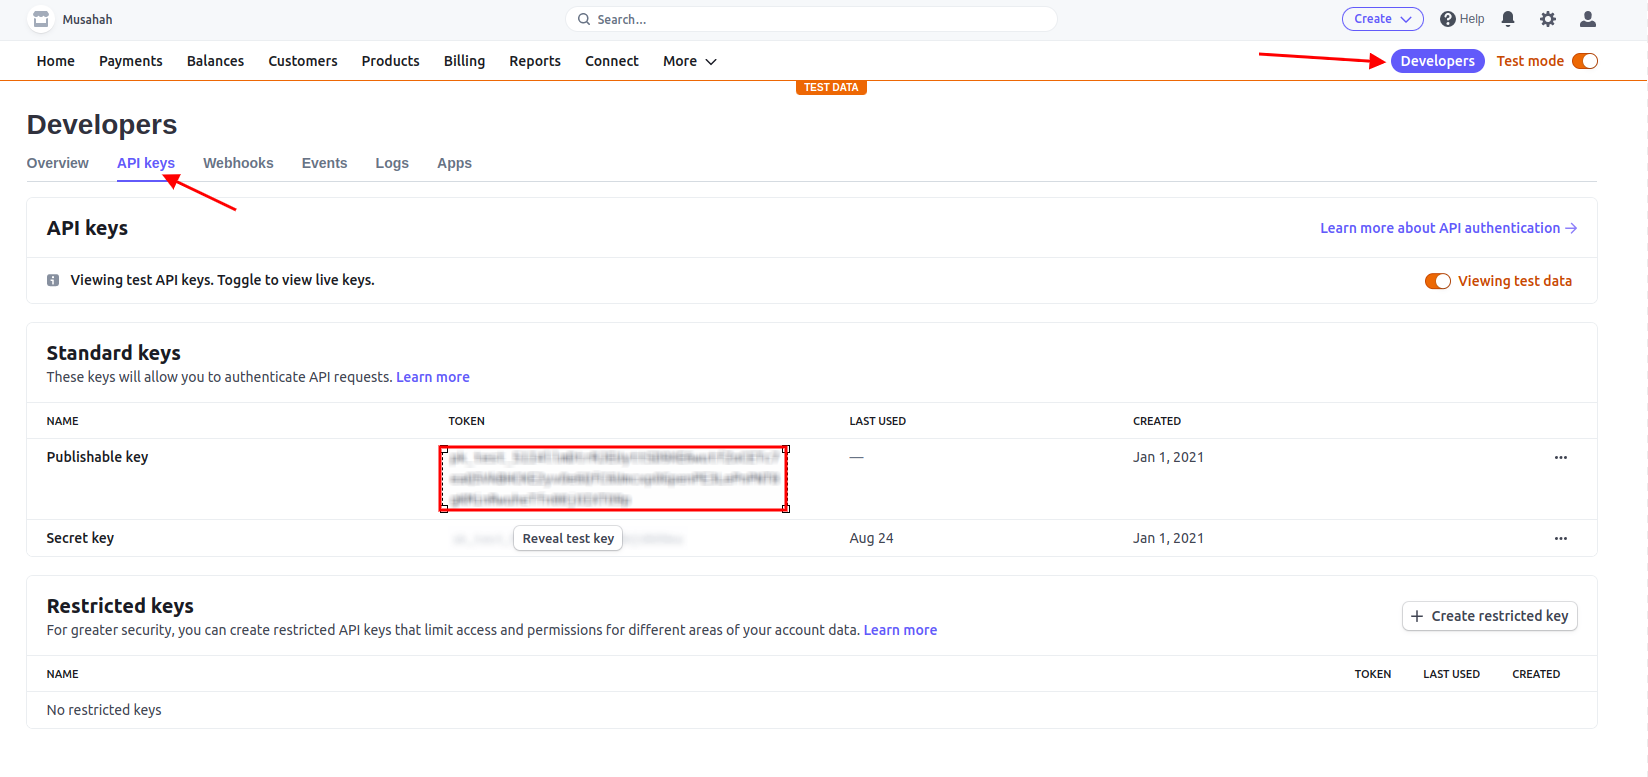
- In the "API keys" section, you'll see two types of keys: "Publishable key" and "Secret key."
- "You need the "Secret key" to make server-side API requests and securely handle payment processing.
- Click on the "Reveal live key token" button next to the "Secret key" to display your key.
- Copy and past key and secret.
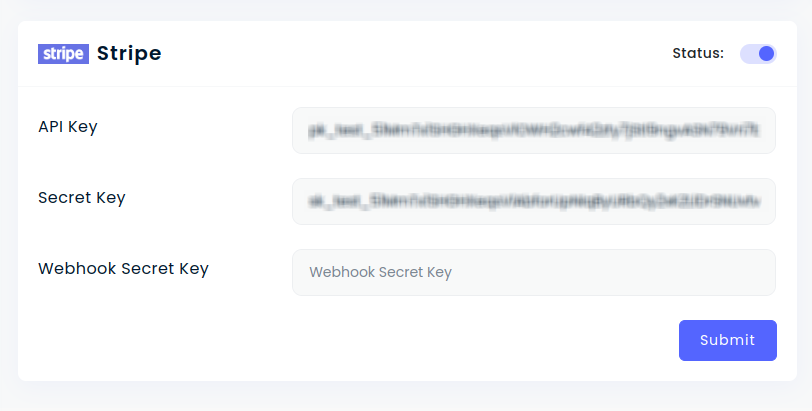
- Status: This field determines whether the Strip payment option will be visible to customers on the frontend checkout page.
- Key:
- Secret: For security reasons, never expose your Secret Id on the front-end. Store it securely on your server-side code to interact with Strip's APIs.
Razorpay Payment Gateway
Create a Razorpay Account:
- If you don't already have a Razorpay account, go to Razorpay's website and sign up for an account.
- You'll need to provide some basic information about your business.
Log In to Your Razorpay Dashboard:
- Once you have a Razorpay account, log in to your Razorpay dashboard.
Access Your API Credentials:
To obtain your API credentials (Client ID and Secret ID), you'll need to create a new API key from your Razorpay dashboard. Here's how to do it.
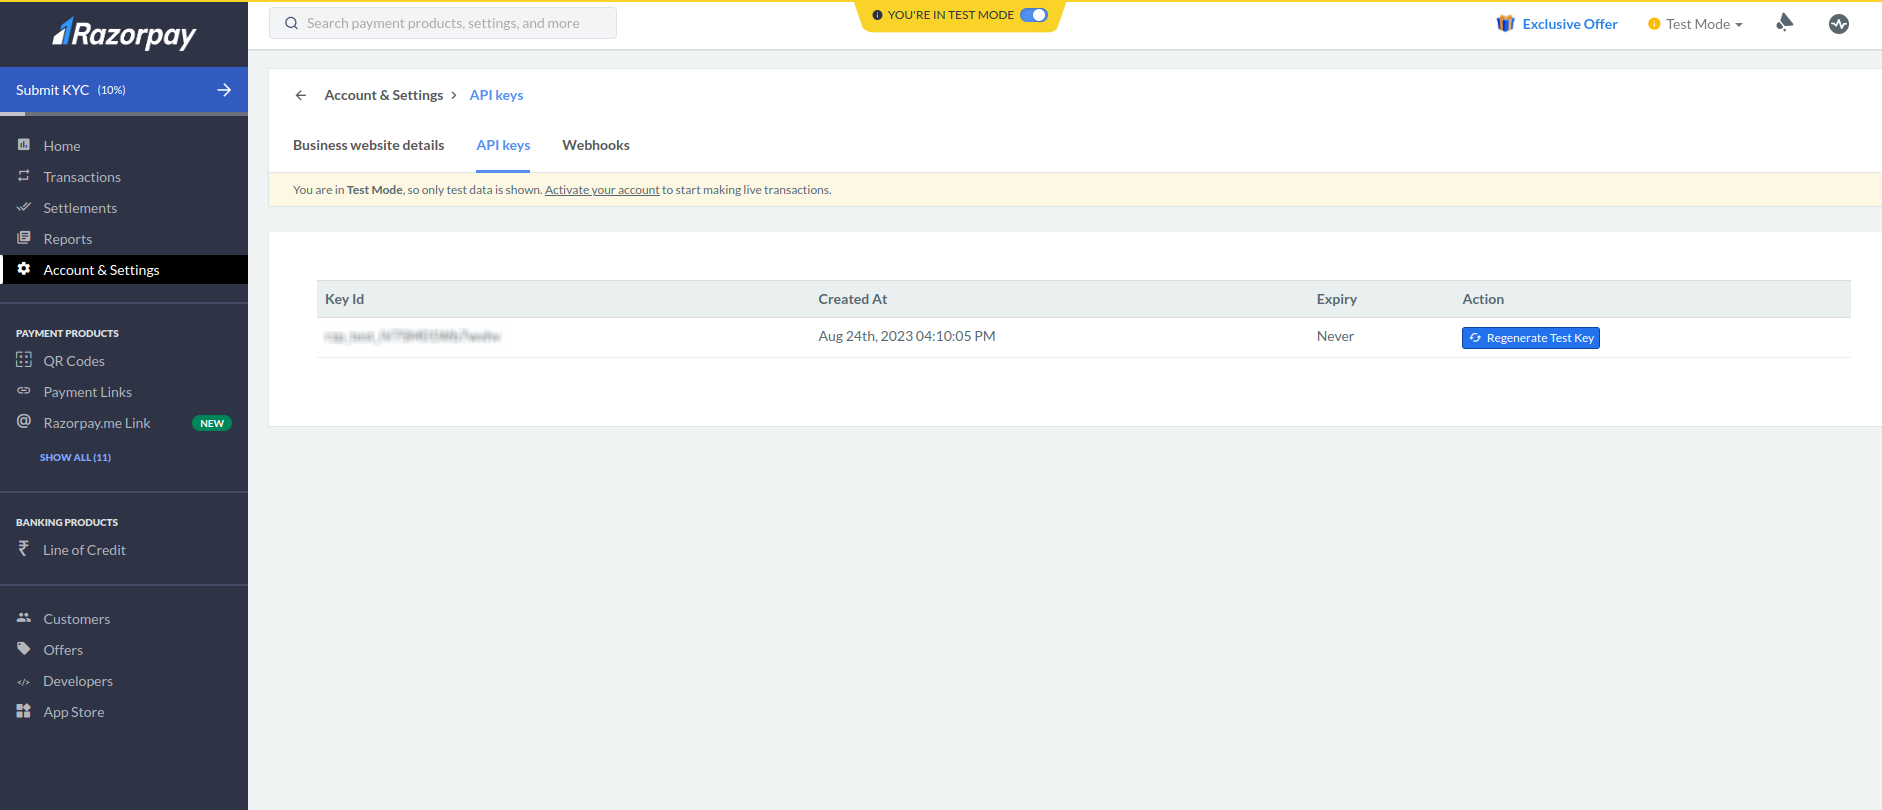
- In your Razorpay dashboard, navigate to the "Settings" section.
- In the settings menu, click on "API Keys."
- Click the "Generate Key" button to create a new API key.
- Give your key a name for reference (Eg:, "My Laravel App").
- After you've generated the key, you'll see your "key_id" (Client ID) and "key_secret" (Secret ID). These are the credentials you'll need for integration. Keep them secure and don't share them publicly.
- These are the credentials you'll need for integration. Keep them secure and don't share them publicly.
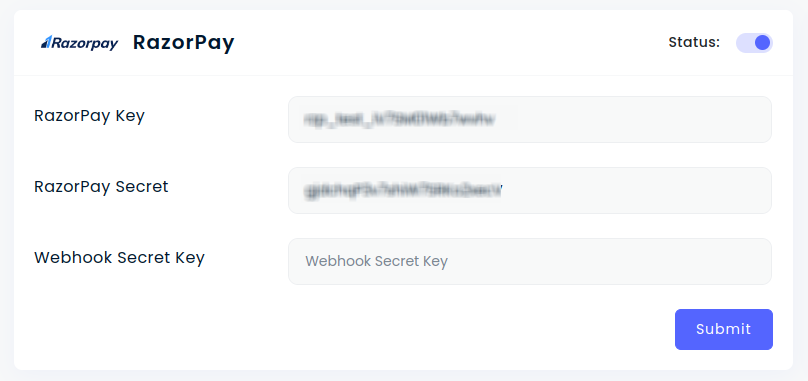
- Status: This field determines whether the Razorpay payment option will be visible to customers on the frontend checkout page.
- Key:
- Secret: For security reasons, never expose your Secret Id on the front-end. Store it securely on your server-side code to interact with Razorpay's APIs.
Mollie Payment Gateway
Create a Mollie Account:
- If you don't already have a Mollie account, go to Mollie's website and sign up for an account.
- You'll need to provide information about your business.
Log In to Your Mollie Dashboard:
- Once you have a Mollie account, log in to your Mollie dashboard.
Access Your API Credentials:
To obtain your API credentials (Secret ID), you'll need to create an API key from your Mollie dashboard. Here's how to do it:
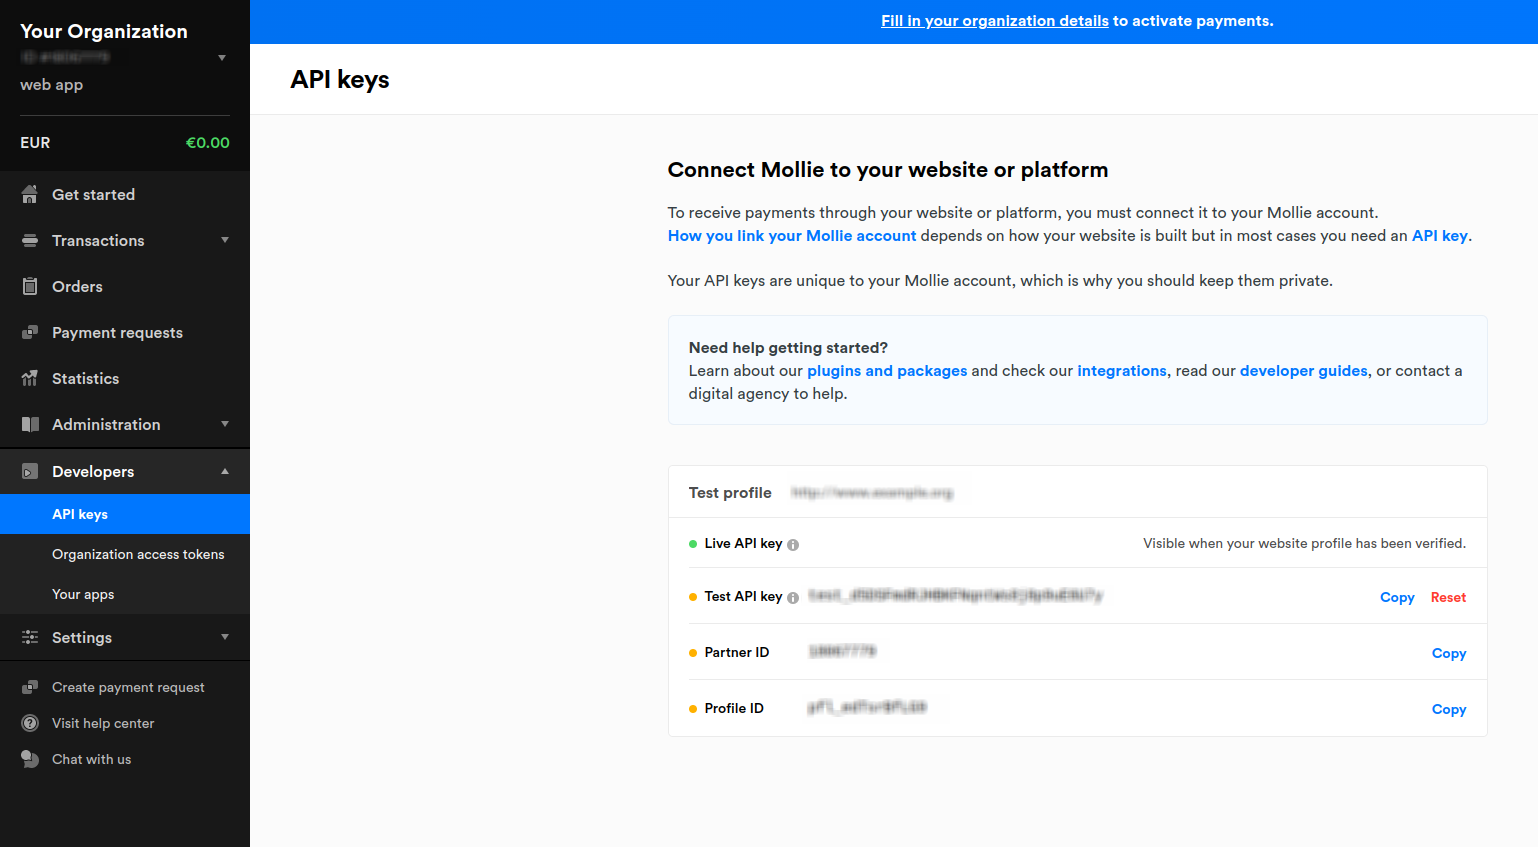
- In your Mollie dashboard, navigate to the "Developers" section.
- In the Developers section, click on "API keys."
- Click the "Create API Key" button to generate a new API key.
- Give your API key a name for reference (Eg:, "My Laravel App").
- After you've generated the API key, you'll see your "API key" (Secret ID).
- This is the credential you'll need for integration. Keep it secure and do not share it publicly.
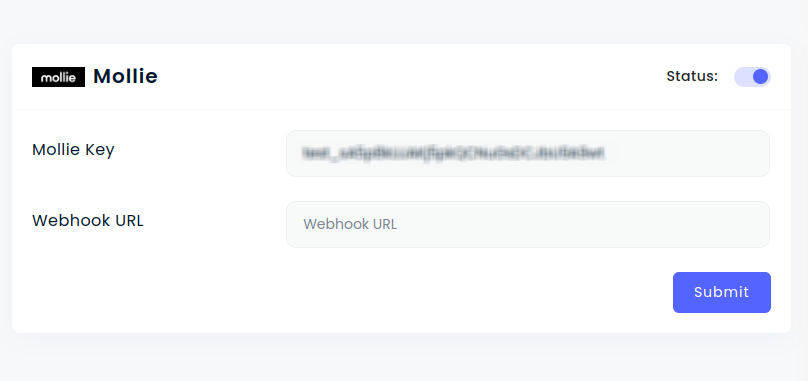
- Status: This field determines whether the Strip payment option will be visible to customers on the frontend checkout page.
- Secret: For security reasons, never expose your Secret Id on the front-end. Store it securely on your server-side code to interact with Strip's APIs.
PhonePe Payment Gateway
Create a PhonePe Account:
- If you don't already have a PhonePe account, go to PhonePe's website and sign up for an account.
- You'll need to provide information about your business.
Log In to Your PhonePe Dashboard:
- Once you have a PhonePe account, log in to your PhonePe dashboard.
Access Your API Credentials:
To obtain your API credentials (Secret ID), you'll need to create an API key from your PhonePe dashboard. Here's how to do it:
- In your PhonePe dashboard, navigate to the "Developers" section.
- In the Developers section, click on "API keys."
- Click the "Create API Key" button to generate a new API key.
- Give your API key a name for reference (Eg:, "My Laravel App").
- After you've generated the API key, you'll see your "API key" (Secret ID).
- This is the credential you'll need for integration. Keep it secure and do not share it publicly.
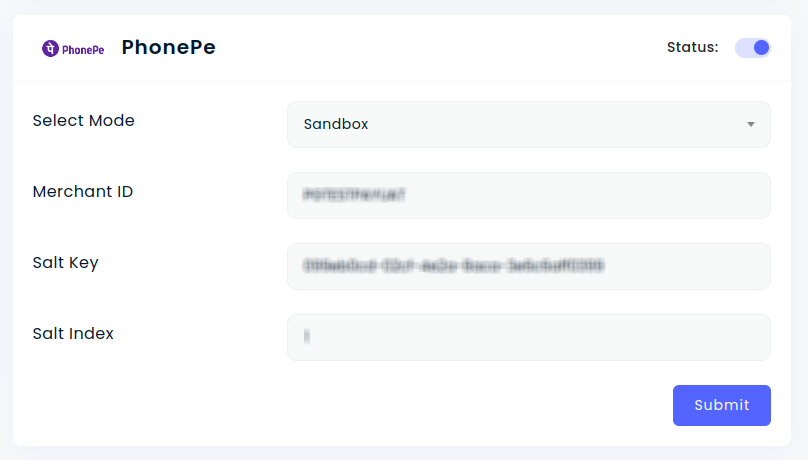
- Status: This field determines whether the Strip payment option will be visible to customers on the frontend checkout page.
- Secret: For security reasons, never expose your Secret Id on the front-end. Store it securely on your server-side code to interact with Strip's APIs.
InstaMojo Payment Gateway
Create a InstaMojo Account:
- If you don't already have a InstaMojo account, go to InstaMojo's website and sign up for an account.
- You'll need to provide information about your business.

- Status: This field determines whether the InstaMojo payment option will be visible to customers on the frontend checkout page.
- Sandbox Mode: Set this to true if you're testing in the InstaMojo sandbox environment. Use false for live transactions.
- To obtain the client ID, client secret, and salt key click this link.
CCAvenue Payment Gateway
Create a CCAvenue Account:
- If you don't already have a CCAvenue account, go to CCAvenue's website and sign up for an account.
- You'll need to provide information about your business.
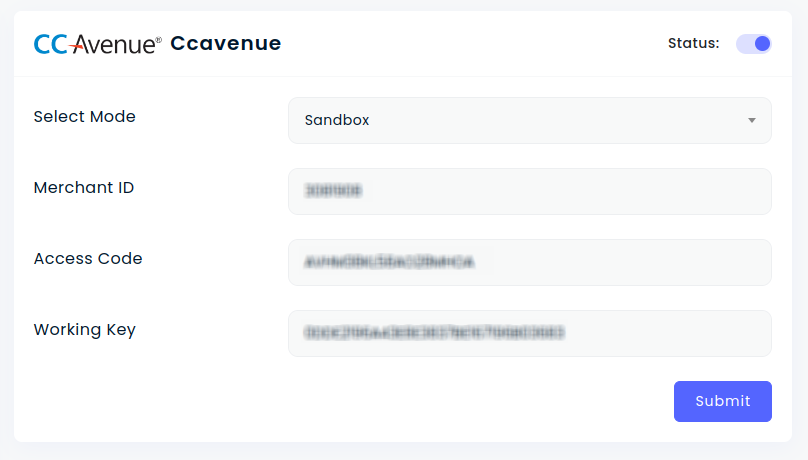
- Status: This field determines whether the CCAvenue payment option will be visible to customers on the frontend checkout page.
- Sandbox Mode: Set this to true if you're testing in the CCAvenue sandbox environment. Use false for live transactions.
- To obtain the Merchant Id, Working Key, and Access Code click this link.
Bkash
Create a Bkash Account:
- If you don't already have a Bkash account, go to Bkash's website and sign up for an account.
- You'll need to provide information about your business.
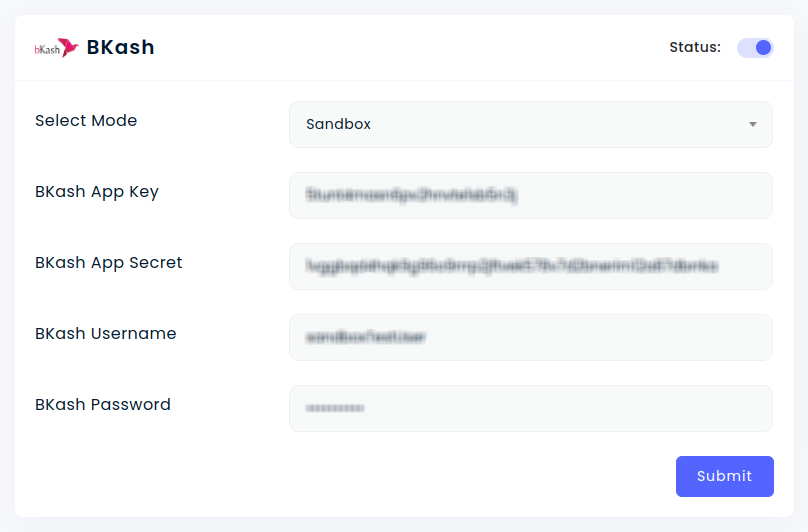
- Status: This field determines whether the Bkash payment option will be visible to customers on the frontend checkout page.
- Sandbox Mode: Set this to true if you're testing in the Bkash sandbox environment. Use false for live transactions.
- To obtain the App key, App Secret, Username and Password click this link.
FlutterWave
Create a FlutterWave Account:
- If you don't already have a FlutterWave account, go to FlutterWave's website and sign up for an account.
- You'll need to provide information about your business.
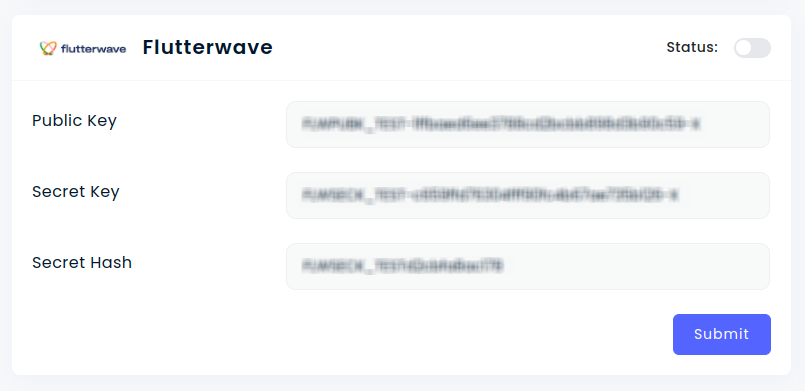
- Status: This field determines whether the FlutterWave payment option will be visible to customers on the frontend checkout page.
- Sandbox Mode: Set this to true if you're testing in the FlutterWave sandbox environment. Use false for live transactions.
- To obtain the Public Key, Secret Key, Secret Hash click this link.
Paystack
Create a Paystack Account:
- If you don't already have a Paystack account, go to Paystack's website and sign up for an account.
- You'll need to provide information about your business.
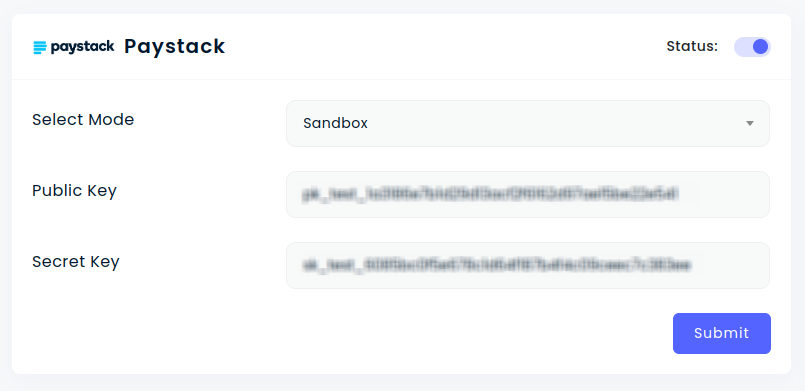
- Status: This field determines whether the Paystack payment option will be visible to customers on the frontend checkout page.
- Sandbox Mode: Set this to true if you're testing in the Paystack sandbox environment. Use false for live transactions.
- To obtain the Public Key and Secret Key click this link.
SSLCommerz
Create a SSLCommerz Account:
- If you don't already have a SSLCommerz account, go to SSLCommerz's website and sign up for an account.
- You'll need to provide information about your business.
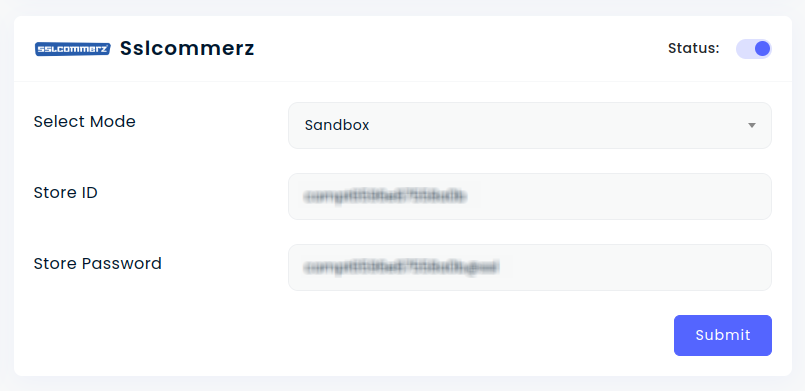
- Status: This field determines whether the SSLCommerz payment option will be visible to customers on the frontend checkout page.
- Sandbox Mode: Set this to true if you're testing in the SSLCommerz sandbox environment. Use false for live transactions.
- To obtain the Store Id and Secret Key click this link.