
 Linux, Nginx, MySQL, PHP
(LEMP stack)
Linux, Nginx, MySQL, PHP
(LEMP stack)
- You can set up Taxido on different types of clean Ubuntu servers using VPS, including Digital Ocean Droplets, Amazon Lightsail, AWS, Google Cloud Virtual Private Server, Azure Ubuntu Virtual Private Server, and more.
- If you plan to utilize all the scripts (Taxido_laravel) on a single server as outlined in this tutorial, we suggest setting up a new Ubuntu-based server with a minimum of 2+ CPU cores and 2GB+ of memory for an efficient and smooth operation.
Setup Server
- Nginx Full: This profile opens both port 80 (normal, unencrypted web traffic) and port 443 (TLS/SSL encrypted traffic)
- Nginx HTTP: This profile opens only port 80 (normal, unencrypted web traffic)
- Nginx HTTPS: This profile opens only port 443 (TLS/SSL encrypted traffic)
1. Login to your server:
- Log in to your server using SSH and Terminal. Use the provided credentials based on your server type, like Ubuntu or AWS.
2. Setup NGINX:
Step 1: Installing Nginx
- Following that, you can choose to install either NGINX or Apache. However, for the purpose of this demonstration, we'll proceed with NGINX, you can install it using the following command.
sudo apt install nginxAfter accepting the procedure, apt will install Nginx and any required dependencies to your server.
Step 2: Adjusting the Firewall
- Before testing Nginx, the firewall software needs to be adjusted to allow access to the service. Nginx registers itself as a service with ufw upon installation, making it straightforward to allow Nginx access.
- List the application configurations that ufw knows how to work with by typing:
sudo ufw app list- You should get a listing of the application profiles:
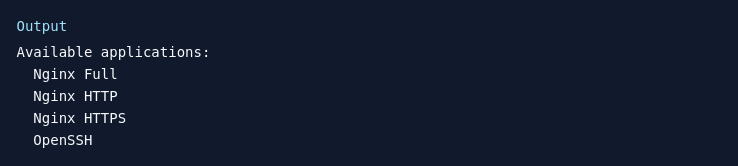
- As demonstrated by the output, there are three profiles available for Nginx:
- It is recommended that you enable the most restrictive profile that will still allow the traffic you’ve configured. Right now, we will only need to allow traffic on port 80.
- You can enable this by typing:
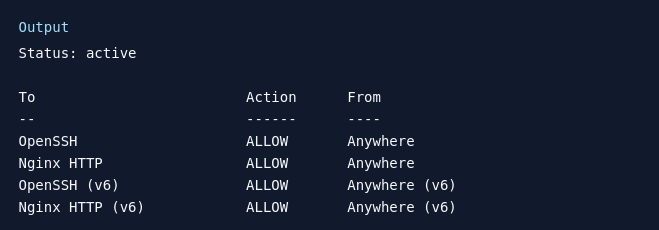
sudo ufw allow 'Nginx HTTP'- Verify the change by typing:
sudo ufw status- The output will indicated which HTTP traffic is allowed:
Step 3: Checking your Web Server
- At the end of the installation process, Ubuntu 20.04 starts Nginx. The web server should already be up and running.
- The systemd init system to make sure the service is running by typing:
systemctl status nginx
- As confirmed by this out, the service has started successfully. However, the best way to test this is to actually request a page from Nginx.
3. Installing PHP
- To install php package, run the following command:
sudo apt install php8.2-mbstring php8.2-xml php8.2-bcmath php8.2-simplexml php8.2-intl php8.2-gd php8.2-curl php8.2-zip php8.2-gmp- Once the installation is finished, you can run the following command to confirm your PHP version:
php -v
4. Installing Composer
- Update the local repository lists by entering the following in a command line.
sudo apt update- The following curl command to have the latest Composer version.
curl -sS https://getcomposer.org/installer | php- This will download and execute an installer script that will download the latest version of Composer and install it in your current working directory.
- You’ll need to move the composer to use Composer globally and run the Composer commands from anywhere.phar file from your current directory to a location included in your PATH environment variable.
- The most common location is the /usr/local/bin directory. So use the following command to initiate the move:
sudo mv composer.phar /usr/local/bin/composer- To test composer installation, run:
composer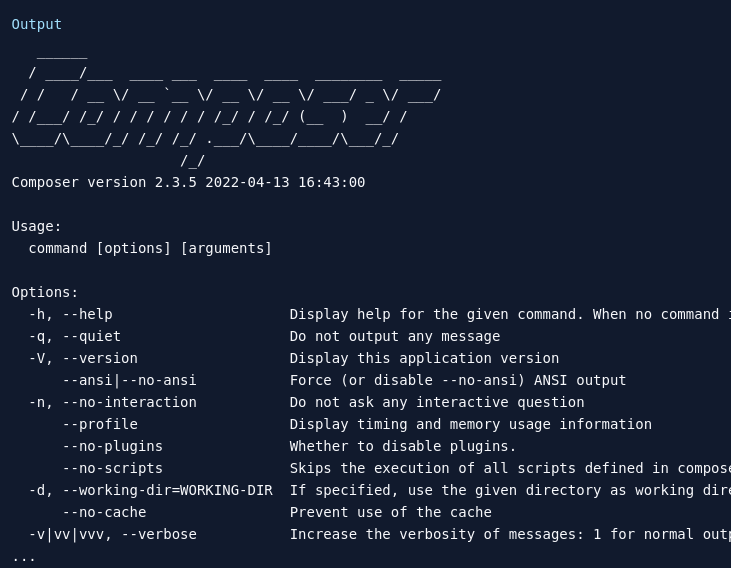
5. Install MySQL Database & User
- Now that you have a web server up and running, you need to install the database system to be able to store and manage data for your site. MySQL is a popular database management system used within PHP environments.
sudo apt install mysql-server- When prompted, confirm installation by typing Y, and then ENTER.
- Start the interactive script by running:
sudo mysql_secure_installation- When you’re finished, test whether you’re able to log in to the MySQL console by typing:
sudo mysql- This will connect to the MySQL server as the administrative database user root, which is inferred by the use of sudo when running this command. Below is an example output:
- Create MySQL database and assign all privileges by using following commands:
CREATE DATABASE Taxido_laravel;CREATE USER 'Taxido'@'%' IDENTIFIED WITH mysql_native_password BY 'password';GRANT ALL ON Taxido_laravel.* TO 'Taxido'@'%';FLUSH PRIVILEGES;7. Change permission for the www folder
sudo chown -R $USER:$USER /var/www;8. Upload Taxido Laravel to Server
- To make a new directory on your website, just type this command:
mkdir /var/www/Taxido- Download the Taxido-laravel-react_native-package zip file from CodeCanyon and unzip it on your computer.
- Inside the unzipped folder, find Taxido_laravel folder
- Upload the Taxido_laravel folder to the server at the path /var/www/Taxido/.
9. Enable multiple sites on nginx
- To begin, configure server and establish a Reverse Proxy to host multiple sites on the same server. Start by disabling the default settings.
sudo rm /etc/nginx/sites-enabled/default10. Create Nginx domain
sudo touch /etc/nginx/sites-available/Taxidosudo nano /etc/nginx/sites-available/Taxido- Include the following Nginx configuration in your edited file:
server {
  listen 80;
  server_name your-domain.com;

  client_max_body_size 256M;

  add_header X-Frame-Options "SAMEORIGIN";
  add_header X-XSS-Protection "1; mode=block";
  add_header X-Content-Type-Options "nosniff";

  index index.php index.htm;

  charset utf-8;

  # For Admin
  location / {
      root /var/www/Taxido;  # Adjust the path to your Laravel app's build output
      try_files $uri $uri/ /index.php;
    }
    error_page 404 /index.php;

    location ~ \.php$ {
      fastcgi_pass unix:/var/run/php/php8.2-fpm.sock;
      fastcgi_index index.php;
      fastcgi_param SCRIPT_FILENAME $realpath_root$fastcgi_script_name;
      include fastcgi_params;
    }

    location ~ /\.(?!well-known).* {
      deny all;
    }
  }
Ensure to replace "your-domain.com" with the actual domain name you are using.
- After making your changes, press CTRL and X, then confirm by pressing Y and ENTER to save and close the file.
- To enable the configuration, enable it with an easy command.
sudo ln -s /etc/nginx/sites-available/Taxido /etc/nginx/sites-enabled/Please make sure there are no mistakes in the configuration by typing:
sudo nginx -tThen restart Nginx server.
sudo systemctl restart nginx11. Secure Nginx Server
sudo apt install certbot python3-certbot-nginxYou need to modify its settings to permit HTTPS traffic. Fortunately, Nginx creates specific profiles in ufw during installation.
sudo ufw statussudo ufw allow 'Nginx Full'sudo ufw delete allow 'Nginx HTTP'sudo certbot --nginx -d your-domainInstalling Taxido Laravel
1. Initially, navigate to the Taxido_laravel directory, and change the file named .env.example as .env.
cd /var/www/Taxido/Taxido_laravel- Add values to the below keys in the .env file using nano command
nano .envcp .env.example .envIf you're running your Laravel project on your own computer (localhost), make sure to use localhost with current running port and put in APP_URL. as a given example below
If you want to install on live server, you need to add your live server Taxido_laravel url like a APP_URL=http://your-domain.com.
APP_URL=http://localhost:8000
DB_DATABASE=database_name
DB_USERNAME=database_username
DB_PASSWORD=database_password2. Install Required Dependencies:
- In the Taxido_laravel folder, run following command in the terminal to install the required dependencies.
composer install 3. Generate Laravel APP KEY:
- Once the necessary dependencies are successfully installed, run following command to generate laravel app key.
php artisan key:generate4. Installation of Taxido:
Note: If you've previously run following command or migrated tables, be aware of the fact that it will erase all of your data.
- Then, run following command to install Taxido database table.
php artisan web:installDuring the installation, you'll be asked two questions:
1. Do you want to continue with the installation? If you say yes, Taxido will continue to install.
2. Do you want to import in sample data? If you say yes, the sample data will be imported. If you say no, the installation will go ahead without adding any sample data.
5. Link Storage folder to Public folder:
- Then, run following command to store and display images correctly.
php artisan storage:link6. Run Taxido Laravel:
- Once you've finished all the previous steps, you can run the Taxido_laravel by adding following command.
php artisan serve- When you start your Taxido Laravel project, it typically runs on the default port, you can access it by opening 127.0.0.1:8000 in your web browser.
7. Verify Taxido Purchase Code:
- Before using the Taxido Laravel, it's important to verify your Envato purchase code.
- Enter in your Envato username and the Taxido purchase code and click next button.
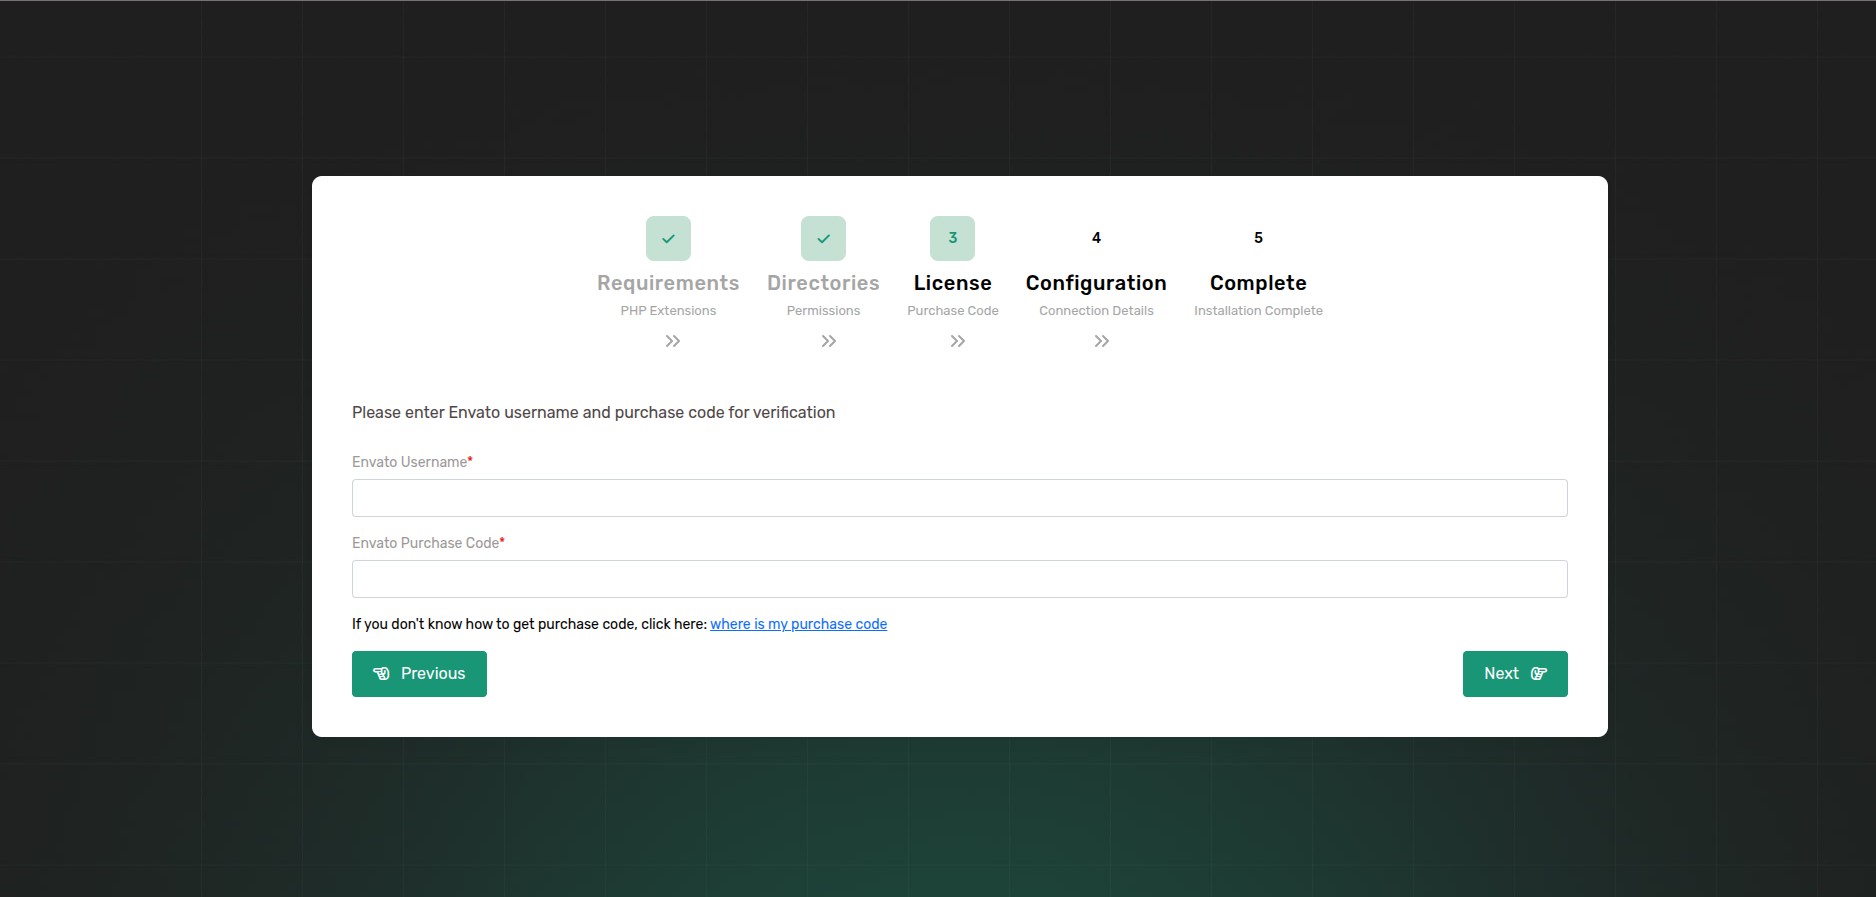
- If you don't know where to find your purchase code, click here: Where Is My Purchase Code?
Note: Once a license is verified, it can't be used for another project. An envato purchase code can only be verified on one domain at a time.
.png)
Congratulations, Taxido has been successfully installed and configured in your system!🎉
Default Credentials
Admin Credential:
- Url: https://your-domain.com/admin/login
- Email: admin@example.com
- Password: 123456789
Driver Credential:
- Url: https://your-domain.com/admin/login
- Email: driver@example.com
- Password: driver@123